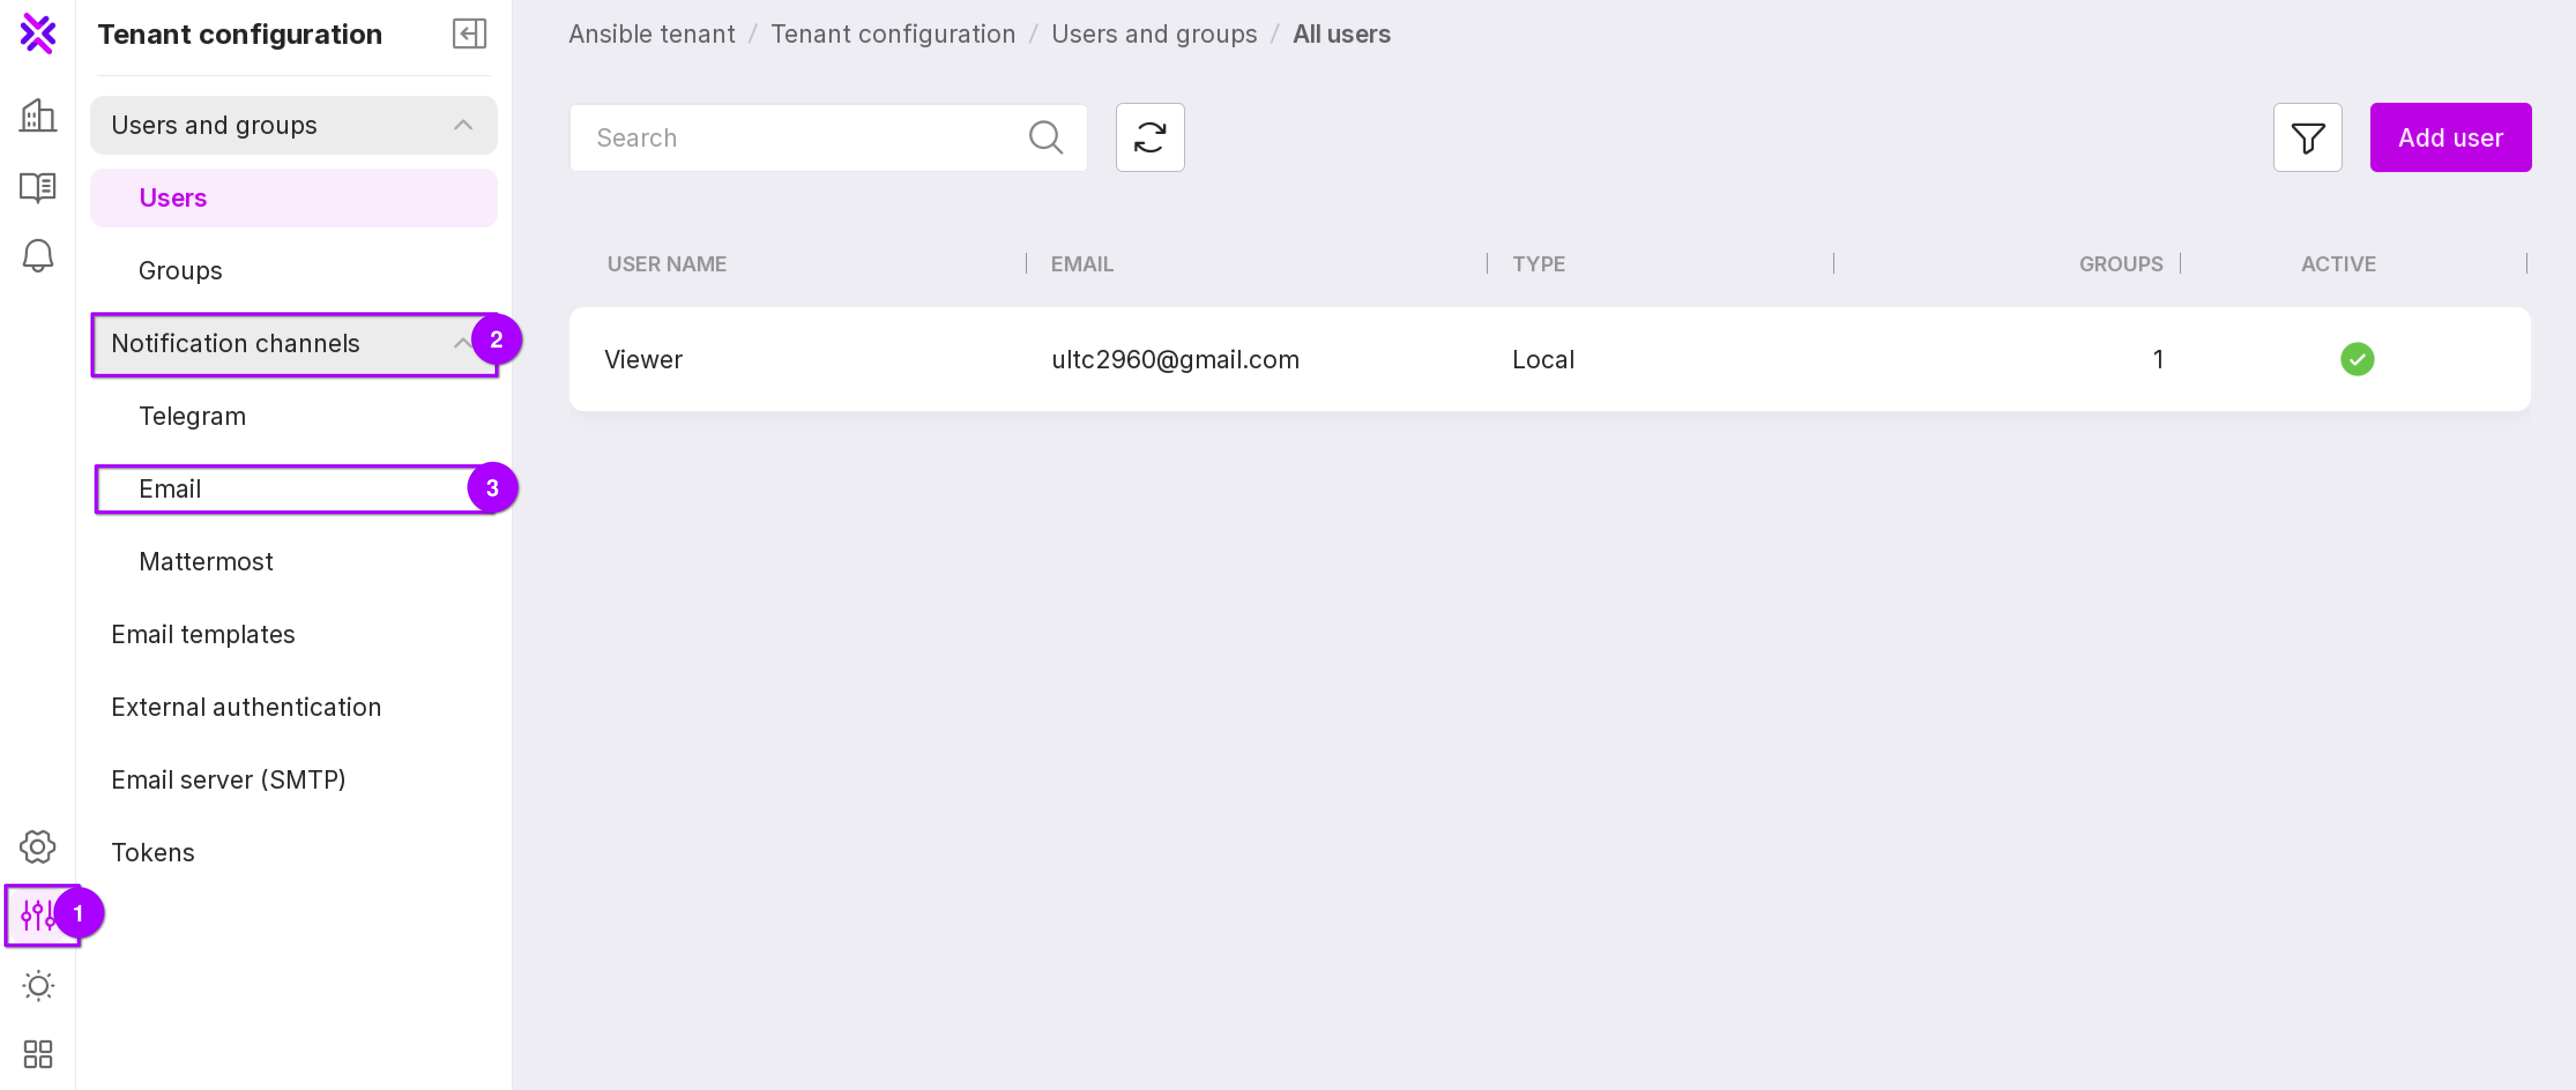
Email
To open this page in the left panel, click ‘Tenant configuration’ → ‘Notification Channels’ → ‘Mail’.
The ‘Email’ page displays a list of email channels for sending messages. On this page, you can create and manage channels.
Let’s look into the functions as numbered in the figure below:
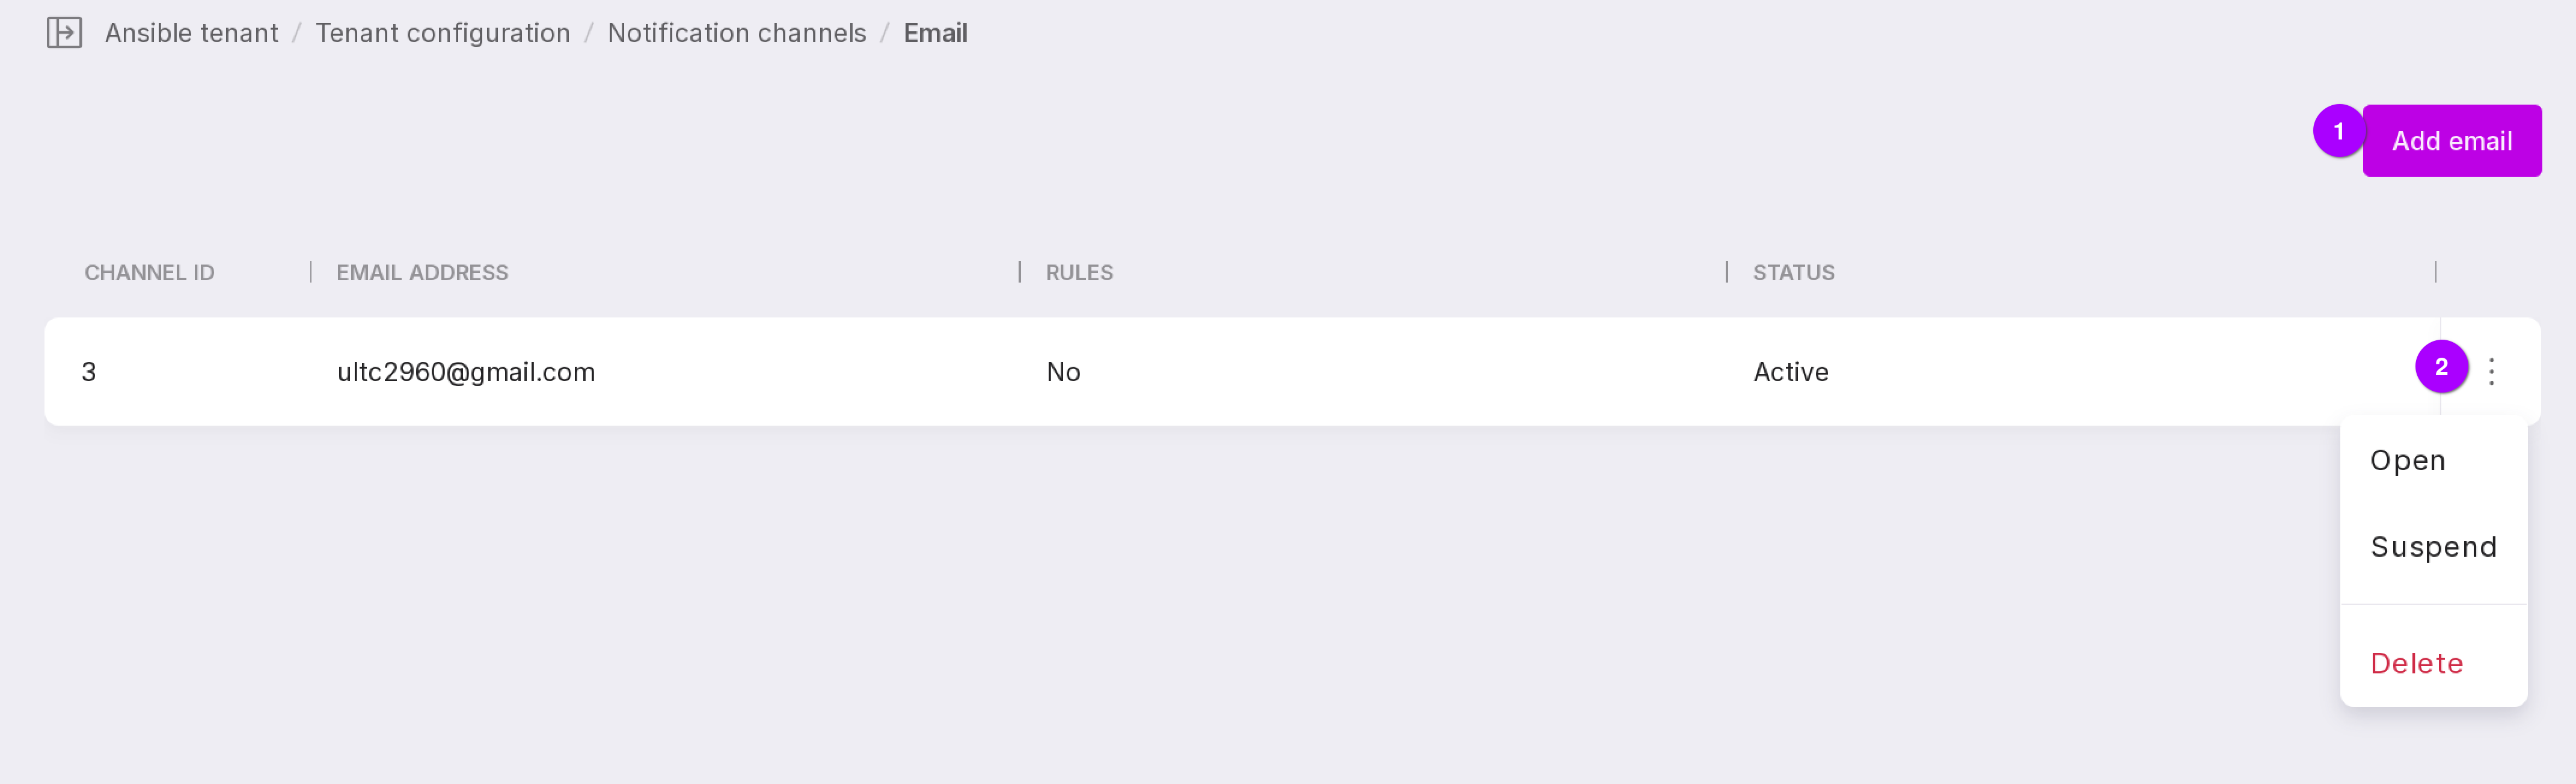
Clicking ‘Add mail’ opens the window for adding a new email;
The ‘Menu’ button allows you to manage the selected email notification channel. Three options are available in the menu:
‘Open’ — opens the page of the selected email;
‘Activate/Suspend’ — resumes/suspends the use of the selected email for message transmission;
‘Delete’ — deletes the selected email.
Adding a new email channel
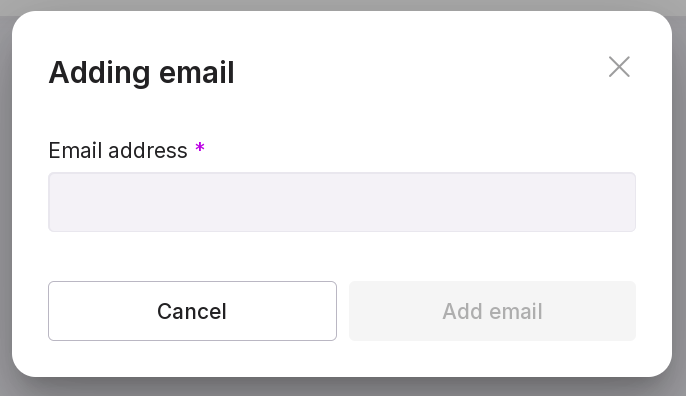
To add a new channel, follow these steps:
Click “Add mail”.
Type in email address in the text field.
Click “Add mail”.
Channel deactivation
The ‘Suspend’ option stops the use of the selected channel for message transmission.
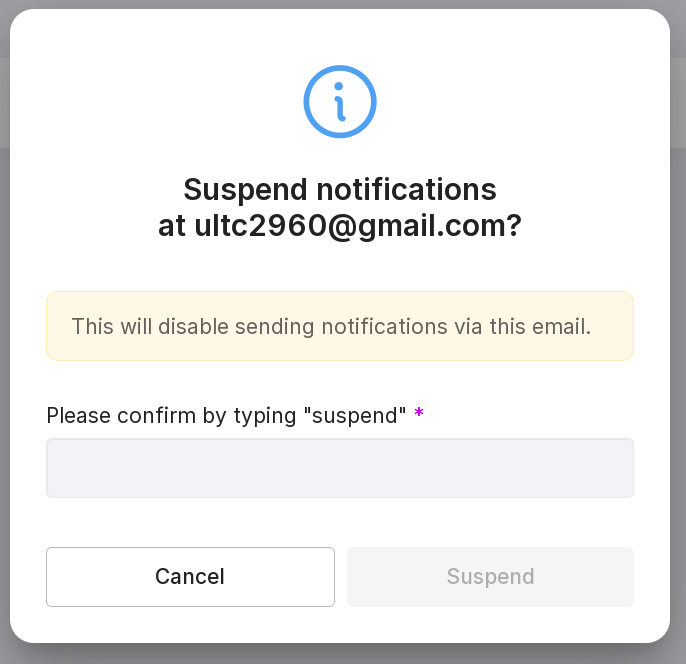
Type ‘suspend’ in the text field of the modal window.
Click “Suspend”.
Channel activation
The “Activate” option resumes the use of the selected channel for message transmission:
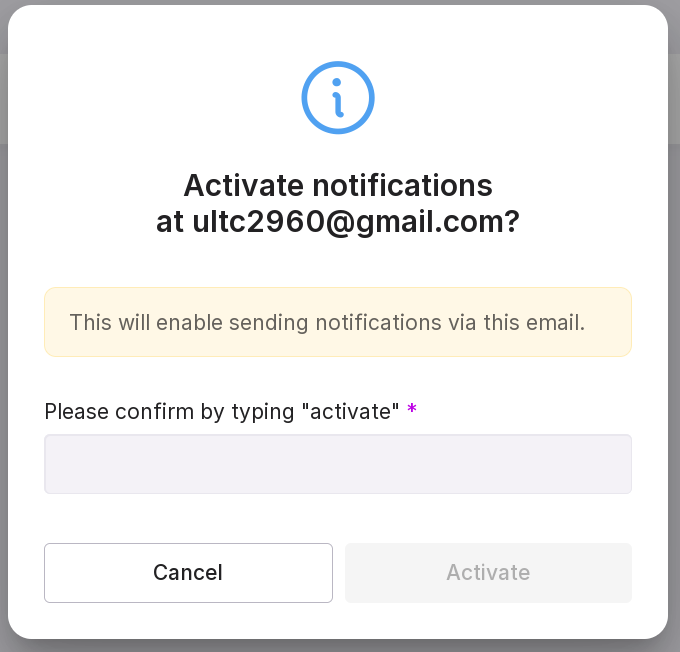
Type “activate” in the text field of the modal window.
Click “Activate”.
Deleting the channel
The “Delete” option removes the selected channel:
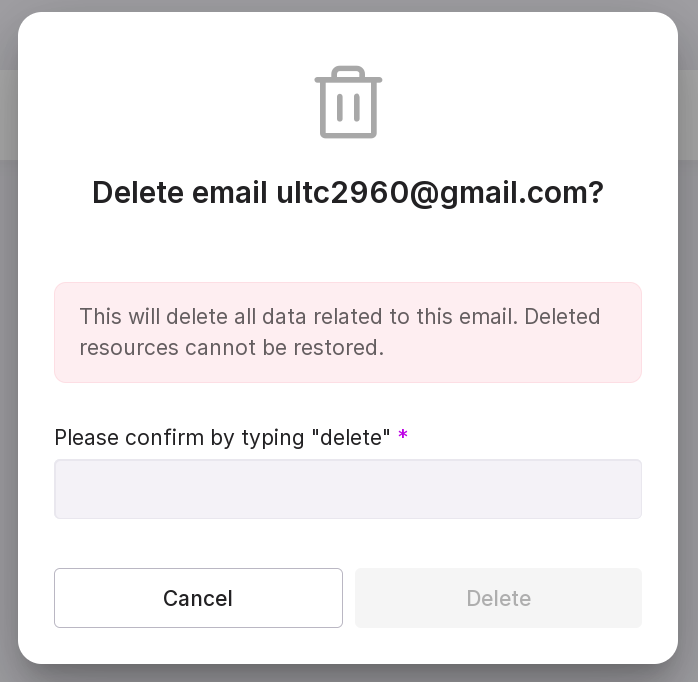
Type “delete” in the text field of the modal window.
Click “Delete”.
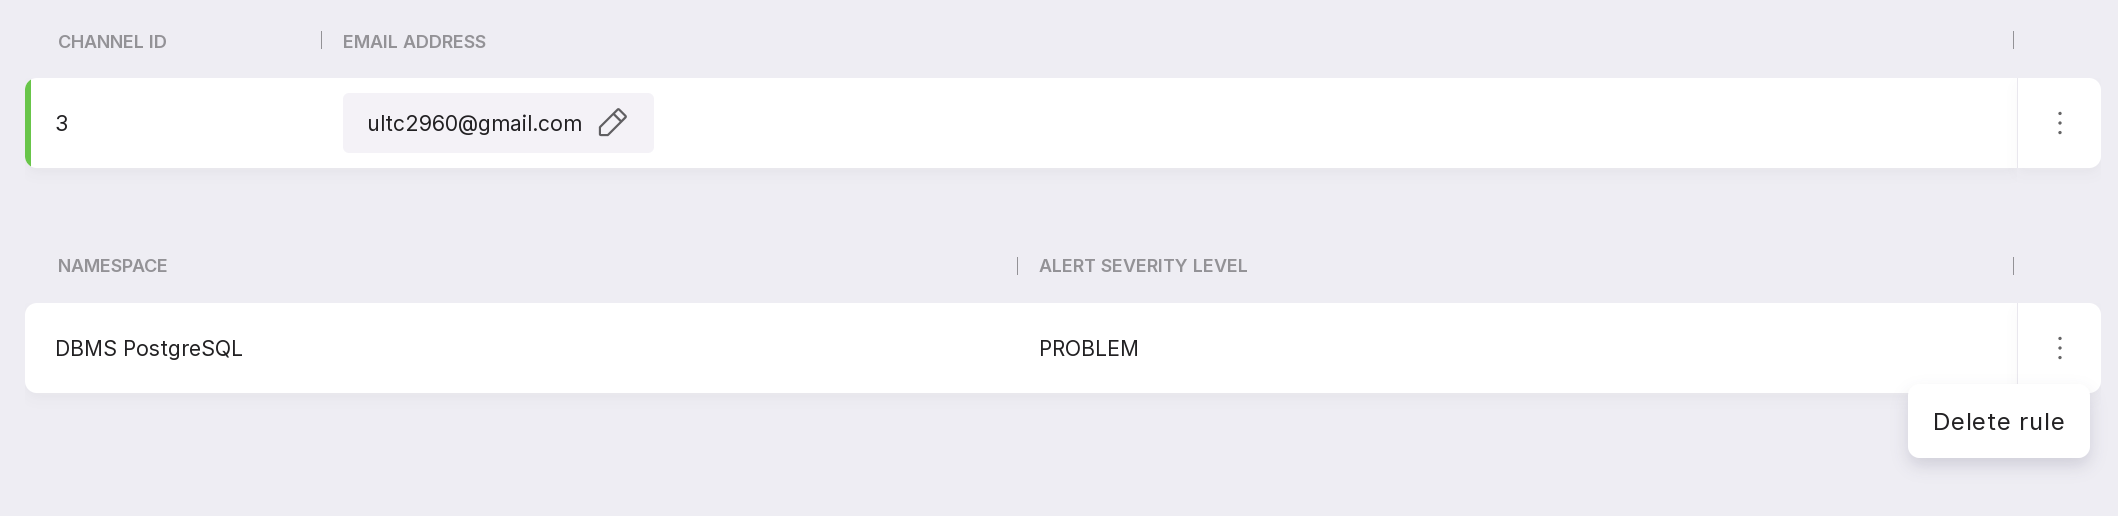
Email Channel Management
To open the channel management page, click on the row with the required email or click the menu button → “Open.”
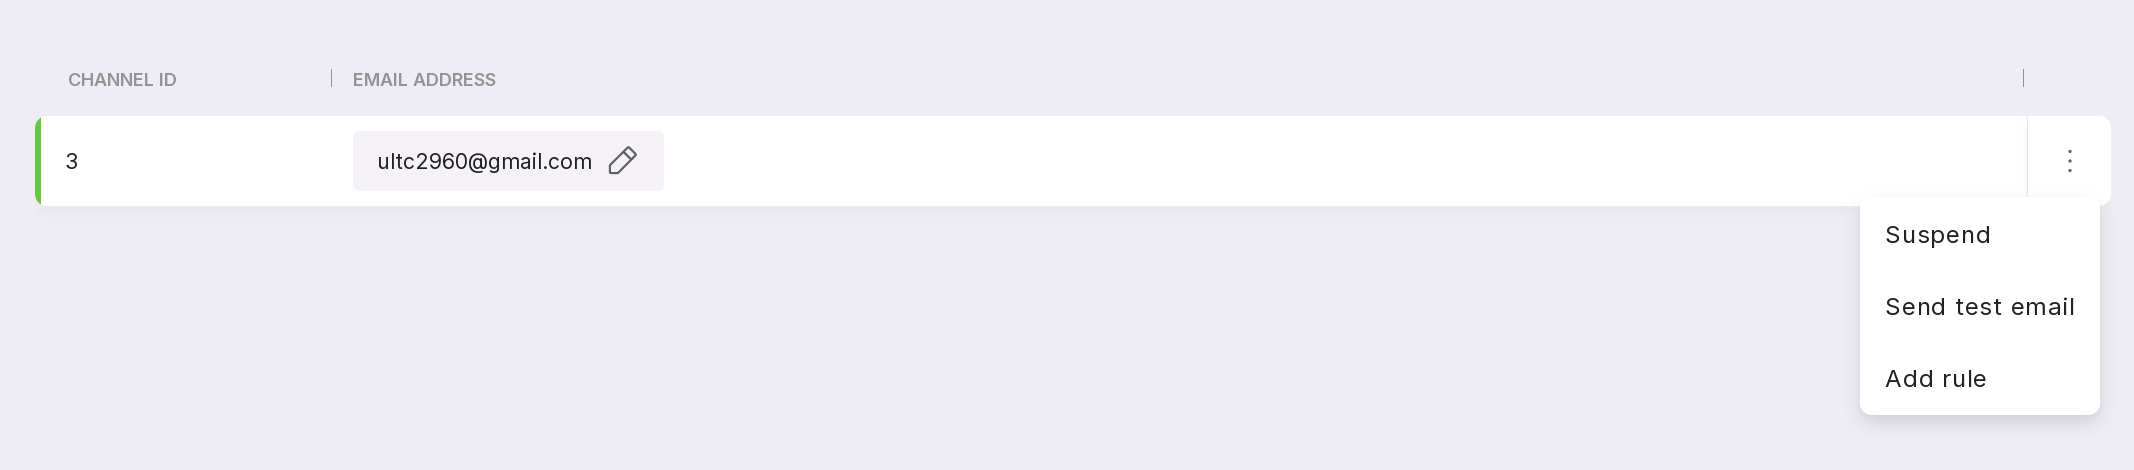
You can change the email address by clicking the pencil icon.
The channel menu contains the following options:
“Activate/Suspend” — resumes/suspends the use of the selected channel for message transmission;
“Send Test Email” — sends an email to the specified address;
“Add Rule” — allows you to add a rule for sending messages to the email.
Send Test Email
The “Send Test Email” option sends a test message to the specified email. After sending, a window appears with the sending state:

Adding a rule
To add a new rule:
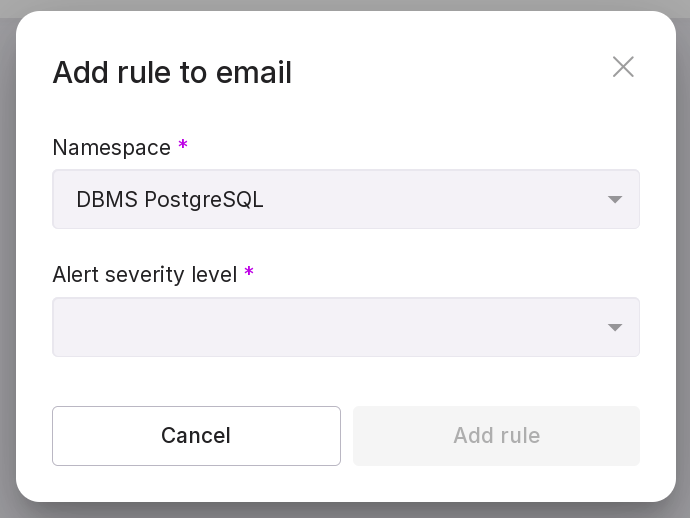
Select namespace;
Select the severity level for the alert: problem or warning;
Click “Add rule”. After adding the rule, you will receive notifications in the selected email channel.
Deleting a rule
The “Delete rule” button in the menu of the added rule allows you to delete the rule.
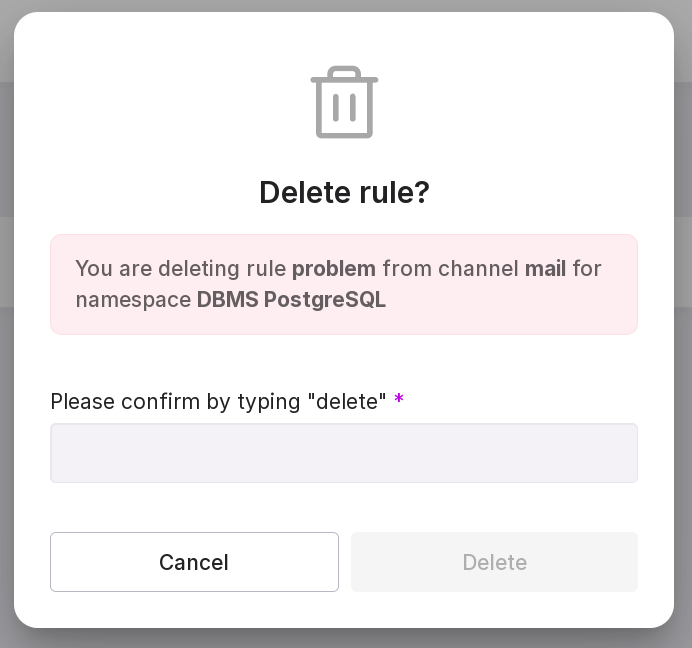
Type “delete” in the text field of the modal window.
Click “Delete”.