The “Namespaces” tab
Tile view of namespaces
Each tile on the page is a namespace.
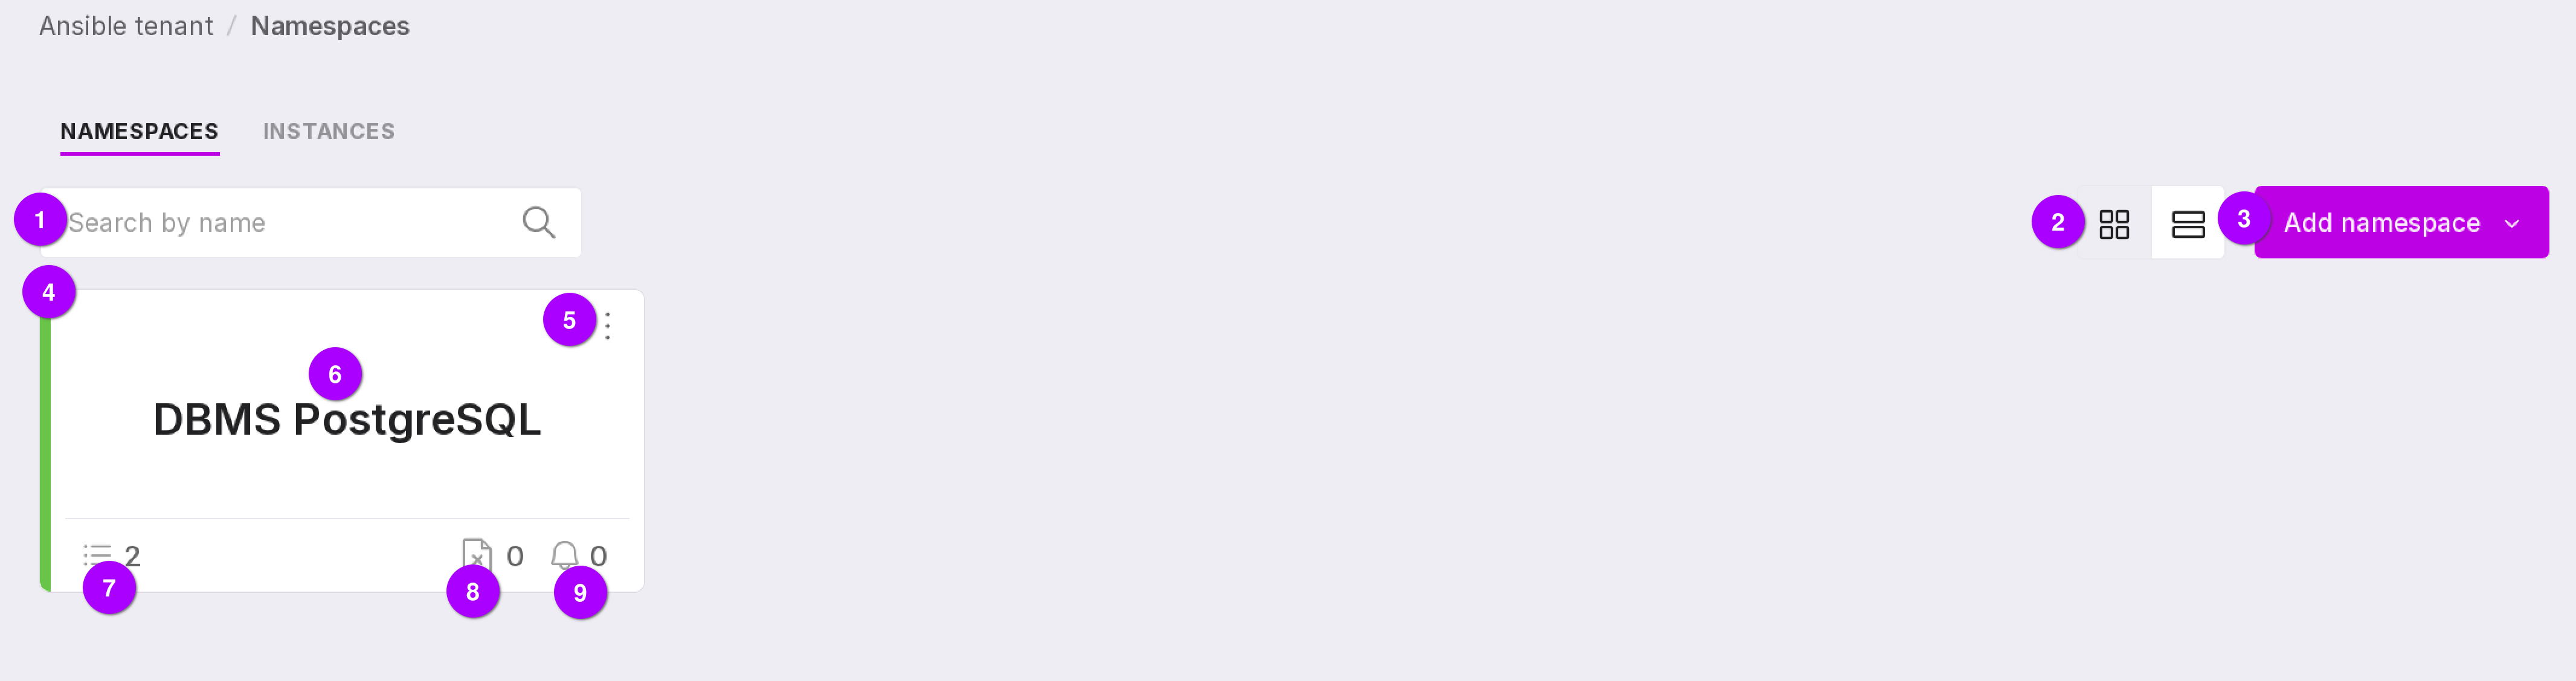
Let’s review the information on the page:
A search bar that can be used to search for namespaces by their names.
Page view toggle icon — clicking on the right side of the icon will switch from tile view to table view, while clicking on the left side will return you to the original view.
Button for adding a new namespace.
Color indication of namespace state:
Red line — there are PostgreSQL instances in the namespaces and there are “Problem” alerts for one or more instances in the namespace.
Yellow line — there are PostgreSQL instances in the namespaces and there are “Warning” alerts for one or more instances in the namespace.
Green line — there are PostgreSQL instances in the namespaces, and there are no errors or warnings for any of the instances in the namespace.
If there is no color-coded strip, then there are no instances in the namespaces.
The namespace name is displayed in the center of the tile.
The Instances indicator shows how many instances have been added to the namespace. Clicking it opens the Instances Overview page.
The Failed Tasks indicator shows how many tasks created for the namespace have failed. Clicking it opens the Tasks page, filtered by the namespace name and the Error state.
The Alerts indicator shows the number of open alerts for instances within the namespace. Clicking it opens the Alerts page.
The namespace menu includes the following options:
The namespace menu has the following options:
“Open” — opens the page with the instances of the namespace.
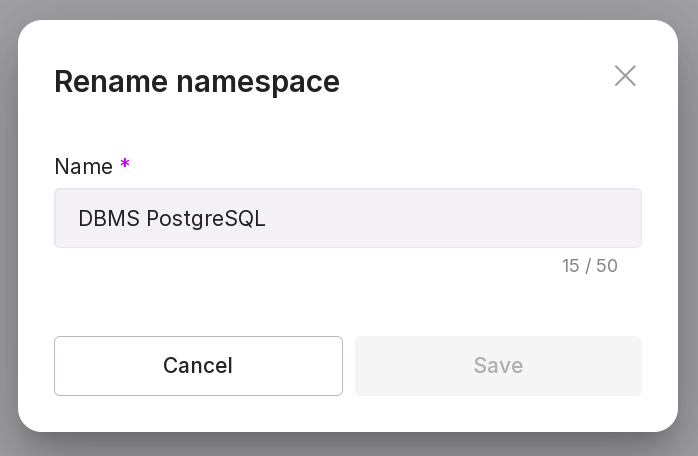
“Rename namespace” — opens a modal window where you can change the current name of the namespace to a new one. Type in new name of the namespace in the text field and click “Save”. The length of the name cannot exceed 50 characters.
“Show alerts” — opens the “Alerts” page with alerts related to the namespace.
“Show failed tasks” — opens the “Tasks” page with tasks created for the namespace that have been completed with an error.
“Delete namespace” — opens a modal window for deleting namespace. Type the word “delete” in the text field of the window and click “Delete”.
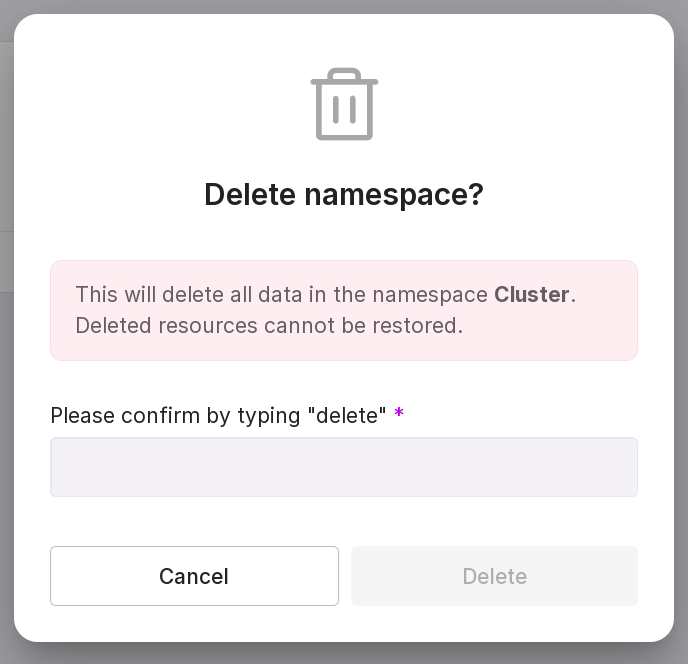
Important
Before deleting the namespace, delete all hosts in this namespace.
The name of the namespace is displayed in the center of the tile.
The instance indicator shows how many instances have been added to the namespace. Clicking on the indicator will open the “Overview” page of instances.
The failed tasks indicator shows how many tasks created for the namespace were completed with an error. Clicking on the indicator will open the “Tasks” page with tasks filtered by namespace name and “Error” state.
The alert indicator shows how many open alerts there are for the instances added to the namespace. Clicking on the indicator will open the “Alerts” page.
Table view of namespaces
Every line on the page is a namespace. The page presents the same information as the tile view, just structured differently.
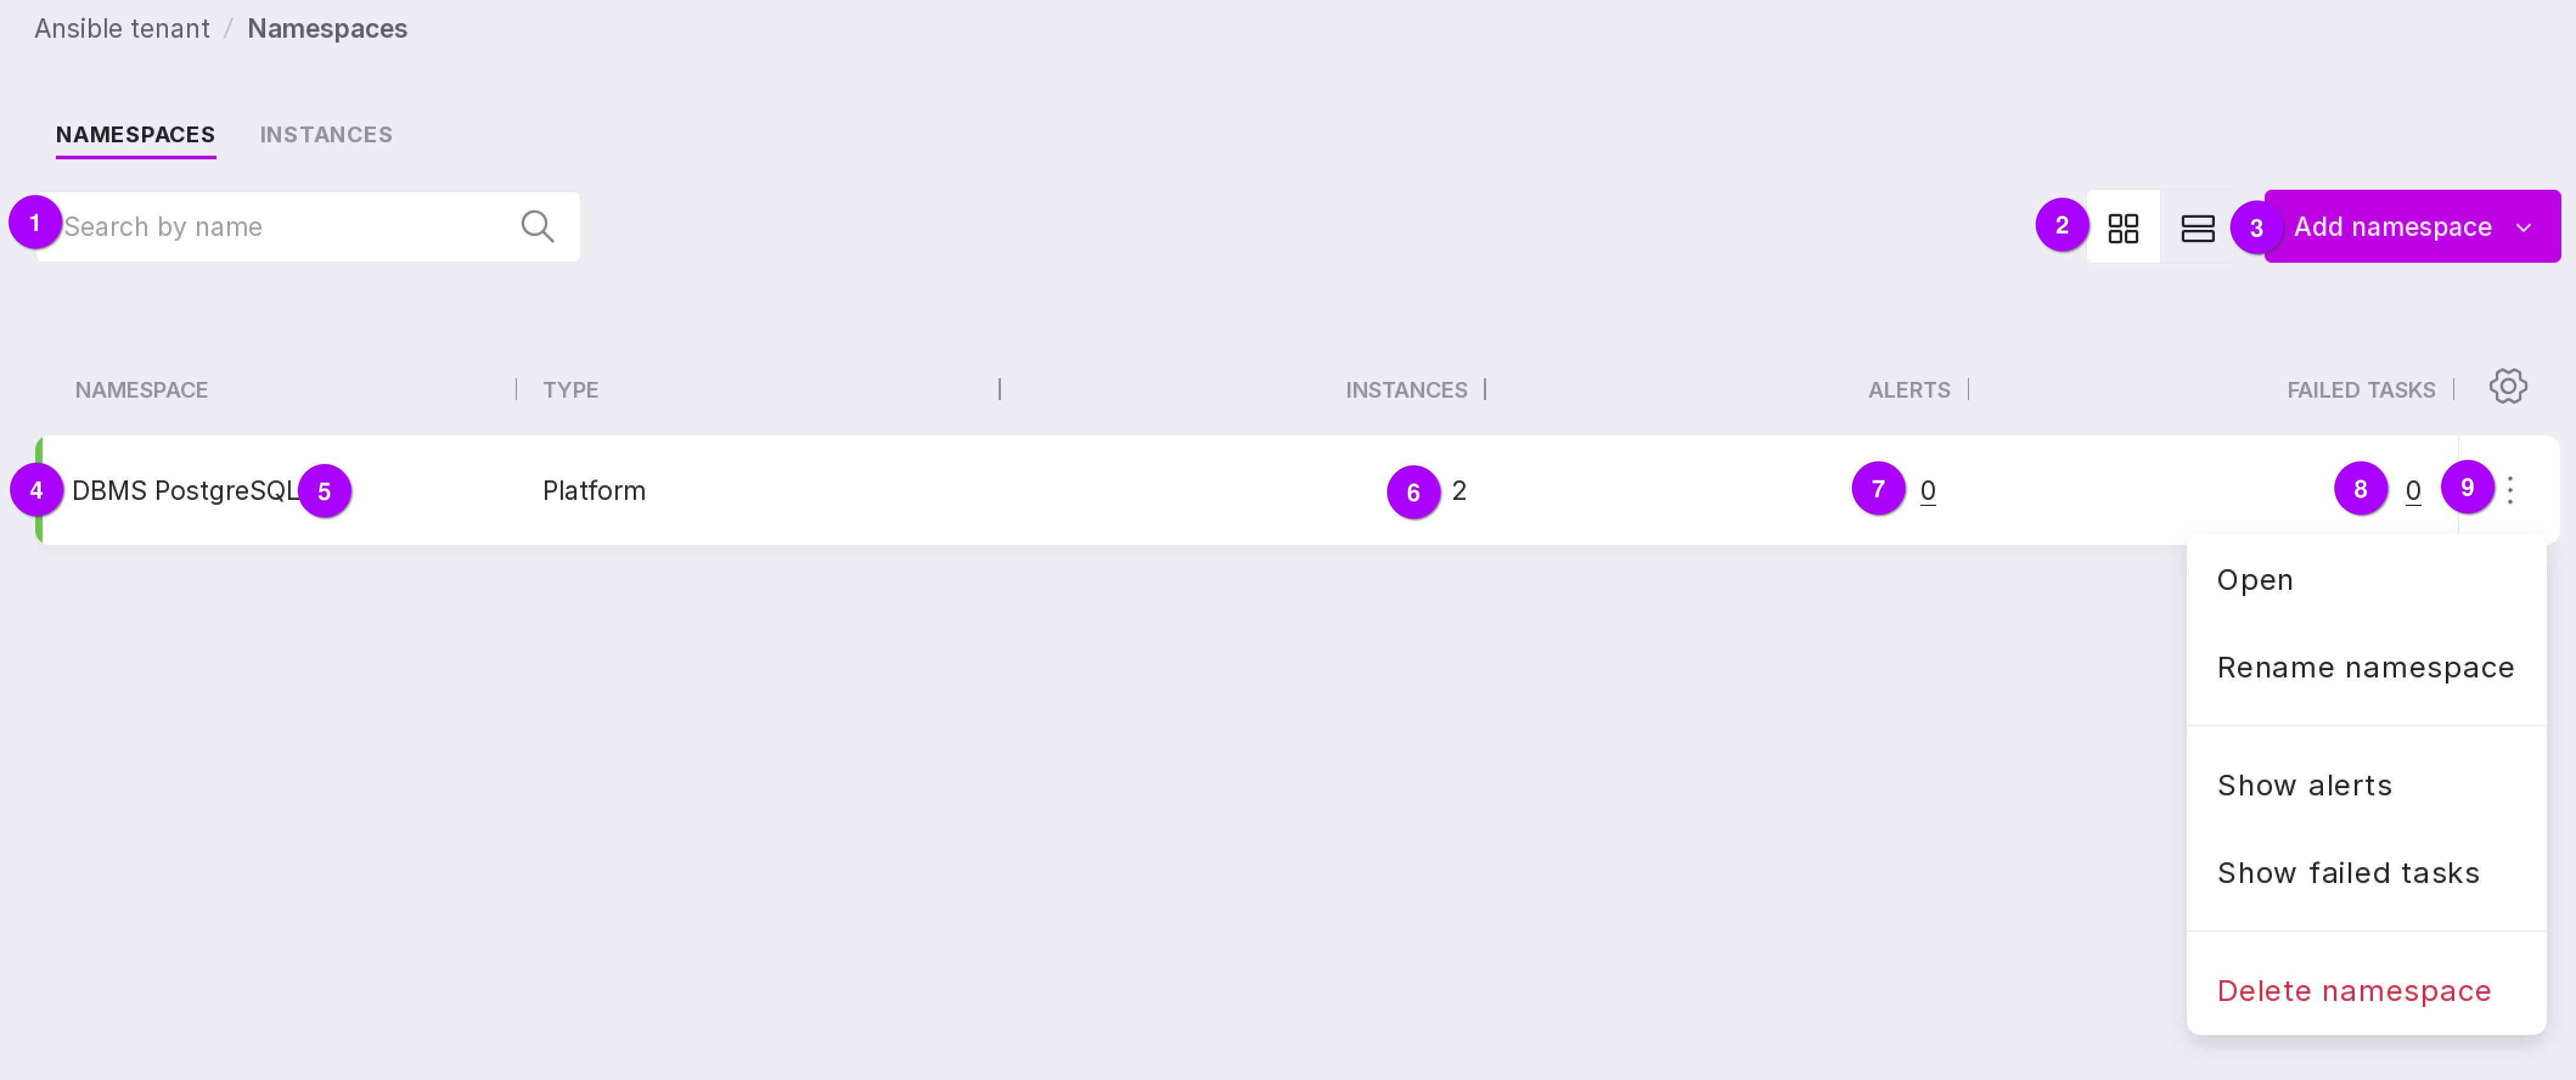
Let’s review the information on the page:
Search field — allows you to search for namespaces by name.
View toggle icon — clicking the left side switches from table view to card view; clicking the right side returns to the default table view.
Add Namespace button — opens the namespace creation dialog.
Namespace state color indicator.
Namespace name.
Number of instances added to the namespace.
Number of open alerts for instances in the namespace. Clicking this number opens the “Alerts” page.
Number of failed tasks associated with the namespace. Clicking this number opens the “Tasks” page, filtered by the namespace name and “Error” state.
Namespace menu.