Anonymizer
“Anonymizer” is a tool that allows you to anonymize data using the PostgreSQL module — pg_anon. Anonymization will help solve the problem of data leakage when transferring the database from the production environment to the test environment.
You can perform the entire anonymization process step by step in Platform:
Attention
The Anonymizer is available only with an additional license. To purchase an additional license, please contact support: support@awide.io.
To open the “Anonymizer” page, click “Modules” on the left panel → “Anonymizer”.

Note
The speed of the Anonymizer process and the system load level during its operation depend on the size of the source database, the depth of scanning when creating the dictionary, and the applied set of rules during scanning. If you are working with large databases, we recommend installing Platform on high-performance server.
You can read more on the structure and operation method of pg_anon in “Working with pg_anon” section and in the documentation of the DBMS Awide.
Permissions
On the “Permissions” tab, you can assign the following roles to user groups:
Research Administrator – users of the group will be able to configure meta-dictionaries, start the process and control the result of data scanning. Users have access to the following sections:
Data sources;
Dictionaries;
Scanning
Preview.
Anonymization Administrator — group users will be able to check the completeness of the markup, start the anonymization process using the meta-dictionary created by the Data Research Administrator, and monitor the result of data anonymization. Users have access to the following sections:
Data sources;
Dictionaries;
Scanning
Preview;
Dumps;
Restores.
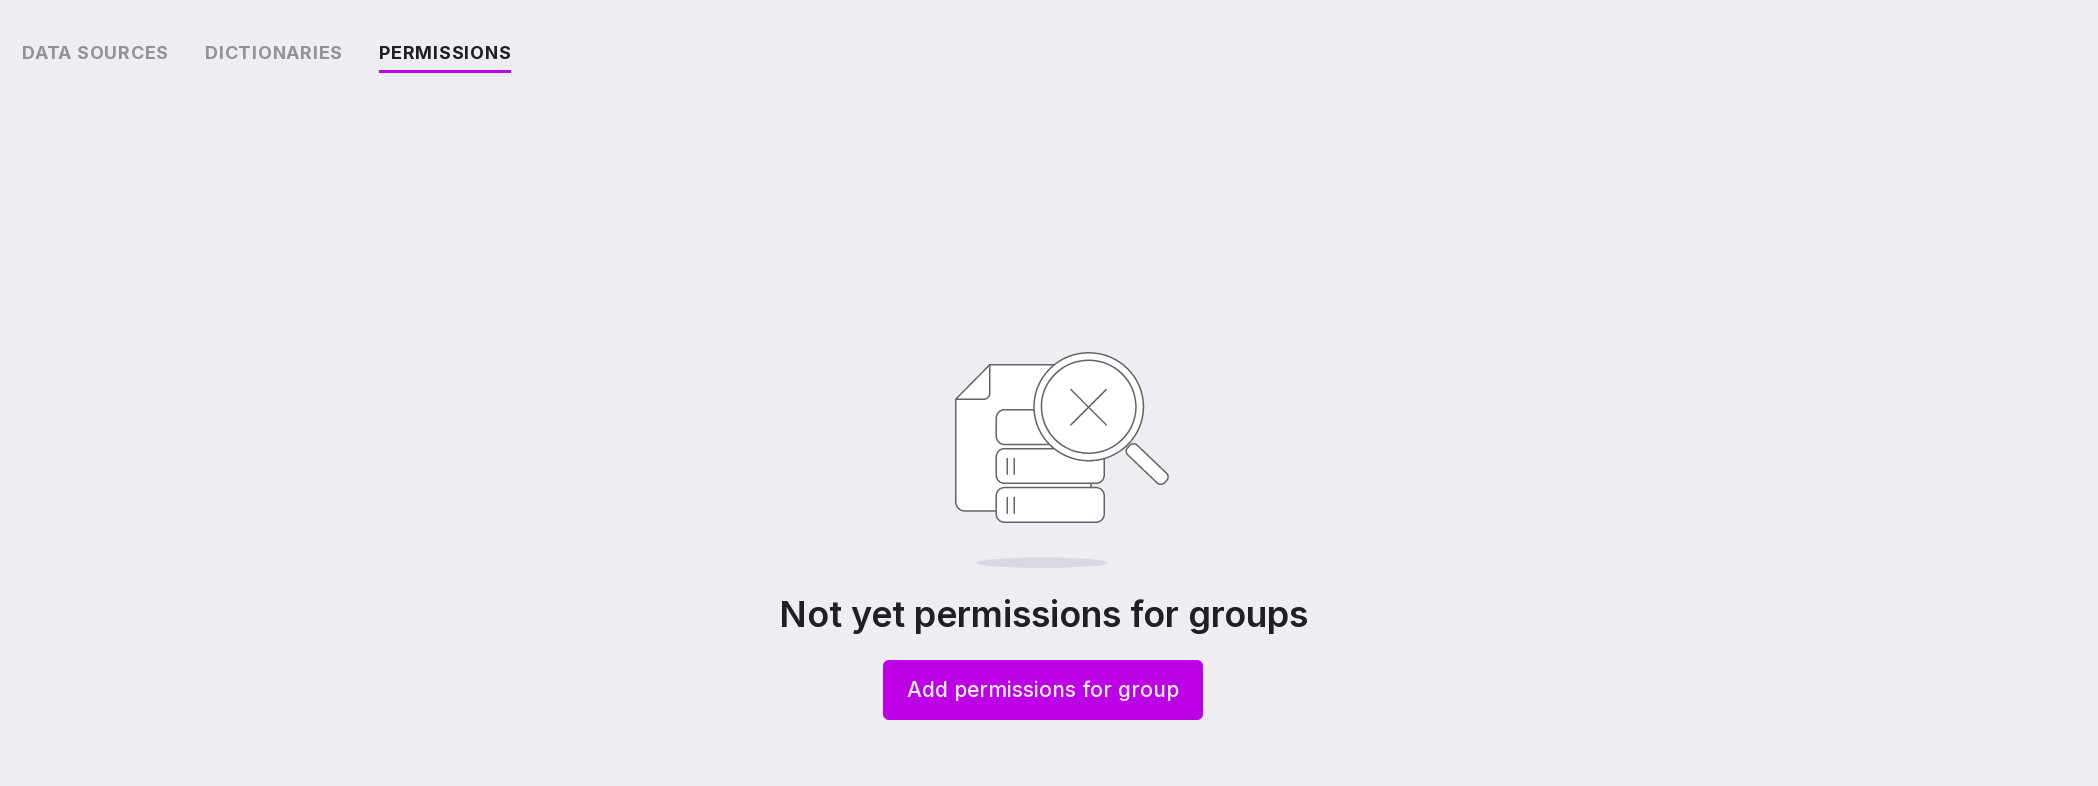
To assign permissions to a group:
Click ‘Add permissions for group’ in the center of the page if no groups have been assigned permissions yet, or in the upper right corner if there are groups with assigned permissions.
In the opened window, select the group and level of access permissions.
Click ‘Add permissions’.
Let’s review the information on the page:
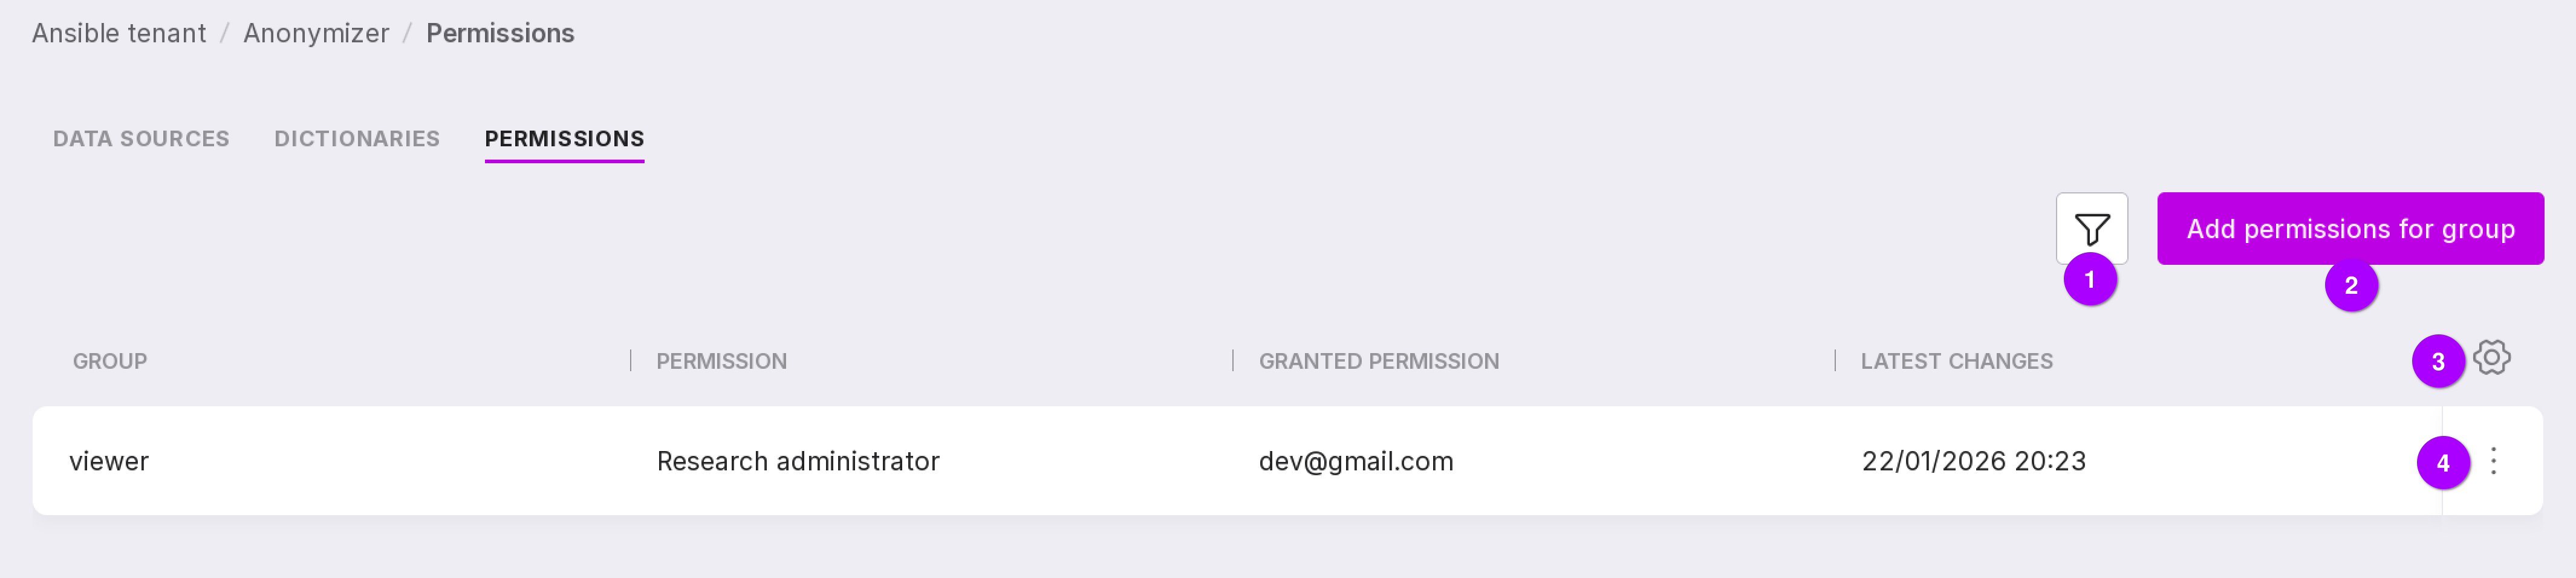
Filter by access permissions.
Add permissions button for a group.
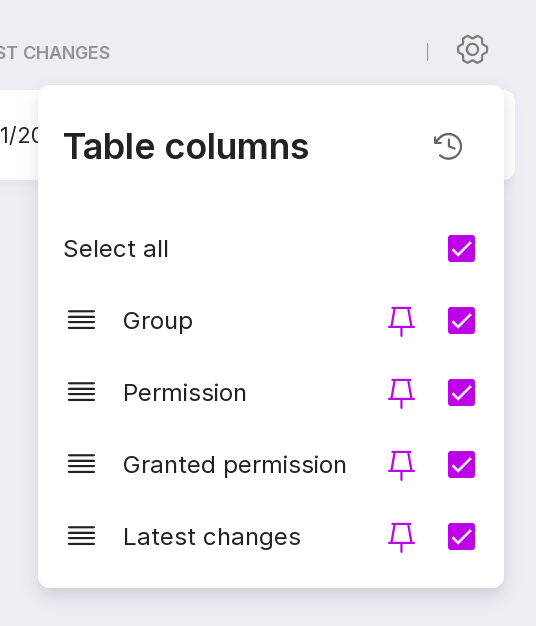
Table configuration button. With its help, you can customize the appearance of the table yourself.
Group menu with the following options:
“Edit” — allows you to change the access for the group.
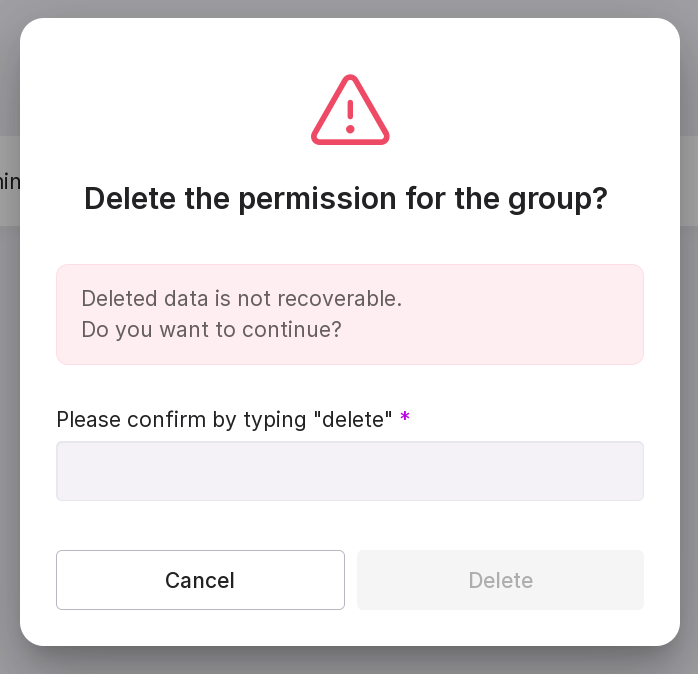
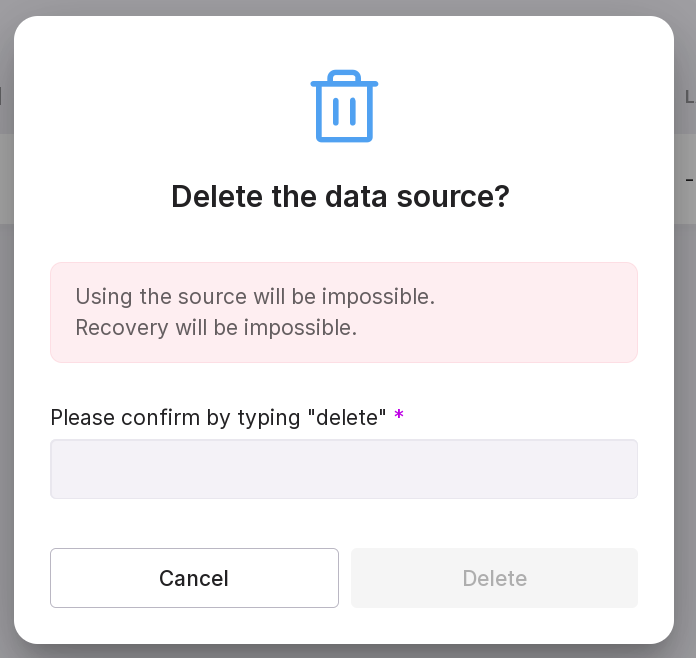
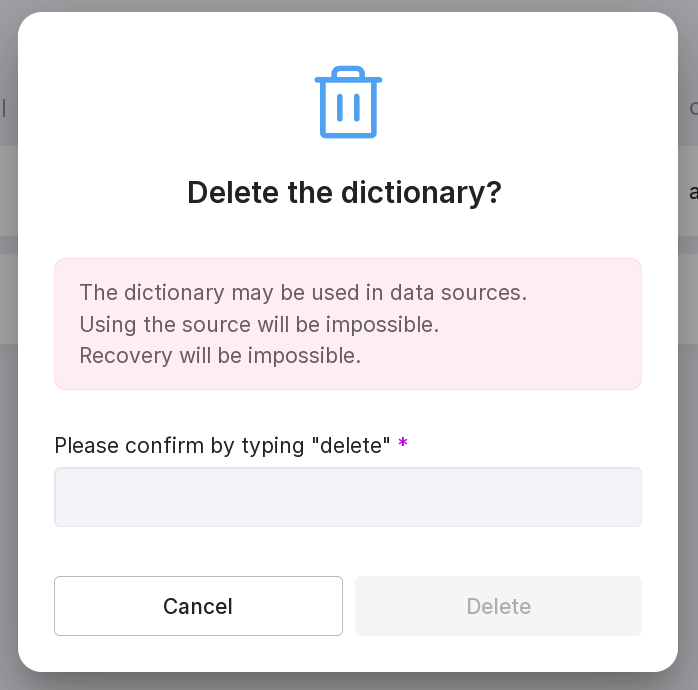
“Remove permissions” — allows you to remove permissions for the group. In the opened window, type in “delete” in the text field and click “Delete”.
Connecting to the data source
“Data source” is the “source” database, the sensitive (confidential) part of which will be anonymized. The database, part of which is anonymized, will be called “target DB”.
You can manage data sources on the “Data Sources” tab. It lists all connected data sources and information on them:
data source name,
source database,
date and time of the last scan,
scan state,
date and time of the last dump creation,
dump creation state.
Let’s review the information on the page:
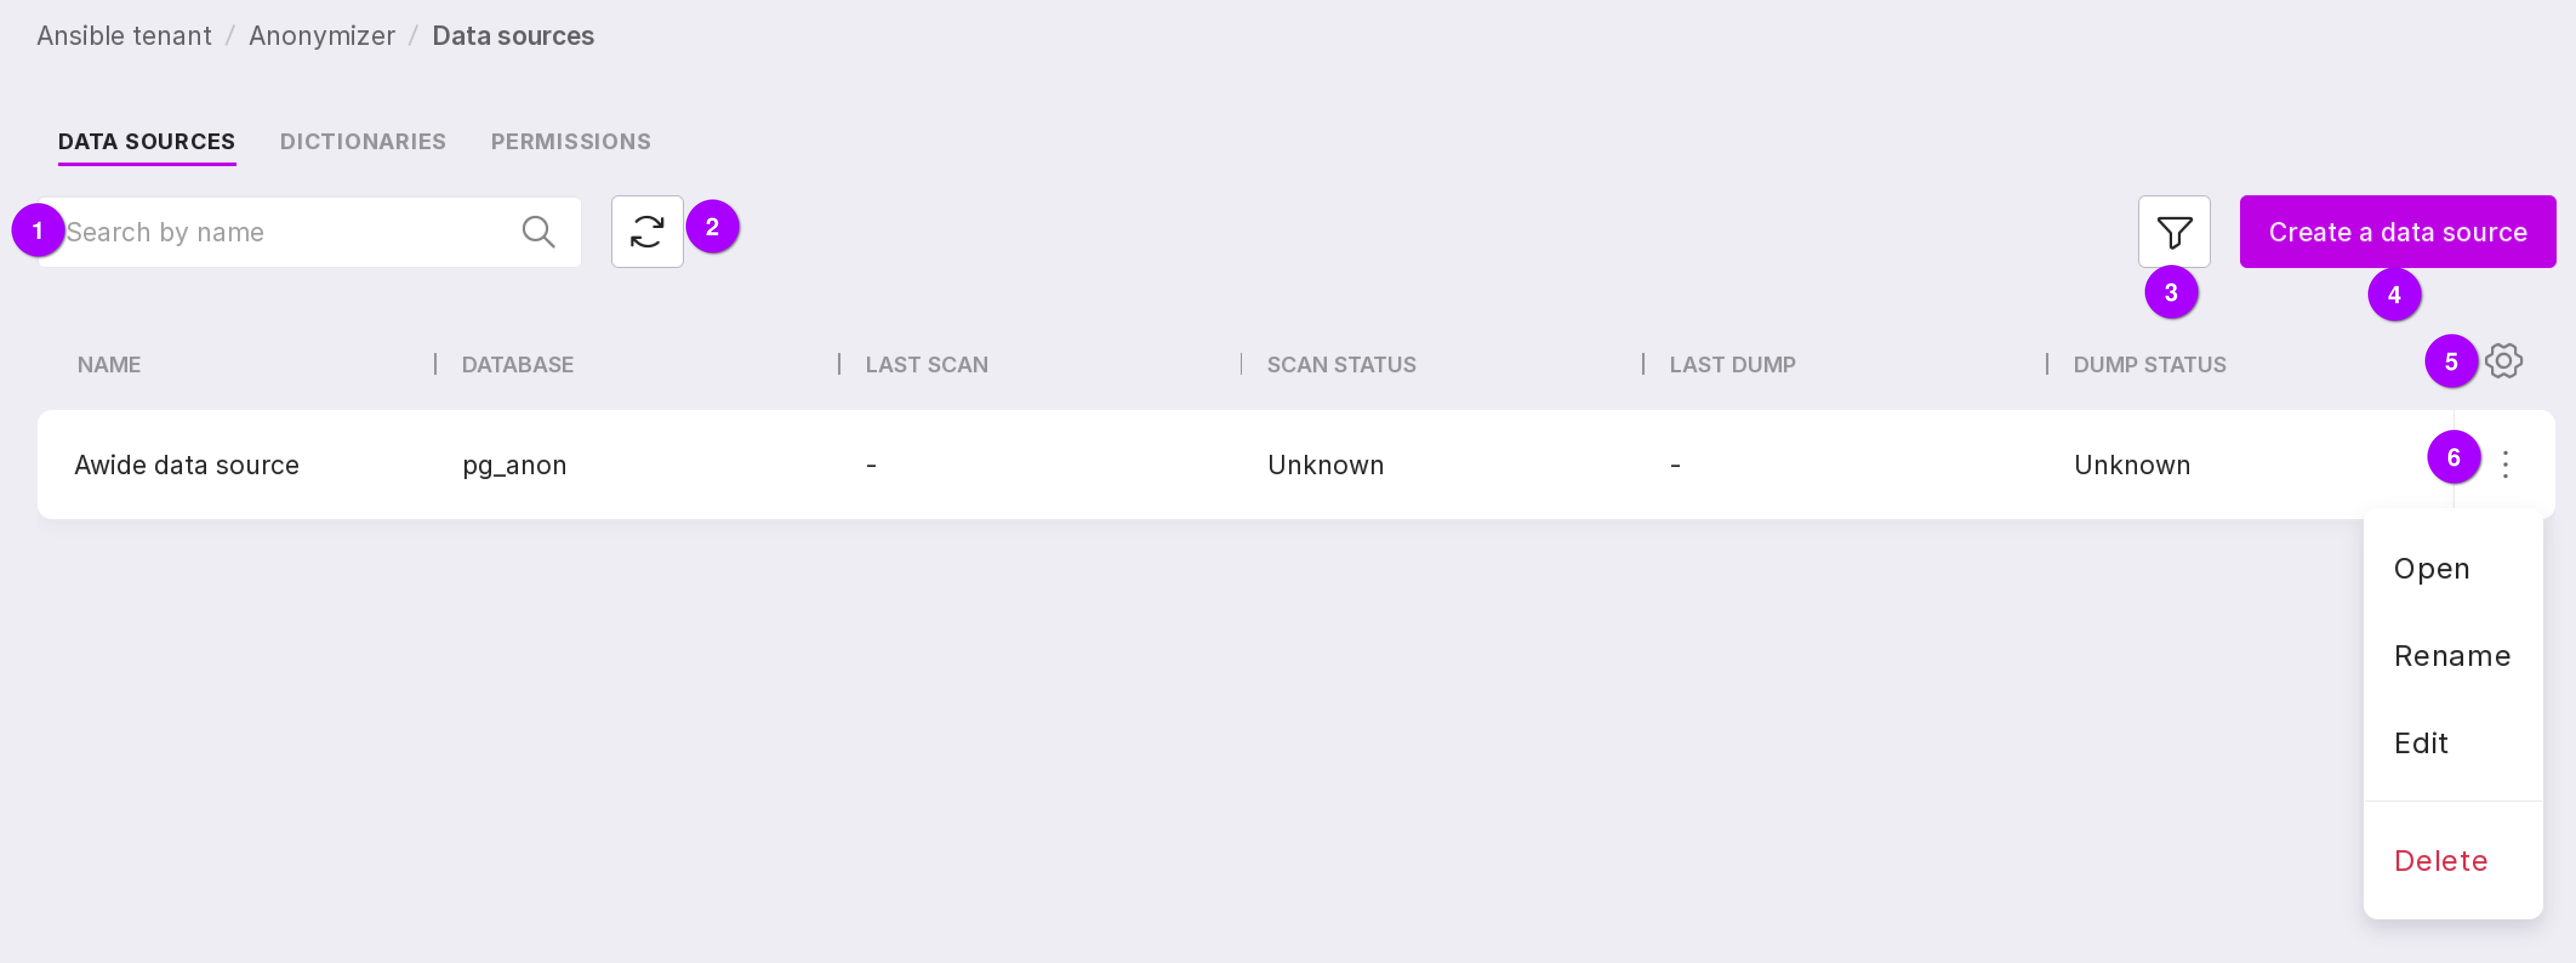
Search bar to find data sources by name.
Button to refresh the page.
Filter by scan and dump creation process state.
Button to create a new data source.
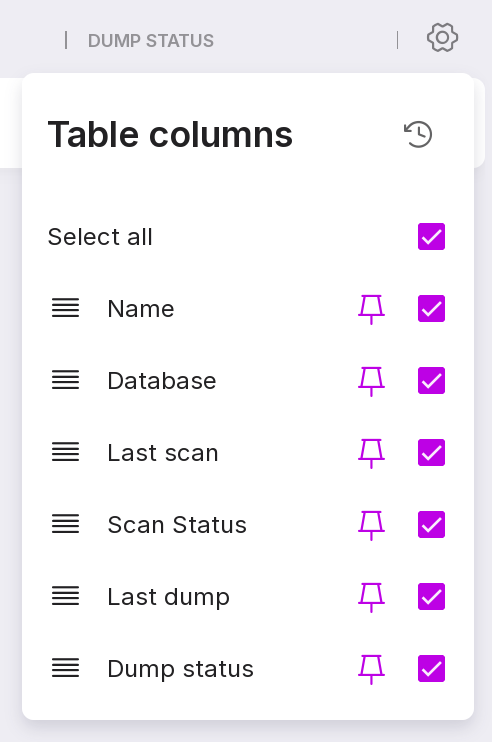
Table configuration button. With its help, you can customize the appearance of the table yourself.
Data source menu, which allows you to:
open the page with additional information on the data source. You can also open this page by clicking on the row of a specific data source;
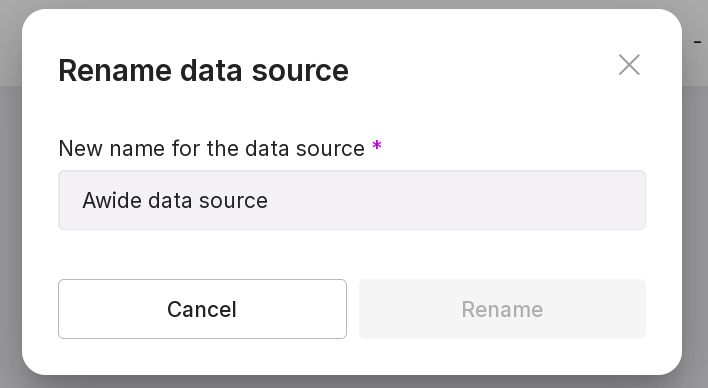
rename the data source;
edit connection data;

delete the data source.
Adding a data source
To connect, follow these steps:
Click “Add Data Source” in the center of the page or “New Data Source” in the upper right corner if there are already other data sources on the page.
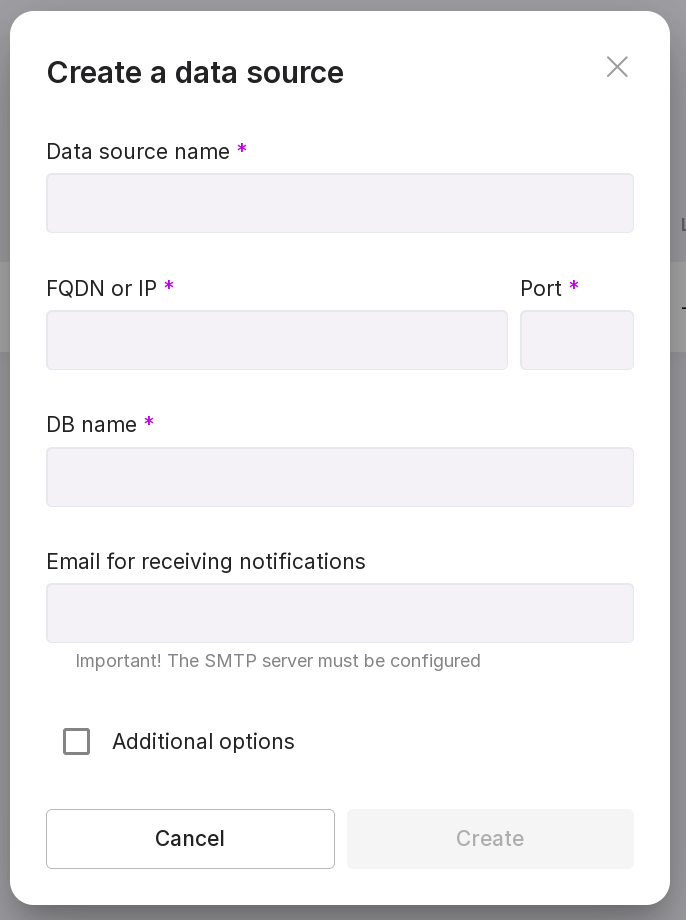
Fill in the following fields:
data source name,
FQDN or IP of the DB server,
port for connecting to the DB,
name of the DB,
Email for receiving notifications about events. Optional field. If filled, notifications about the following events will be sent to the specified address:
change of scanning, dump, or restore state to “Completed”;
change of scanning, dump, or restore state to “Error.”
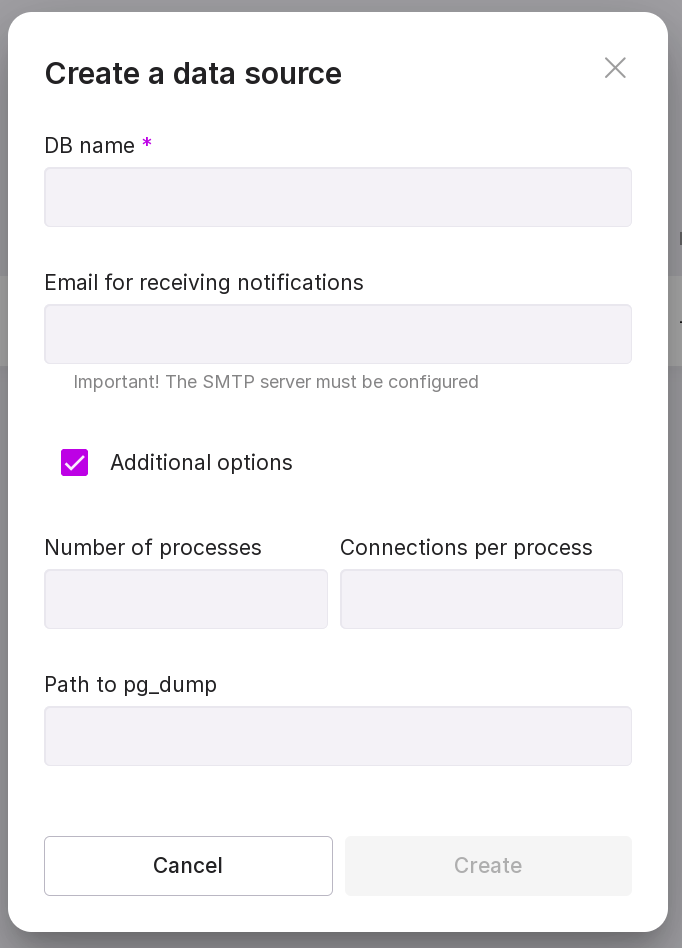
If necessary, add additional parameters that will speed up the data source scanning process:
number of processes performing operations in the DB;
number of connections to the DB for each process;
path to pg_dump — the PostgreSQL extension responsible for backing up the DBMS, which will create a dump of the original DB with anonymized data.
After filling in all the fields, click on “Save”.
Dictionaries
“Dictionaries” — a set of rules describing where to look for specific information in the database.
There are three types of dictionaries:
Sensitive — rules describing where confidential data is located in the DB.
Non-sensitive — rules describing where confidential data is not located in the DB.
Meta-dictionaries are rules that do not describe where exactly the secret data is located, but roughly describe the type and content of data that may be such. You can use a pre-installed meta-dictionary or create a custom one based on it.
In addition to information on the content of fields and descriptions of fields containing confidential or non-confidential data, dictionaries contain anonymization functions that describe the rules of the data anonymization process (functions can be viewed here).
Dictionaries are needed for pg_anon to find the area of the database that needs to be anonymized and to anonymize it in the way required by the user. To perform the anonymization procedure, the pg_anon extension only needs a sensitive dictionary for the specific database. A sensitive dictionary can be created using the scanning process, which requires a set of general rules — a meta-dictionary. To speed up the data anonymization process in the database using pg_anon, a non-sensitive dictionary can be created that describes the area of the database to which pg_anon will not apply anonymization functions from the sensitive dictionary.
Dictionaries can be managed on the “Dictionaries” tab, which contains a list of all pre-installed and created dictionaries and information on them:
dictionary name;
type: pre-installed or custom;
scanning process state;
variant or type of dictionary: sensitive, non-sensitive, and meta-dictionary;
username of the person who created the dictionary;
date and time of the last changes to the dictionary.
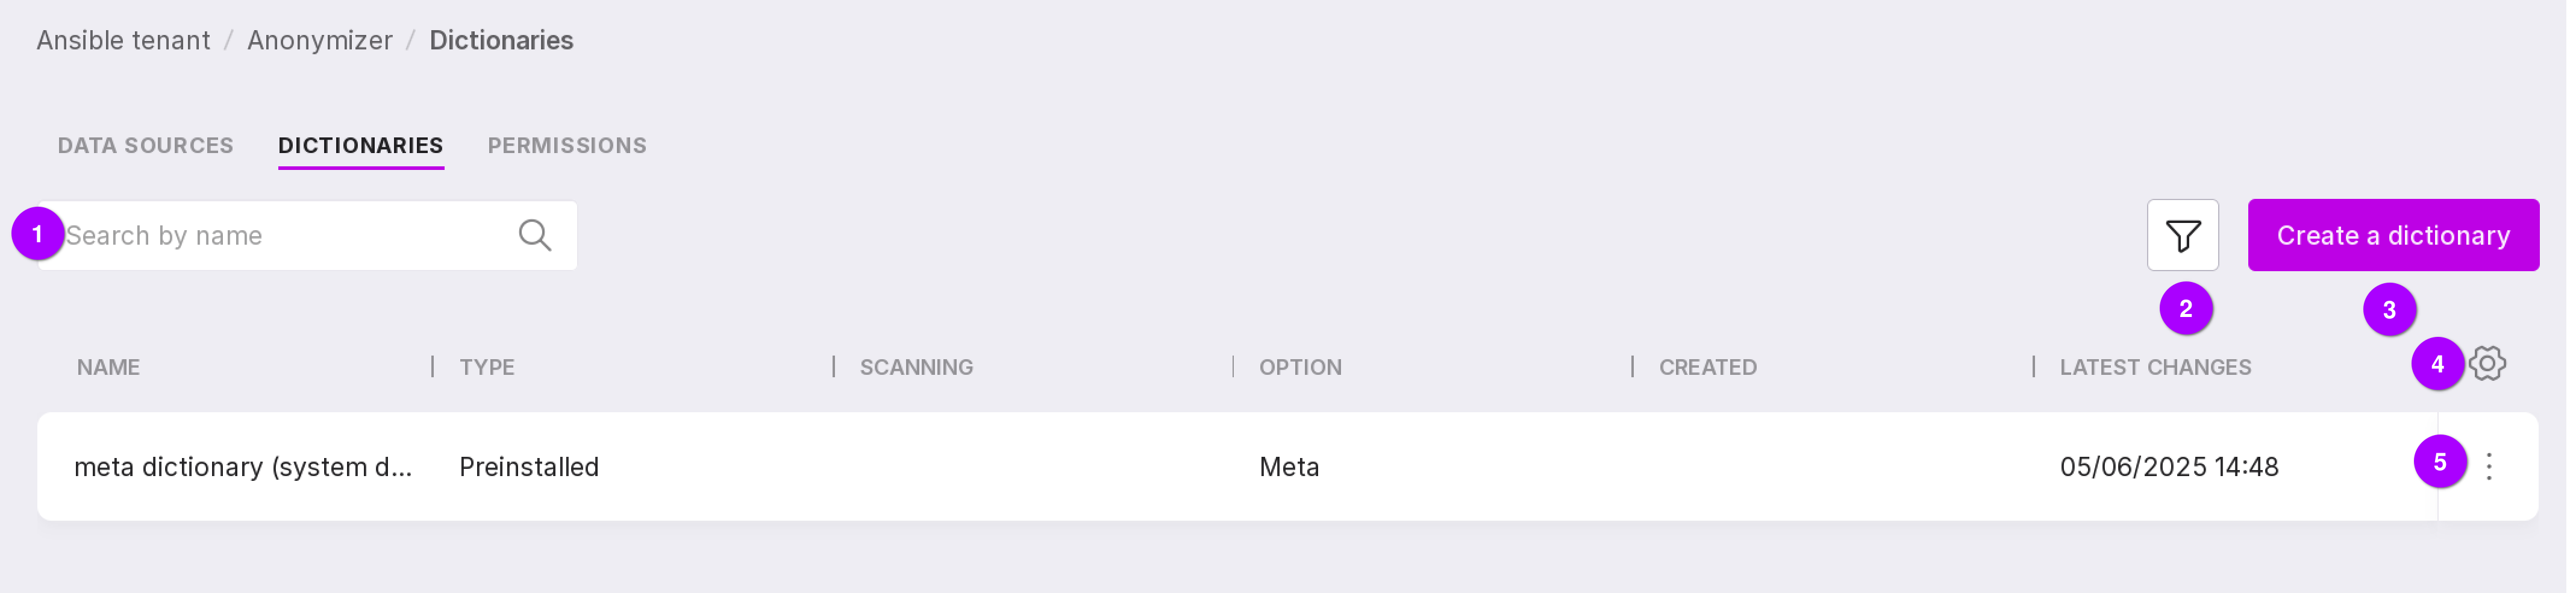
Let’s review the information on the tab:
Search bar, with which dictionaries can be searched by name.
Dictionaries can be filtered by the following parameters:
type: pre-installed or custom;
variant: sensitive, non-sensitive, or meta.
Table configuration button. With its help, you can customize the appearance of the table yourself.
Using the dictionary menu, you can:
open the dictionary to view and edit existing rules or add new ones;
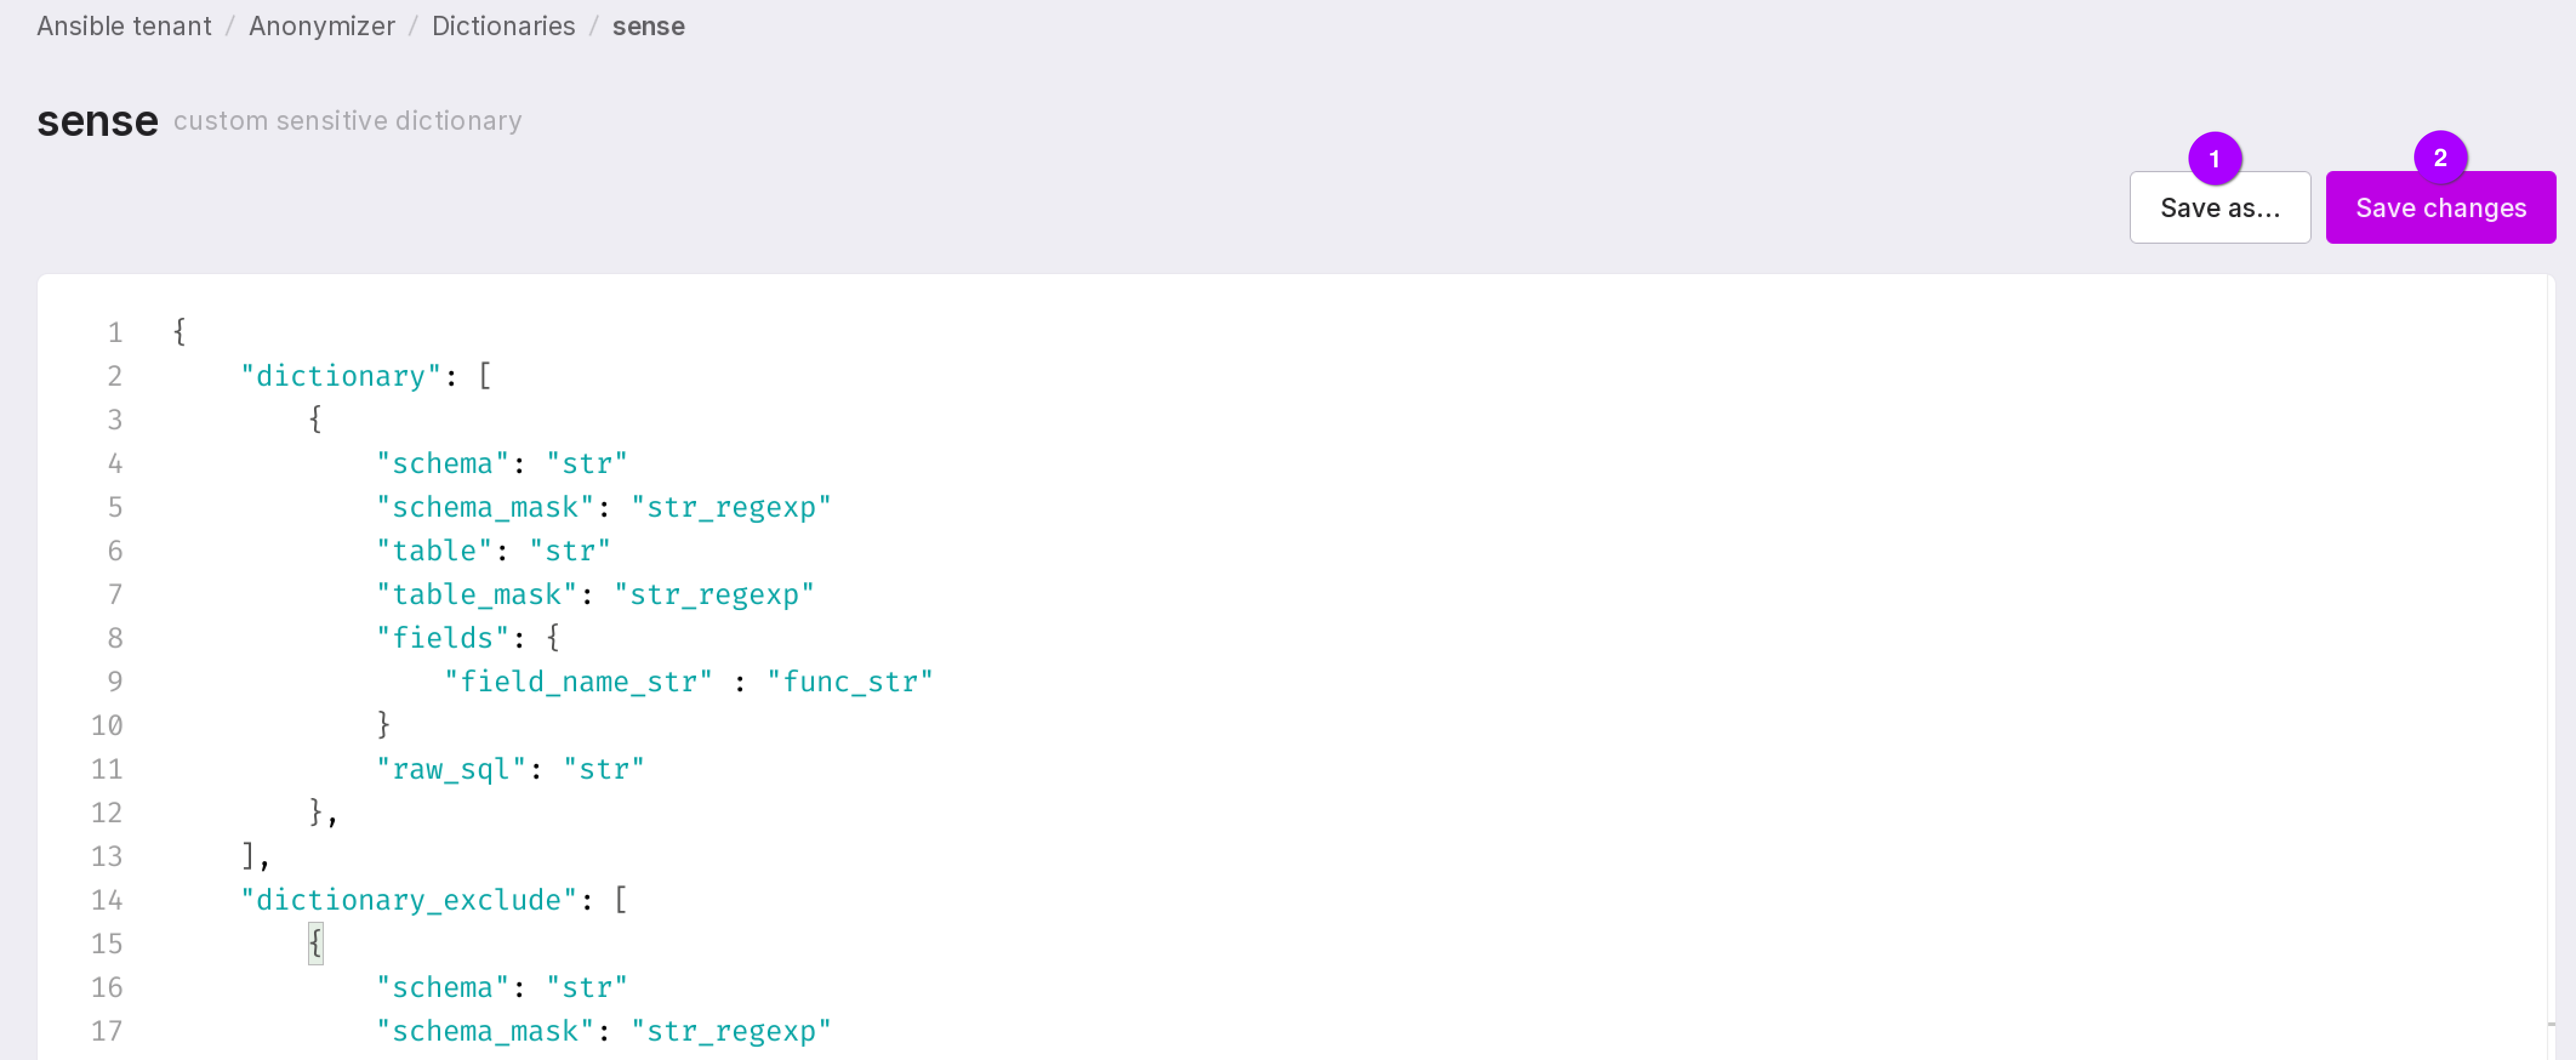
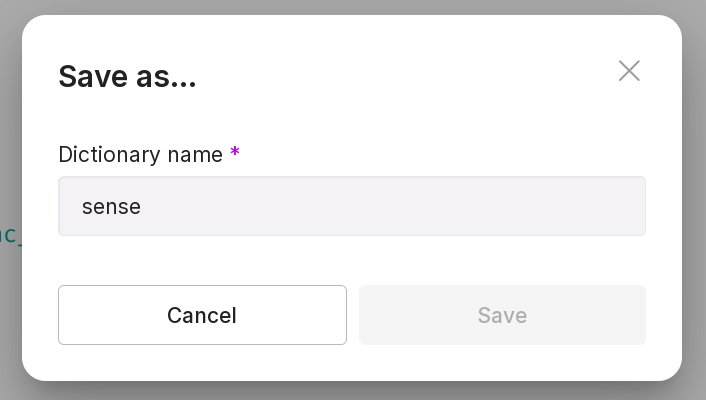
The “Save As…” button (number 1 in the figure above) creates a new dictionary with the same code. Using the “Save Changes” button (number 2 in the figure above), you can save the modified dictionary code.
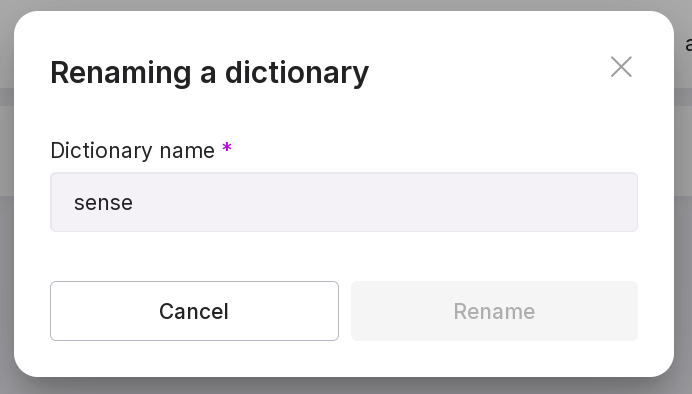
Rename dictionary — only a custom dictionary can be renamed.
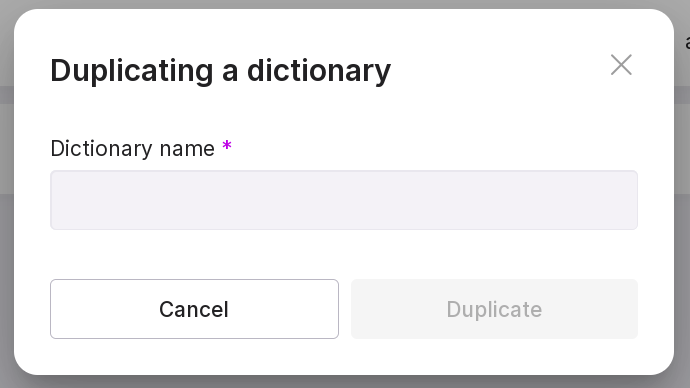
duplicate the dictionary — create a new dictionary based on the given one;
Delete dictionary — only a custom dictionary can be deleted.
There is one pre-installed meta-dictionary on the page — Universal. It can be used if you do not have dictionaries for anonymization. Using this dictionary, a necessary sensitive dictionary for anonymization will be created after scanning.
A sensitive or meta-dictionary can be created manually. A non-sensitive dictionary cannot be created — it only appears as a result of scanning.
Creating a dictionary
To add a dictionary, click “Create Dictionary”.
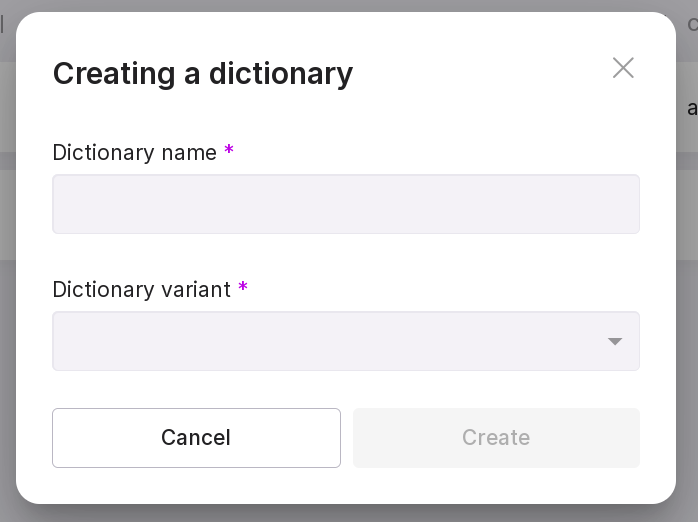
In the pop-up modal window, fill in:
dictionary name;
dictionary option — sensitive or meta-dictionary.
Meta Dictionary Structure
Below is the structure of the meta dictionary with field descriptions:
{
    "field": {          # Use this section to identify sensitive fields by name, without scanning their actual data content.
        "rules": [      # A list of regular expressions to match field names.
             "<field_name_regex: string>",
        ],
        "constants": [  # A list of exact field names to be matched.
            "<field_name: string>",
        ]
    },
    "skip_rules": [  # A list of schemas, tables, and fields to exclude from scanning.
        {
            # The specified schemas, tables, and fields will be excluded from scanning. This is useful when large schemas known to contain no sensitive data exist in the database.
            "schema": "<schema_name: string>",             # Use to skip schemas by exact name match. Cannot be used together with "schema_mask".
            "schema_mask": "<schema_regex_mask: string>",  # Use to skip schemas whose names match the given regular expression. Cannot be used together with "schema".
            # Exactly one of "schema" or "schema_mask" must be specified.
            "table": "<table_name: string>",               # Optional. Use to skip tables by exact name match.
            "table_mask": "<table_regex_mask: string>",    # Optional. Use to skip tables whose names match the given regular expression.
            # If neither "table" nor "table_mask" is specified, the entire schema will be skipped.
            "fields": [                       # Use to skip specific fields within a table. If omitted, the entire table will be skipped.
                "<field_name: string>"
            ]
        }
    ],
    "include_rules": [ # A list of schemas, tables, and fields to be explicitly included in scanning.
        {
            # Use this section when you need to scan specific schemas, tables, or fields, or when debugging functionality on a particular field.
            "schema": "<schema_name: string>",             # Use to include schemas by exact name match. Cannot be used together with "schema_mask".
            "schema_mask": "<schema_regex_mask: string>",  # Use to include schemas whose names match the given regular expression. Cannot be used together with "schema".
            # Exactly one of "schema" or "schema_mask" must be specified.
            "table": "<table_name: string>",               # Optional. Use to include tables by exact name match.
            "table_mask": "<table_regex_mask: string>",    # Optional. Use to include tables whose names match the given regular expression.
            # If neither "table" nor "table_mask" is specified, the entire schema will be scanned.
            "fields": [                                    # Use to scan specific fields within a table. If omitted, the entire table will be scanned.
                "<field_name: string>"
            ]
        }
    ],
    "data_regex": {  # A list of regular expressions used to detect sensitive data values.
        "rules": [
            """[A-Za-z0-9]+([._-][A-Za-z0-9]+)*@[A-Za-z0-9-]+(\.[A-Za-z]{2,})+""",  # email
            "^(7?\d{10})$",  # phone number in format 7XXXXXXXXXX
        ]
    },
    "data_const": {
        # A list of exact constants. If a field value exactly matches any entry here, the field will be marked as sensitive.
        "constants": [
            "<field_value_full: string>",
        ],
        # A list of partial (substring) constants. If a field value contains any of these substrings, it will be considered sensitive.
        "partial_constants": [
             "<field_value_partial: string>",
        ]
    },
    "data_func": { # A list of custom scanning and anonymization functions for specific field types.
        "<field_type: string>": [  # The field data type to which the following rules apply. Custom types are allowed. The special type "anyelement" can be used as a catch-all; its rules are appended after type-specific rules.
            {
                "scan_func": "<scan_function_for_field: string>",                # Scanning function for field values. Must have the signature: (value, schema_name, table_name, field_name) and return a boolean.
                "anon_func": "<anonymization_rule_template_for_field: string>",  # Anonymization rule template. Must contain a %s placeholder for the field name.
                "n_count": "<how_many_checks_must_be_passed: integer>",          # The number of times "scan_func" must return True for values in a field before anonymization is applied via "anon_func".
            },
        ],
    },
    "data_sql_condition": [ # A list of custom SQL WHERE clauses for limiting data sampling during scanning.
        {
            "schema": "<schema_name: string>",             # Use to apply conditions to schemas by exact name match. Cannot be used together with "schema_mask".
            "schema_mask": "<schema_regex_mask: string>",  # Use to apply conditions to schemas matching the given regular expression. Cannot be used together with "schema".
            # Specifying either "schema" or "schema_mask" is obligatory.
            "table": "<table_name: string>",               # Optional. Use to apply conditions to tables by exact name match.
            "table_mask": "<table_regex_mask: string>",    # Optional. Use to apply conditions to tables matching the given regular expression.
            "sql_condition": # A raw SQL WHERE clause. You need to specify an SQL condition for the `WHERE` clause. For example, to select data created by the year 2024::
                """
                WHERE created > '2024-01-01' AND created < '2024-12-31'
                """
        }
    ],
    "sens_pg_types": [
        # A list of PostgreSQL data types to be scanned for sensitivity. If this array is empty, the following defaults are used: text, integer, bigint, character, json.
        "text",
        "integer",
        "bigint",
        "varchar",  # It's recommended to use short type names, as the scanner performs substring matching against the full type name. For example, "varchar(3)" contains "varchar", so it will be included.
        "json"
    ],
    "funcs": {  # Mapping of data types to anonymization functions.
        # When a sensitive field is detected, the corresponding anonymization function from this section (based on the field's type) will be applied.
        "<field_type: string>": "<anonymization_function_for_field_type: string>",
        # A default anonymization function can be specified for any type not explicitly listed.
        # If no default is configured, the following fallback will be used: "anon_funcs.digest(\"%s\", 'salt_word', 'md5')"
        "default": "<universal_anonymization_function_for_all_field_types: string>"
    }
}
Sensitive Dictionary Structure
Below is the structure of the sensitive dictionary with field descriptions:
{
    "dictionary": [ // List of anonymization rules applied during data dump generation
        {
            "schema": "<schema_name: string>",       // Table schema
            "table": "<table_name: string>",         // Table name
            "fields": {                              // Fields to be anonymized. All other fields will remain unchanged.
                "<field_name: string>": "<anonymization_rule_for_field: string>",
            },
            "sql_condition":                         // Optional. A raw SQL WHERE clause to filter rows during data export.
                """
                <raw_SQL_WHERE_condition: string>
                """
        }
    ],
    // Optional section. Used to exclude specific schemas and tables from the data dump.
    // Note: If a table is listed in both "dictionary_exclude" and "dictionary", it will still be included in the dump.
    "dictionary_exclude": [
        {
            "schema": "<schema_name: string>",             // Exclude schemas by exact name match. Cannot be used together with "schema_mask".
            "schema_mask": "<schema_regex_mask: string>",  // Exclude schemas whose names match the specified regular expression. Cannot be used together with "schema".
            // Exactly one of "schema" or "schema_mask" must be specified.
            "table": "<table_name: string>",               // Exclude tables by exact name match. Cannot be used together with "table_mask".
            "table_mask": "<table_regex_mask: string>",    // Exclude tables whose names match the specified regular expression. Cannot be used together with "table".
            // Exactly one of "table" or "table_mask" must be specified.
        }
    ]
}
Scanning
“Scanning” (“reconnaissance”) — the process of searching for sensitive information in the source database. This step can be skipped if you already have the necessary sensitive dictionary. Scanning should be initiated in the following cases:
you do not have a sensitive dictionary;
you have a sensitive dictionary, but you want to improve it or create a new one based on it;
you want to obtain a non-sensitive dictionary to speed up the anonymization process.
Accordingly, a meta-dictionary must always be provided as input for scanning, while providing all other dictionaries is optional and depends on the situations mentioned above.
You can manage the scanning on the “Scanning” tab. To go to this tab, click on the line of a specific data source and navigate to the “Scanning” tab.
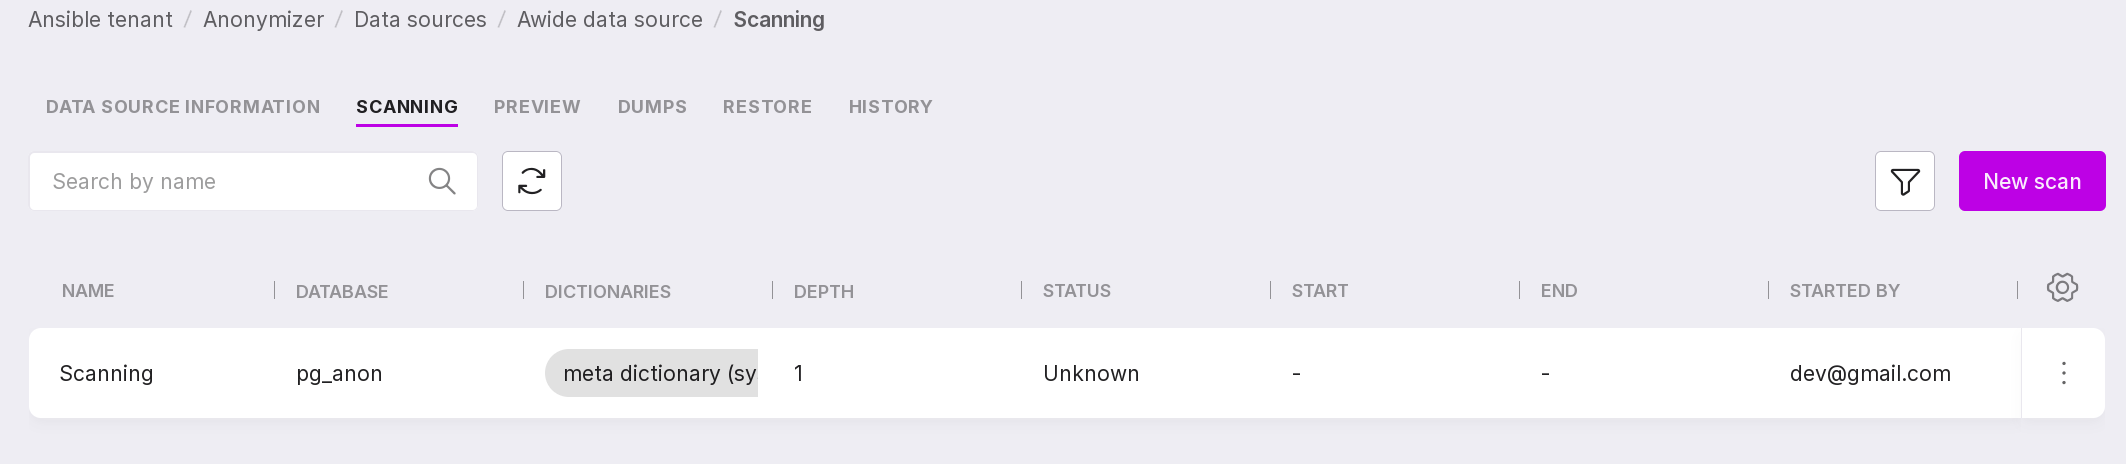
This page contains a list of ongoing scans for the selected data source and information on them:
scan name;
scanned database;
dictionaries used during the scan;
scan depth;
scan process state:
Unknown,
Completed,
Error,
In progress,
Starting.
date and time of the scan start;
date and time of the scan process completion;
email of the user who started the scan.
To start a scan, click “Add Scan” in the center of the page or “New Scan” in the upper right corner if there are already scans on the page, and go through the scan process setup wizard:
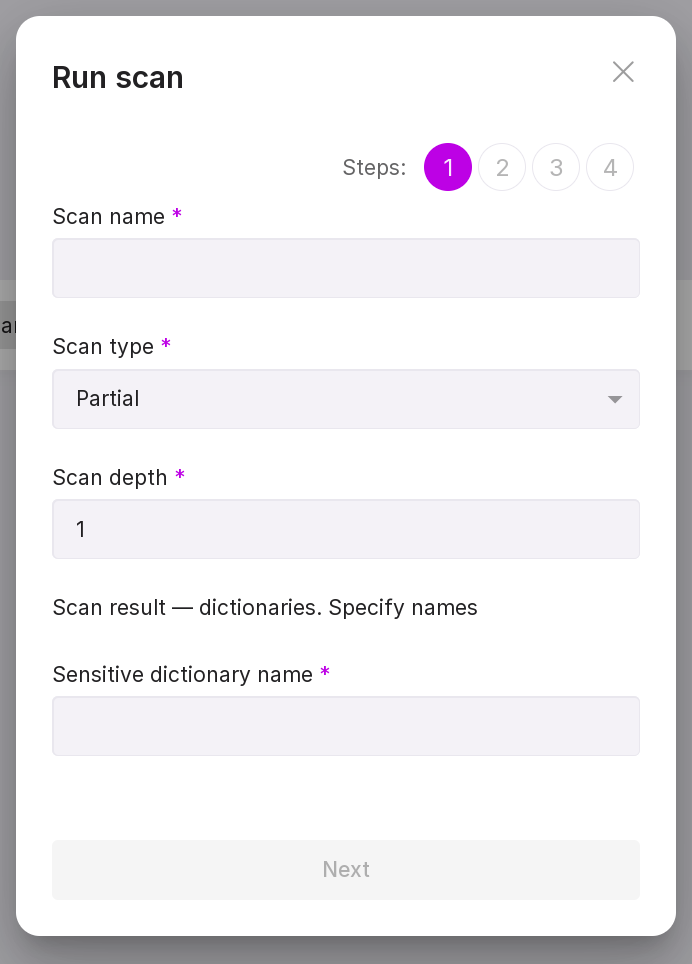
“Step 1:”
Enter the scan name.
Select the scan type: partial or full. The partial type is suitable if you already have a non-sensitive dictionary describing which part of the database does not need to be scanned. If there is no non-sensitive dictionary, you will need to scan the entire database.
Specify the scan depth — the number of rows at which one rule from the dictionary should trigger. The scan depth is filled in if you have selected the partial scan type.
Enter the name of the sensitive dictionary that will result from the scan.
Enter the name of the non-sensitive dictionary that will result from the scan (if needed).
“Step 2:”
Select a meta-dictionary for scanning.

“Step 3 (optional):”
Select a sensitive dictionary for scanning.

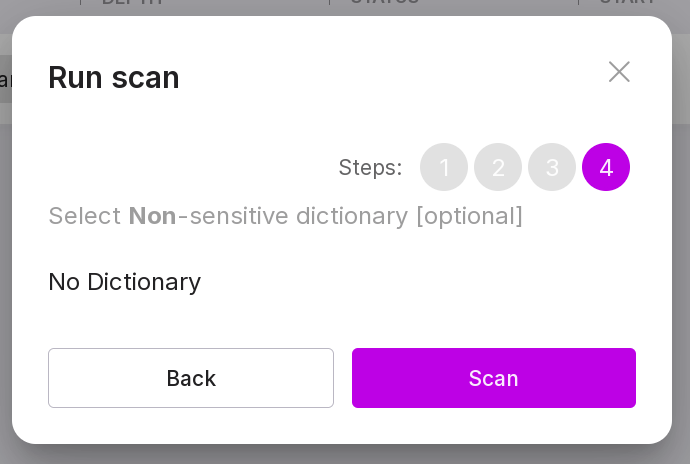
“Step 4 (optional):”
Select a non-sensitive dictionary for scanning.
Note
If the scan could not be started, it is possible that pg_anon does not have permission to connect to the data source via tcp/ip connection.
To check this, look at the contents of the pg_hba.conf file:
cat /var/lib/pgsql/data/pg_hba.conf
The output should contain the following line (instead of “xxx.xxx.xxx.xxx” there should be the IP address of the server where the data source is located, and instead of “yy” — the network mask):
host all all xxx.xxx.xxx.xxx/yy scram-sha-256
If it is not there, edit the pg_hba.conf file with the following command, replacing “xxx.xxx.xxx.xxx” with the required IP and “yy” with the network mask:
echo 'host all all xxx.xxx.xxx.xxx/yy scram-sha-256' >> /var/lib/pgsql/data/pg_hba.conf
Let’s review the information on the page:
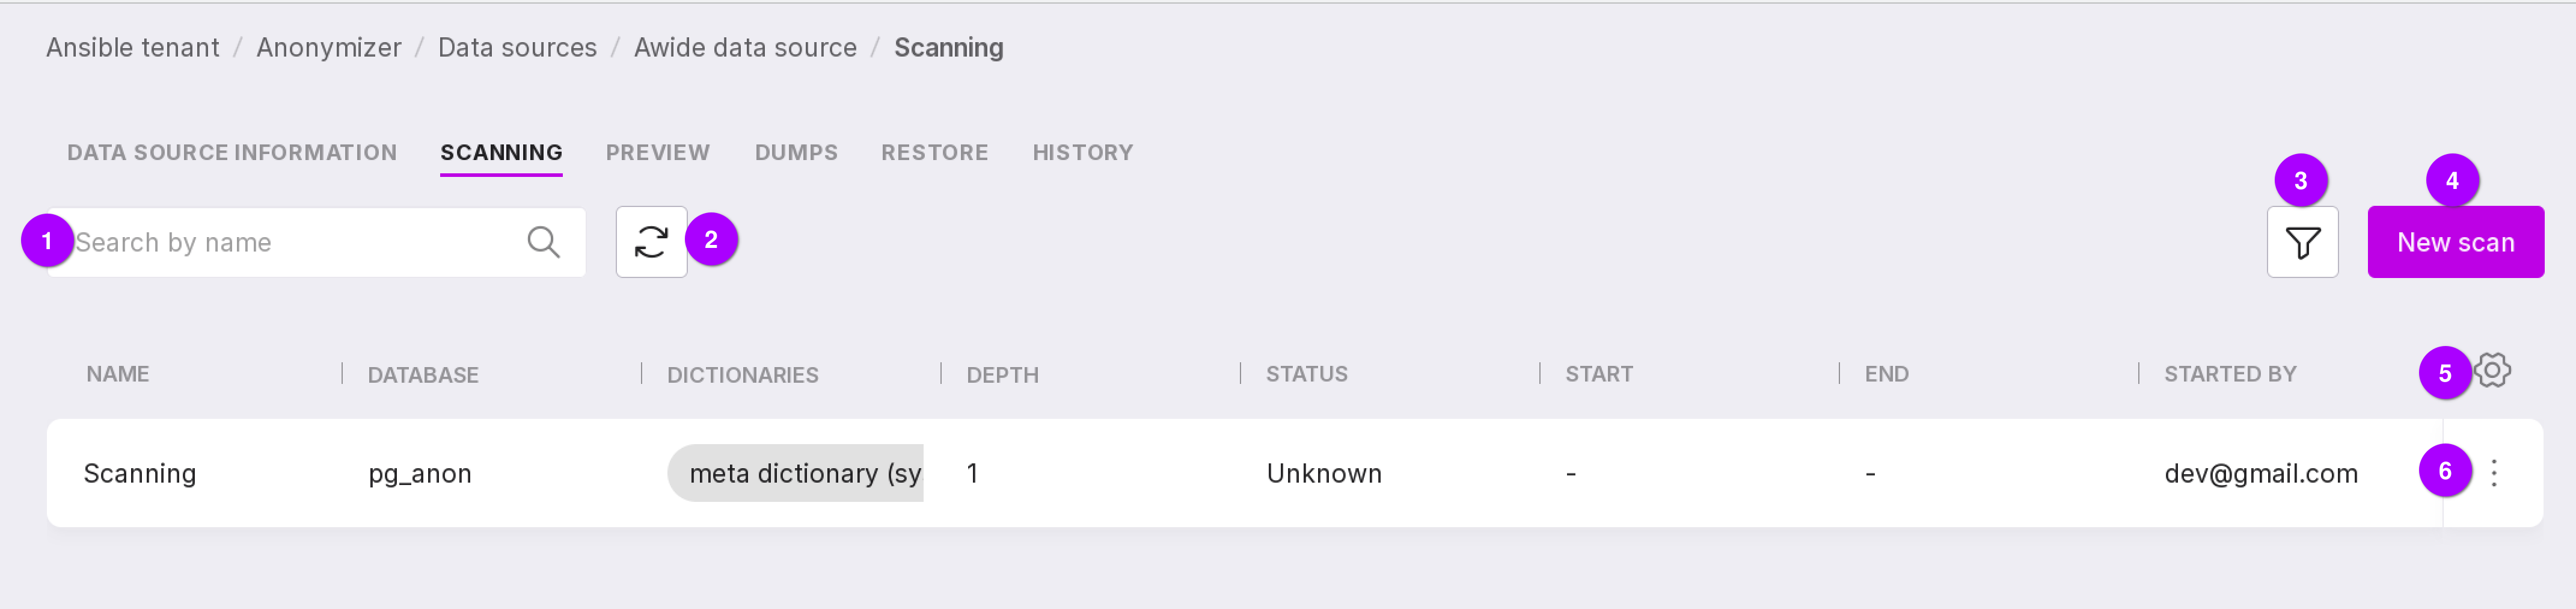
Search bar that allows scanning by name.
Refresh button for quickly viewing the results of changes.
Filter by scan state:
Unknown,
Completed,
Error,
In progress,
Starting.
Create a new scan button.
Table configuration button. With its help, you can customize the appearance of the table yourself.
Using the scanning menu, you can:
start a scan;
Note
A scan can be started if the scan state is “Error” or “Unknown.”
view dictionaries that are the result of the scan;
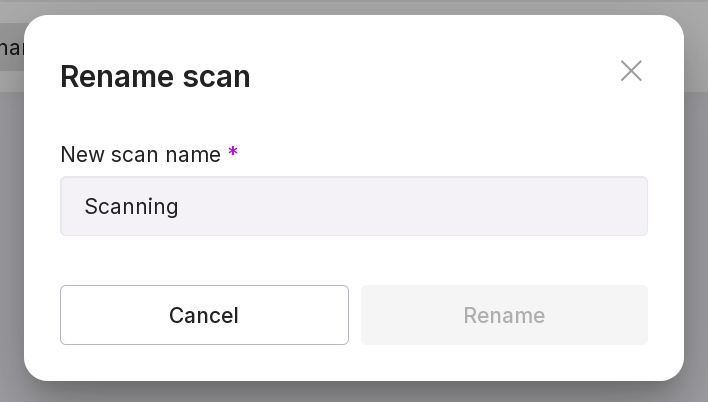
rename the scan;
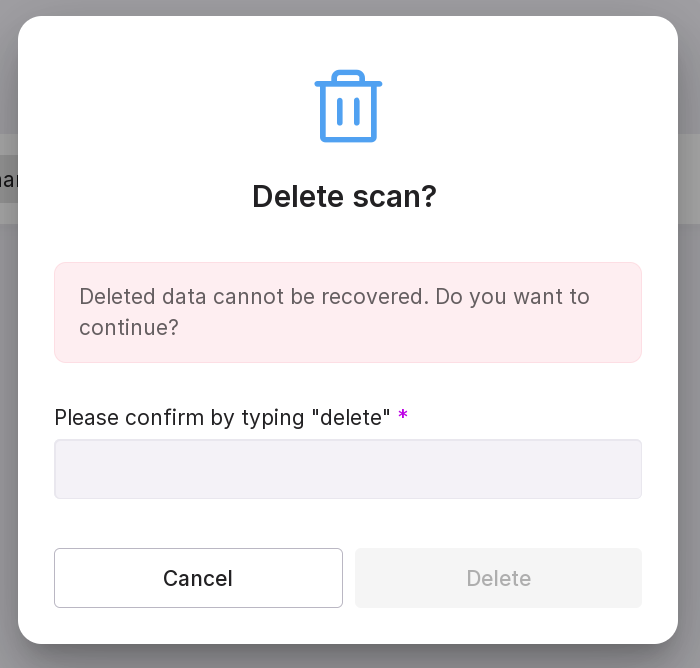
delete the scan.
Previews
After creating the necessary sensitive dictionaries, the anonymization functions from these dictionaries are applied to the sensitive data in the database. To see how these functions will be applied, you can make a “preview”. This step is not mandatory in the anonymization process; it is needed so you can check the correctness of the process and reconfigure it if necessary.
On the “Preview” tab, you can see the result of the applied functions to the sensitive parts of the selected database and information on these previews:
name of the preview;
the name of the database in which anonymization was performed;
dictionaries used for this anonymization process.
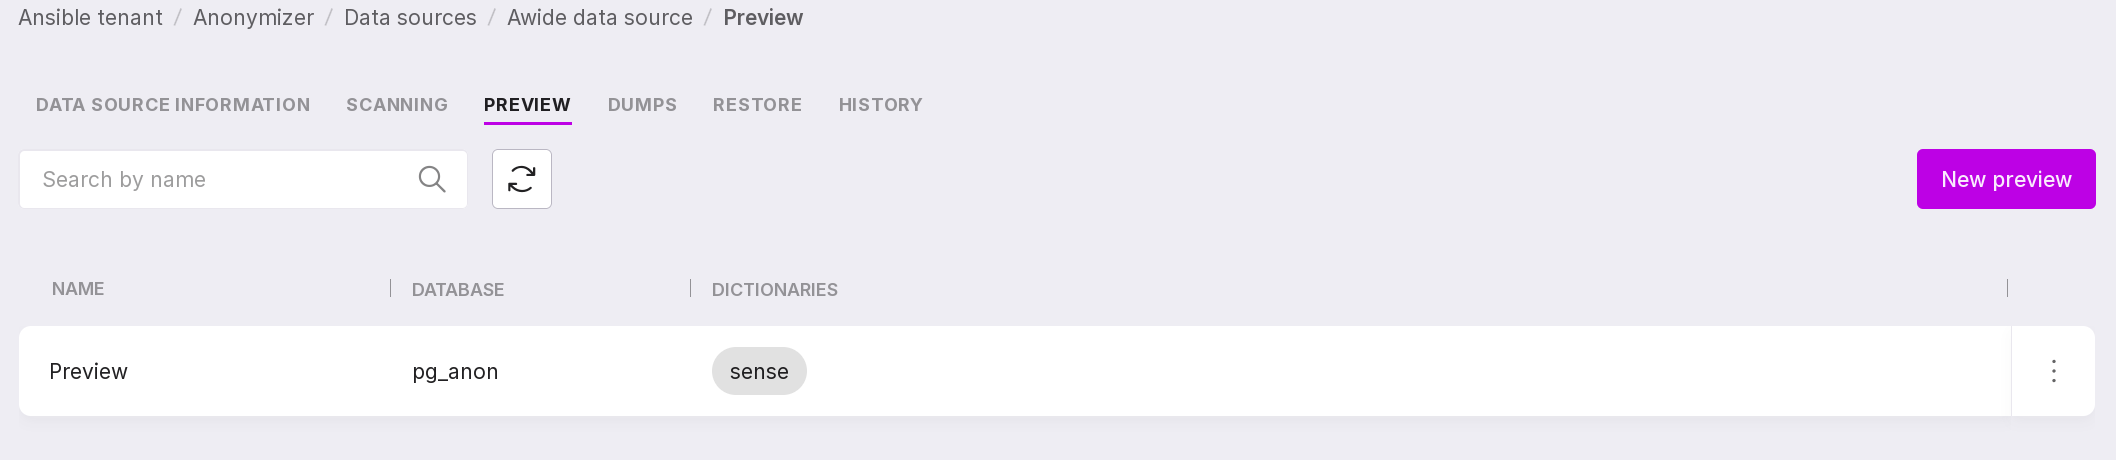
To create a preview, click “Add Preview” in the center of the page or “New Preview” if there are already previews on the page.
In the opened window, specify the name of the preview and select the dictionary that will be used for anonymization.

Note
If your database has many tables, not all tables may be displayed in the preview. This is due to the limitation of displaying no more than 5000 fields. The limitation helps the anonymizer work faster and also simplifies the search for the necessary information.
Let’s review the information on the page:
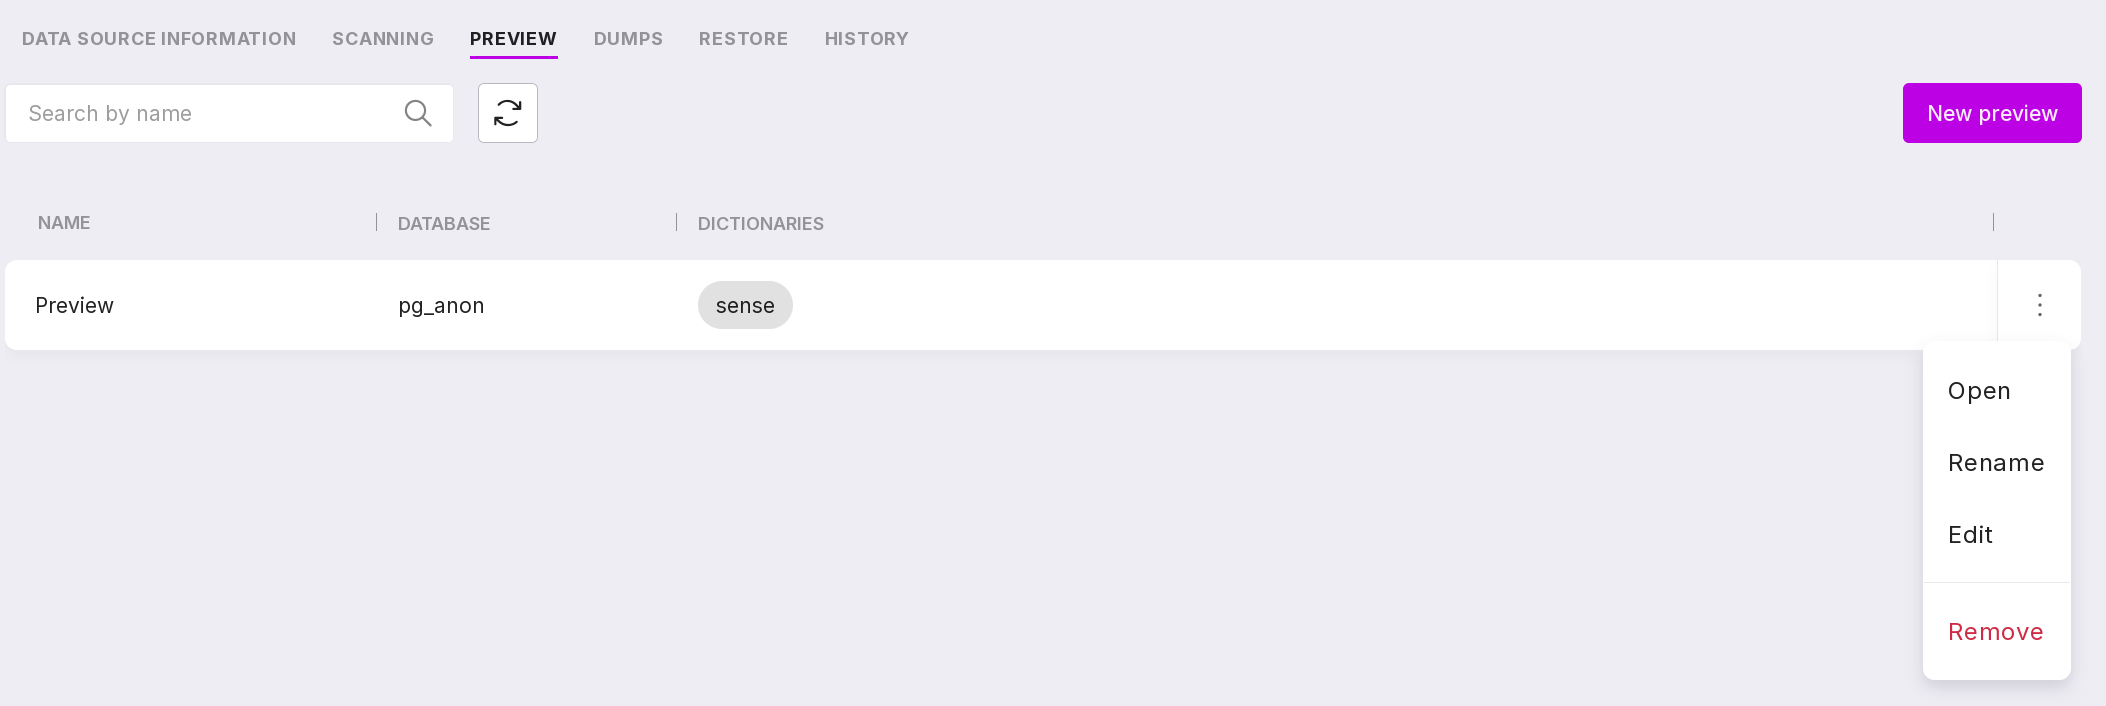
A search bar that allows you to search for previews by name.
Refresh button for quickly viewing the results of changes.
Create a new preview button.
Using the previews menu, you can:
connect to the database and view an example of sensitive data from the source database and an example of anonymized data from the target database in the database browser. This page can also be opened by clicking on the preview line. If you click on the dictionary, the contents of the used dictionary will open without the ability to edit;
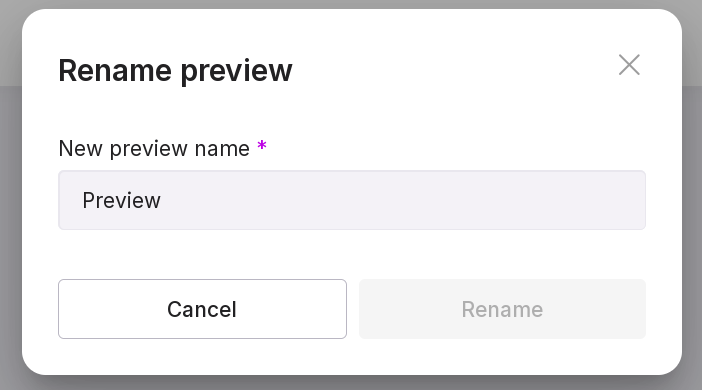
rename the preview;
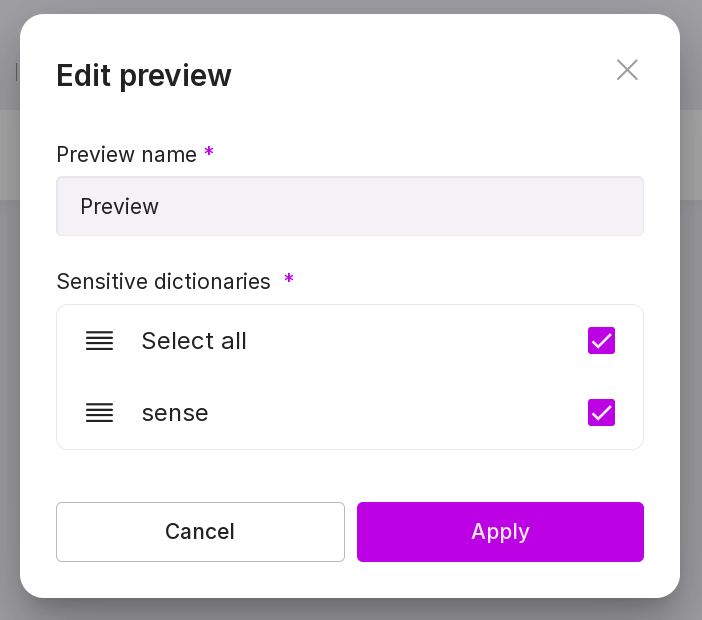
edit the preview — change its name or the dictionaries used;
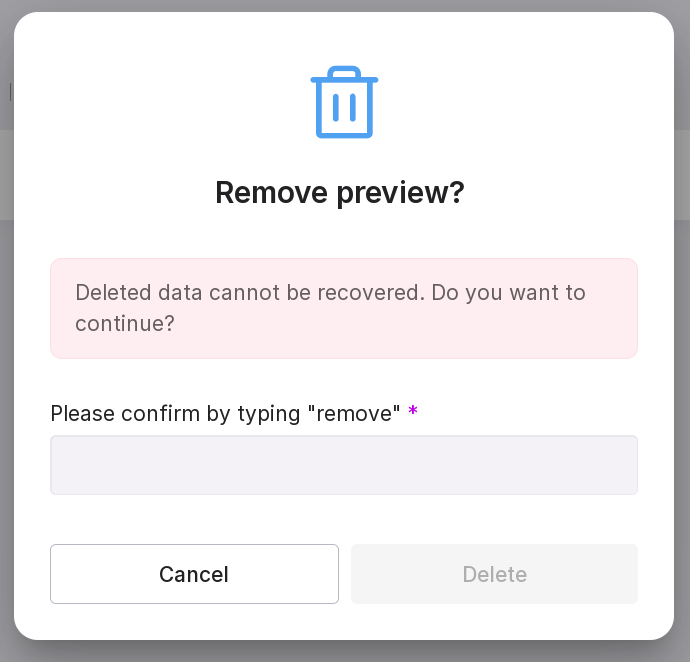
delete the preview.
Dumps
“DUMP” — a copy of the database with anonymized data, created after applying anonymization functions to the sensitive data of the database. A dump is the final result of the anonymization process, that is, the database in the form in which it can be transferred from the production environment to the testing and other environments without worrying about the leakage of confidential data.
Dumps can be managed on the “Dumps” tab.

This tab contains a list of dumps created for the selected data source and information on them:
dump name;
source database name;
state of the dump creation process;
path to the dump;
size of the dump;
date and time when the dump creation started;
date and time when the dump creation ended;
email of the user who initiated the dump creation.
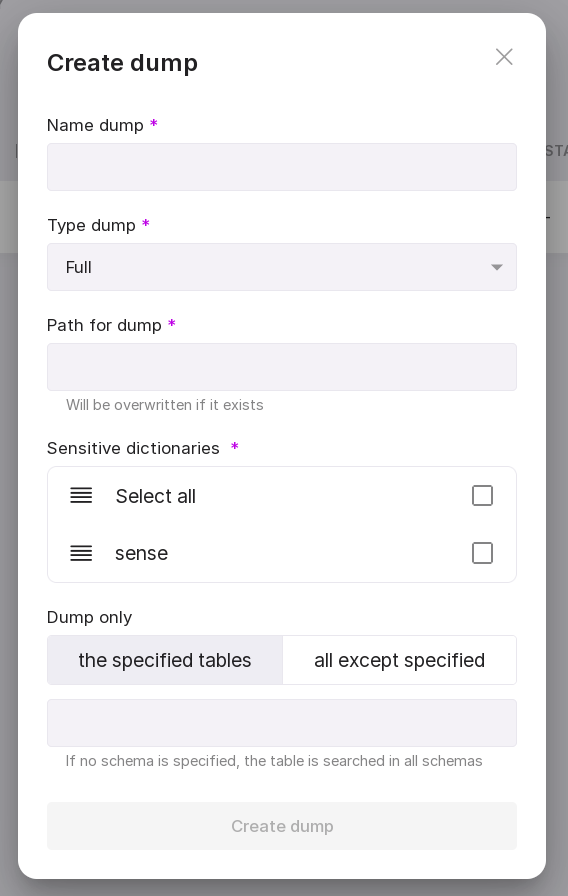
To start creating a new dump, click “Create Dump” in the center of the page or “New Dump” in the upper right corner if there are already other dumps on the page.
In the appeared modal window, enter:
dump name;
dump type: full, structure only, or data only;
path to the dump (default dump path is “/opt/awide/eco/pg_anon”);
sensitive dictionaries for creating the dump.
Let’s review the information on the page:

Search bar to search for dumps by name.
Refresh button for quickly viewing the results of page changes.
Filter by state:
Unknown,
Completed,
Error,
In progress,
Starting.
Button to create a new dump.
Table configuration button. With its help, you can customize the appearance of the table yourself.
Using the dump menu, you can:
enter connection data to the database and start the dump creation;
Note
You can start the dump creation if the dump creation state is “Error” or “Unknown.”
rename dump;

restore dump with state “Completed”;
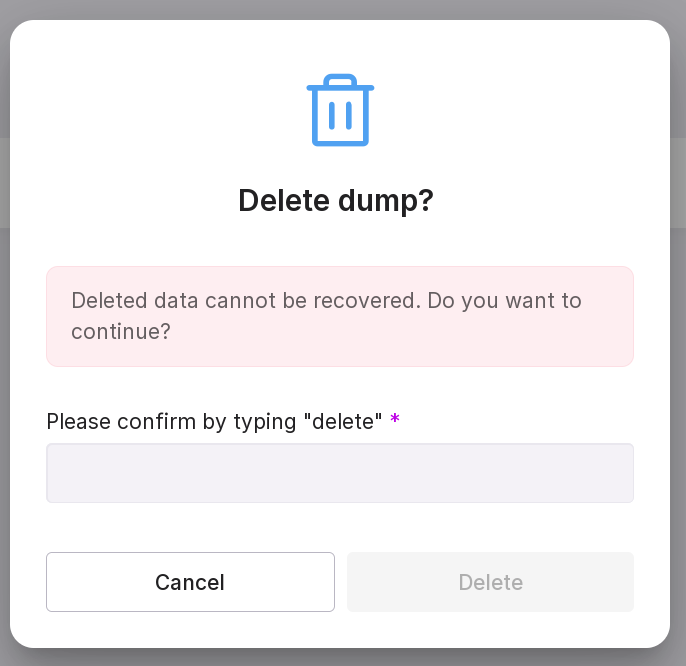
delete dump. In the opened window, type in “delete” in the text field. If you have not connected to the DB, provide the connection details.
Restoration
Dumps can be restored to the specified server.
Attention
Only dumps with state “Completed” can be restored.
To restore a dump, perform the following actions:
on the “Dumps” tab in the menu of the required dump, select “Restore”;
in the opened modal window, fill in the fields:
FQDN/IP of the DB server,
Port,
Database name,
Username,
Password.
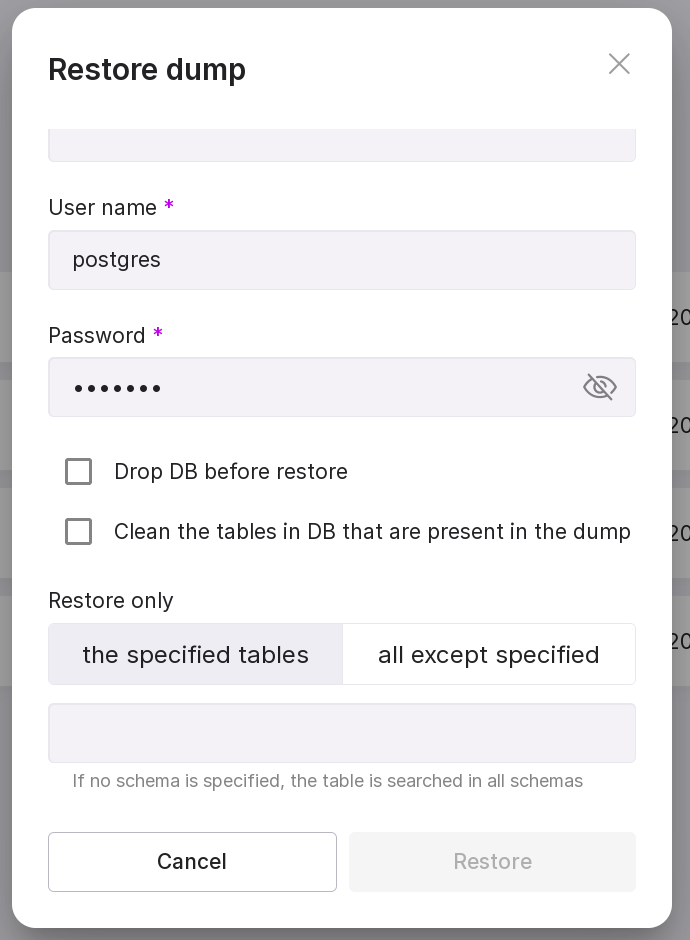
click “Restore”.
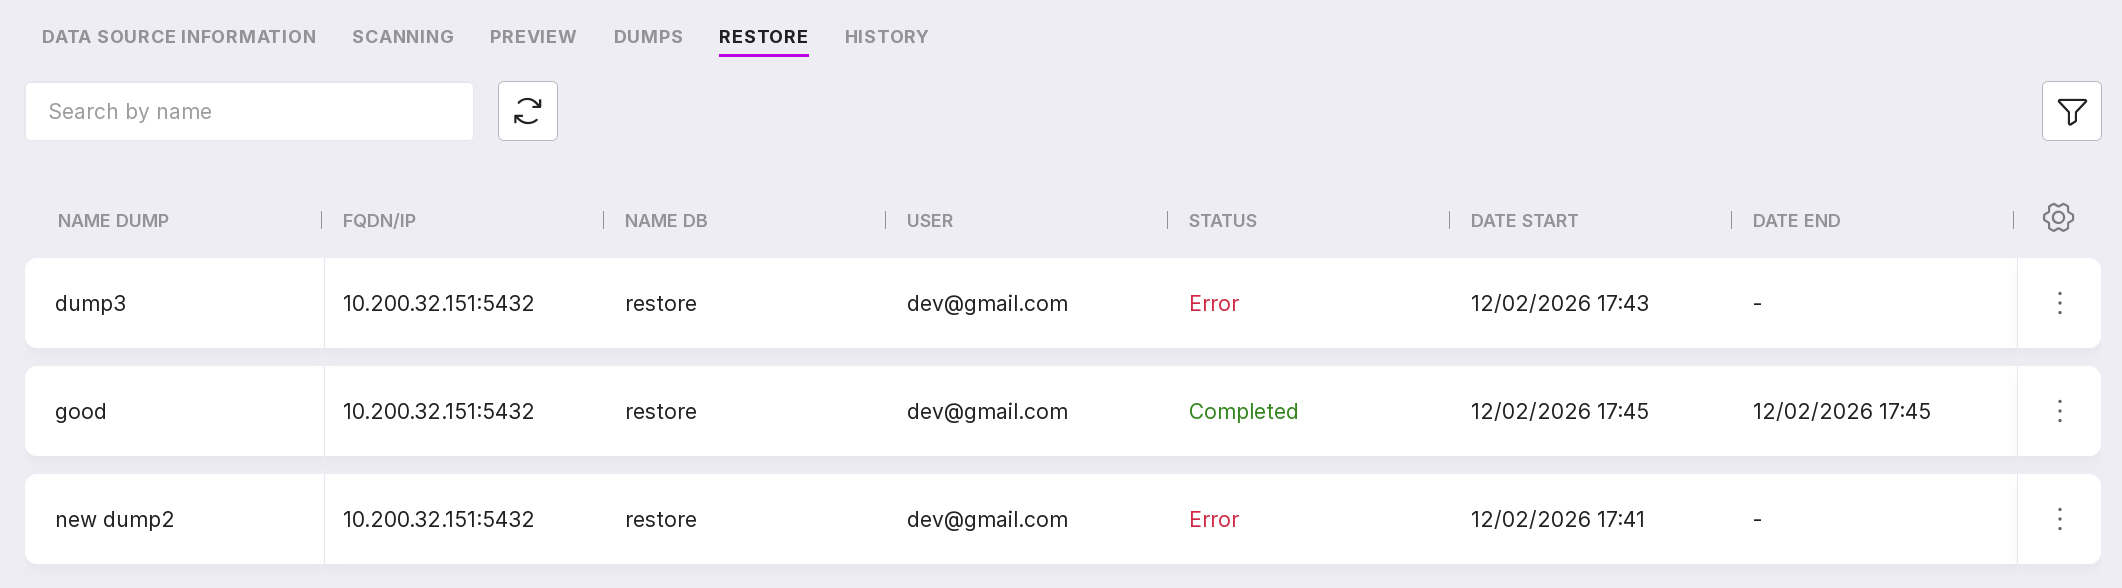
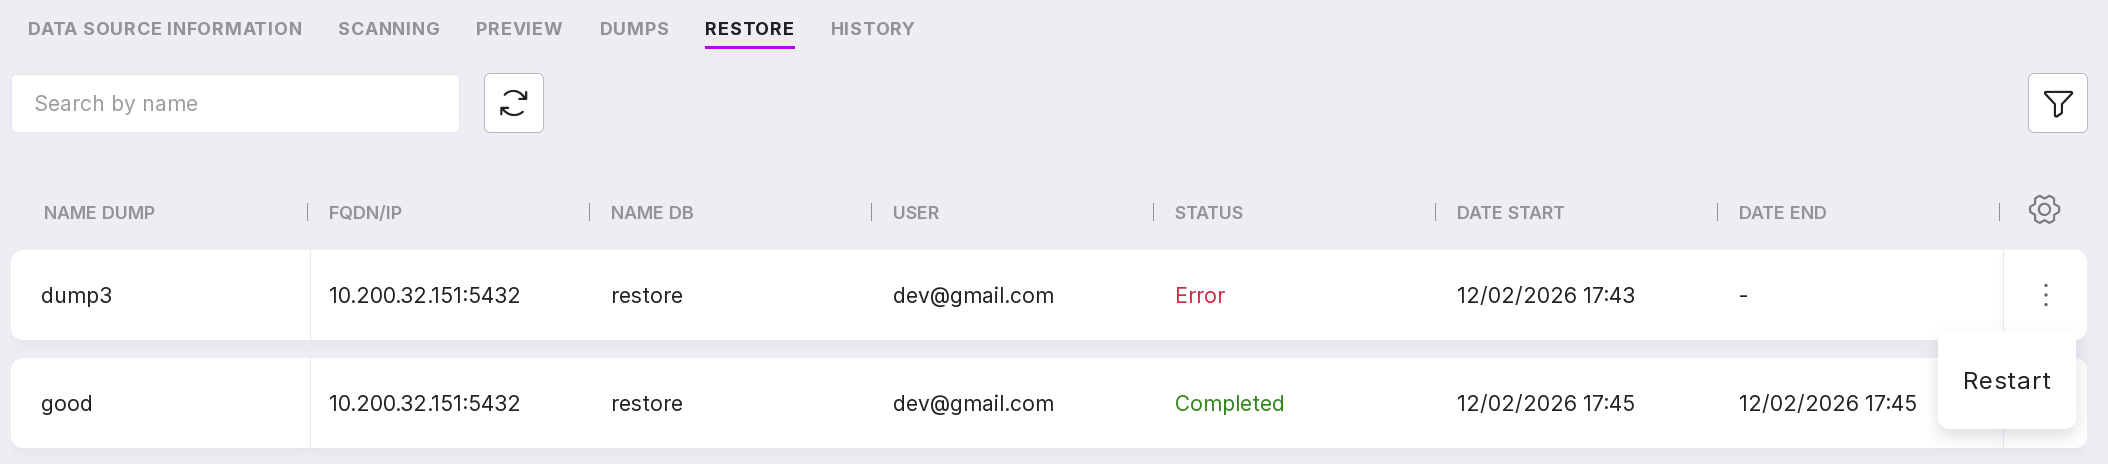
After restoration, detailed information will be displayed on the “Restores” tab:
dump name;
FQDN/IP;
database name;
email of the user who initiated the restoration;
restore state;
start date and time;
end date and time.
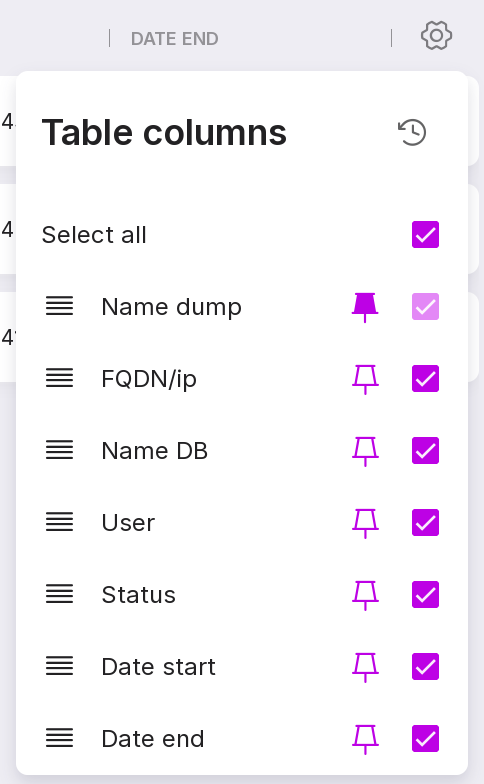
You can customize the appearance of the table yourself. To change the set and arrangement of the columns, click on the gear icon.
If an error occurred during the restoration of the dump, the restoration can be restarted on the ‘Restores’ tab. To do this, select ‘Restart’ from the menu of the required dump and enter the username and password in the opened modal window.

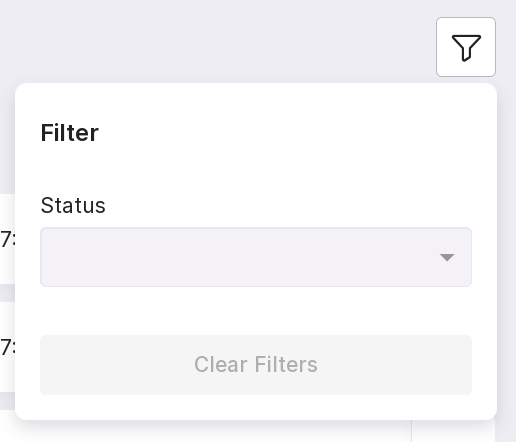
Restored dumps can be searched by name and filtered by state.
Work of pg_anon
pg_anon is based on Python3 and uses third-party libraries. The following tools are used:
PostgreSQL pg_dump tool for exporting the database structure,
PostgreSQL pg_restore tool for reproducing the database structure.
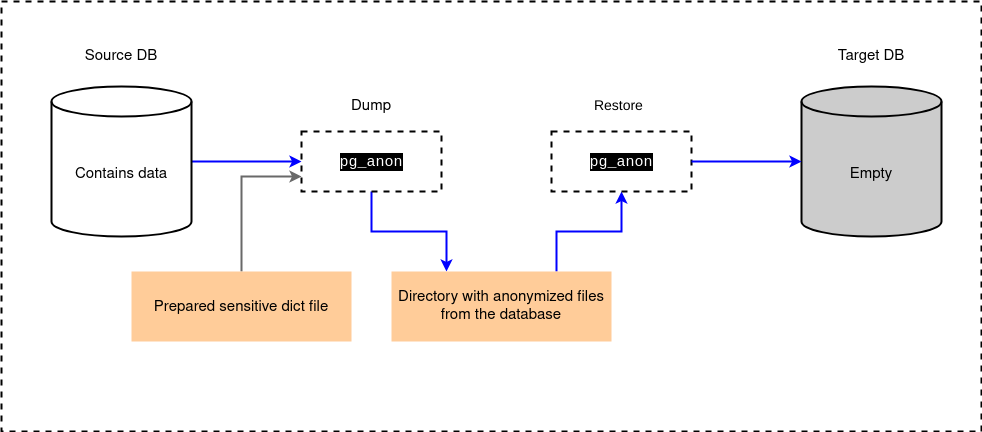
pg_anon can be launched by an administrator with connection permissions to the source database (source DB). Pg_anon performs a dump to the specified directory in the file system based on the dictionary. After that, the directory with files is transferred to the host of the target database (target DB). After placing the directory on the host, the restoration process is started under the credentials of the target DB. The target database shall be created in advance using the CREATE DATABASE command and must not contain any objects. If there are user tables in this database, the restore process will not start. When the restore is complete, the database will be ready for use, and employees will be able to connect to the database without the risk of sensitive data leakage.
The diagram below shows the process of transferring data from the source database to the target database.
In Platform, you can connect to the source database on the tab “Data Sources”.
Creating a dictionary
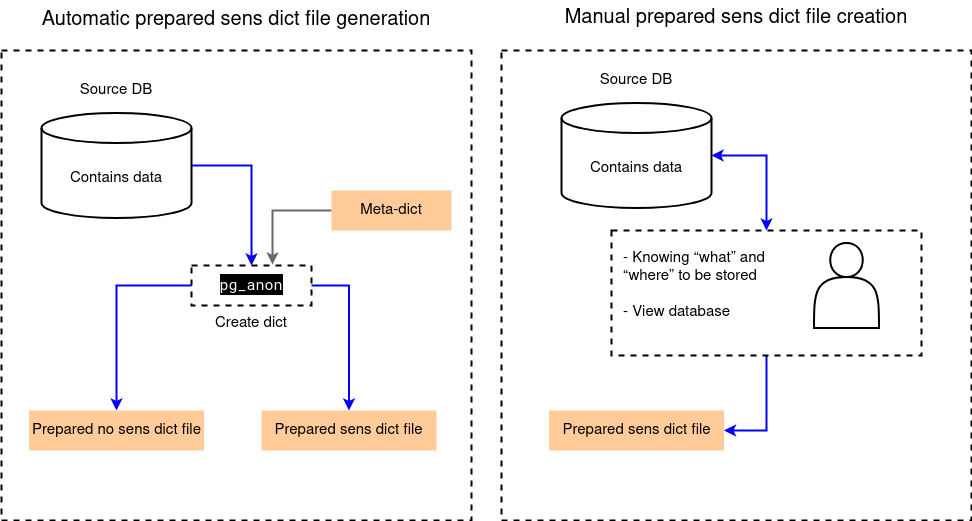
The dictionary on which pg_anon will operate can be created automatically or manually:
when the dictionary is created automatically, pg_anon runs in scanning mode of the source database and uses a meta-dictionary. During scanning, field names are checked against specified masks, and the contents of fields are checked against a set of regular expressions. The speed of dictionary creation depends on the volume of rules set during the database scanning and the number of processes allocated for parallel scanning. During scanning, each row in the sample is checked against each rule.
when the dictionary is created manually, the administrator, who knows the structure of the source database, independently compiles the dictionary listing the fields containing sensitive data.
The diagram below shows both options for creating a dictionary.
In Platform, you can create a new dictionary and view existing ones on the tab “Dictionaries”. Scanning can be started on the tab “Scanning” on the page of the required data source.
The operation of pg_anon during dump and restore
Below is a simplified process of pg_anon operation.
First, it is necessary to create a dump with masked data:
The dump of information from the source database is created in a separate file without masking.
Data masking from the source database is initiated.
The dump of information from the source database is created in a separate file with masking.
After this, the dump with masked data needs to be restored:
The target database is created.
Data from the dump file of information from the source database is loaded into the target database.
In Platform, you can start creating a new dump or restoring an existing one on the tab “Dumps” on the data source page.
pg_anon modes, dump and restore
pg_anon operates in the following modes:
init — creates the anon_funcs schema with anonymization functions.
create-dict — scans the database data and creates a prepared dictionary file with sensitive data with an anonymization profile and a prepared dictionary file without sensitive data to speed up subsequent operations in create-dict mode.
view-fields — displays a table with fields that will be anonymized and the rules used in the process. The table contains fields schema, table, field, type, dict_file_name, rule, based on the prepared sensitive dictionary.
view-data — shows the adjusted table with the applied anonymization rules from the prepared sensitive dictionary file.
dump — creates a dump of the database structure using the Postgres pg_dump tool, and data dumps using COPY … queries with anonymization functions. When dumping, data is saved locally in .bin.gz format. At this stage, data is anonymized on the database side using anon_funcs.
restore — restores the database structure using the Postgres pg_restore tool and transfers data from the dump to the target database. The mode can separately restore the database structure or the data itself.
sync-struct-dump — creates a dump of the database structure using the Postgres pg_dump tool.
sync-data-dump — creates a dump of the database data using COPY … queries with anonymization functions. When dumping, data is saved locally in .bin.gz format. At this stage, data is anonymized on the database side using anon_funcs.
sync-struct-restore — restores the database structure using the Postgres pg_restore tool.
sync-data-restore — restores the database data from the dump to the target database.
You can create a dump of three types:
data dump,
structure dump,
structure and data dump.
Each restore mode requires the corresponding dump to be performed. There are three restore modes:
data restore,
structure restore,
structure and data restore.