The “Instances” tab
Using the “Instances” tab, you can search for instances of the tenant namespace by namespaces and other characteristics.
The “Instances” tab shows the list of database instances for all tenant namespaces.
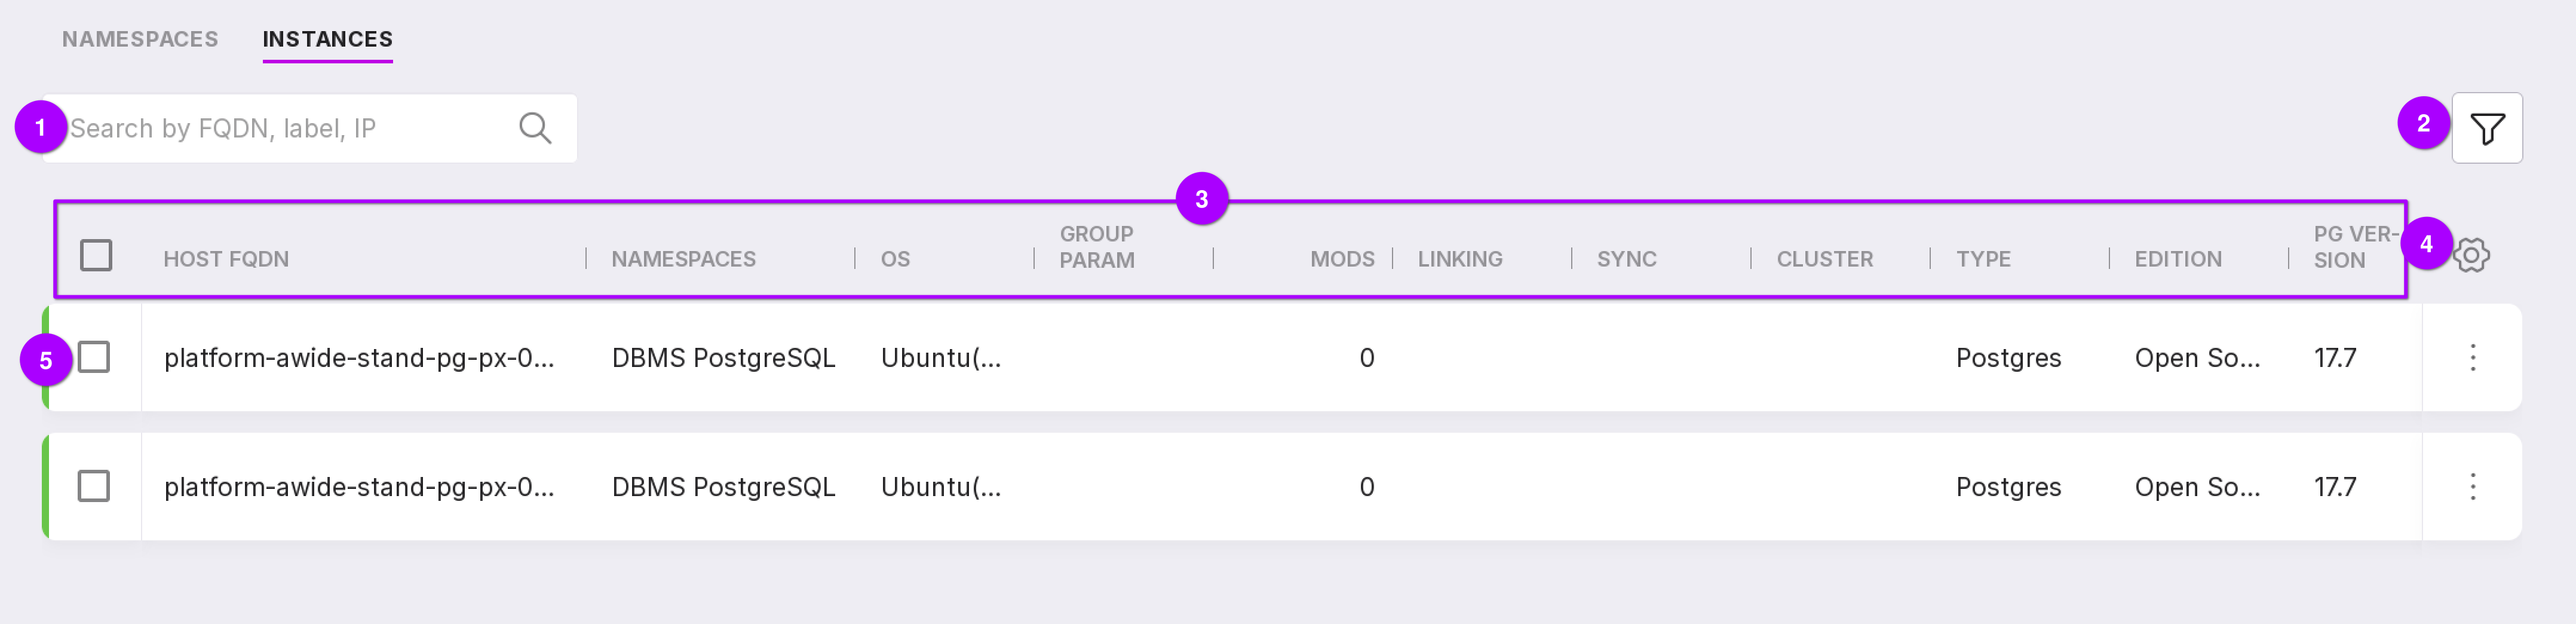
Let’s review the information on the page numbers in the figure above:
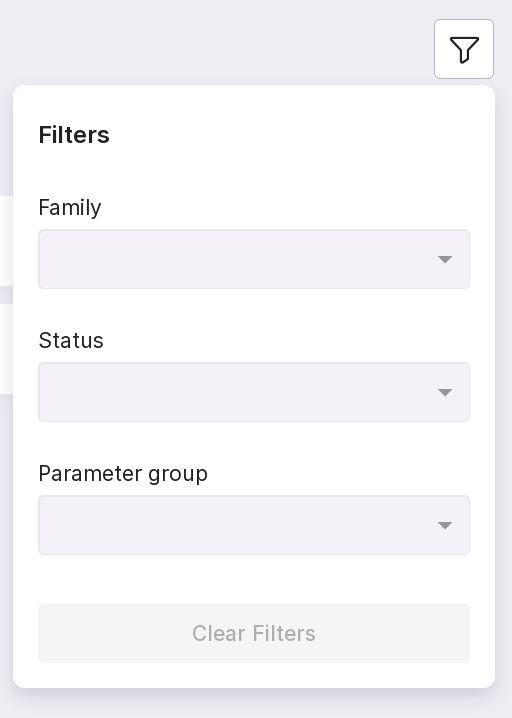
Using the search bar, you can find the required instance by node name, label, or IP. The filter allows instances to be filtered by the following parameters:
instance family — database management system versions;
instance state in relation to the parameter group: linked or synchronized;
parameter group to which the instance is linked.
Information on instances is presented in columns:
“Host FDQN” — the name of the instance;
“Namespaces” — the name of the namespace where the instance is located;
“OS” — the operating system of the server with the instance;
“Param Group” — the name of the linked parameter group;
“Mods” — the number of linked modifiers;
“Linked” — if the column is checked, it means that the parameter group is linked to the instance;
“Synced” — if the column is checked, it means that the parameter group is synchronized with the instance;
“Cluster” — clicking the icon opens the “Overview” page of the cluster instance;
“Type” — database management system;
“Edition” — edition of the database management system;
“PG Version” — PostgreSQL version;
“CPU” — number of CPUs of the server with the instance;
“Label” — arbitrary instance name;
“IP” — IP address of the server with the instance;
“Port” — connection port.
Table configuration button. You can customize the appearance of the table yourself.
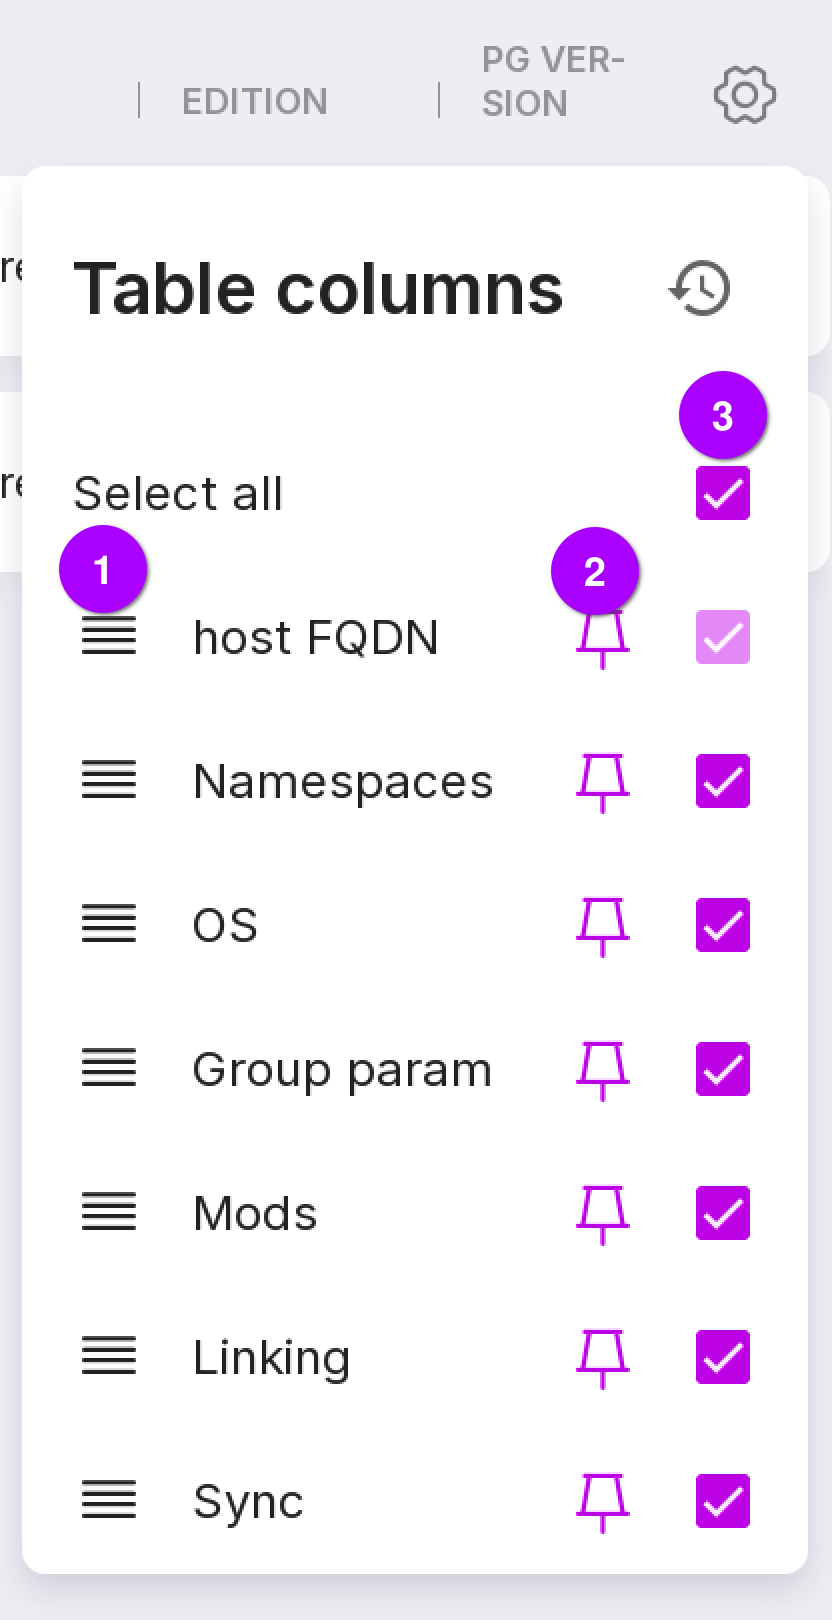
This button can be used to change the position of columns in the table.
Click the button icon to pin a column in the table.
Check the checkboxes of the columns that you want to display in the table.
Instance state color indicator:
red line — the instance has a problem alert;
yellow line — the instance has a warning alert;
green line — the instance has no alerts.
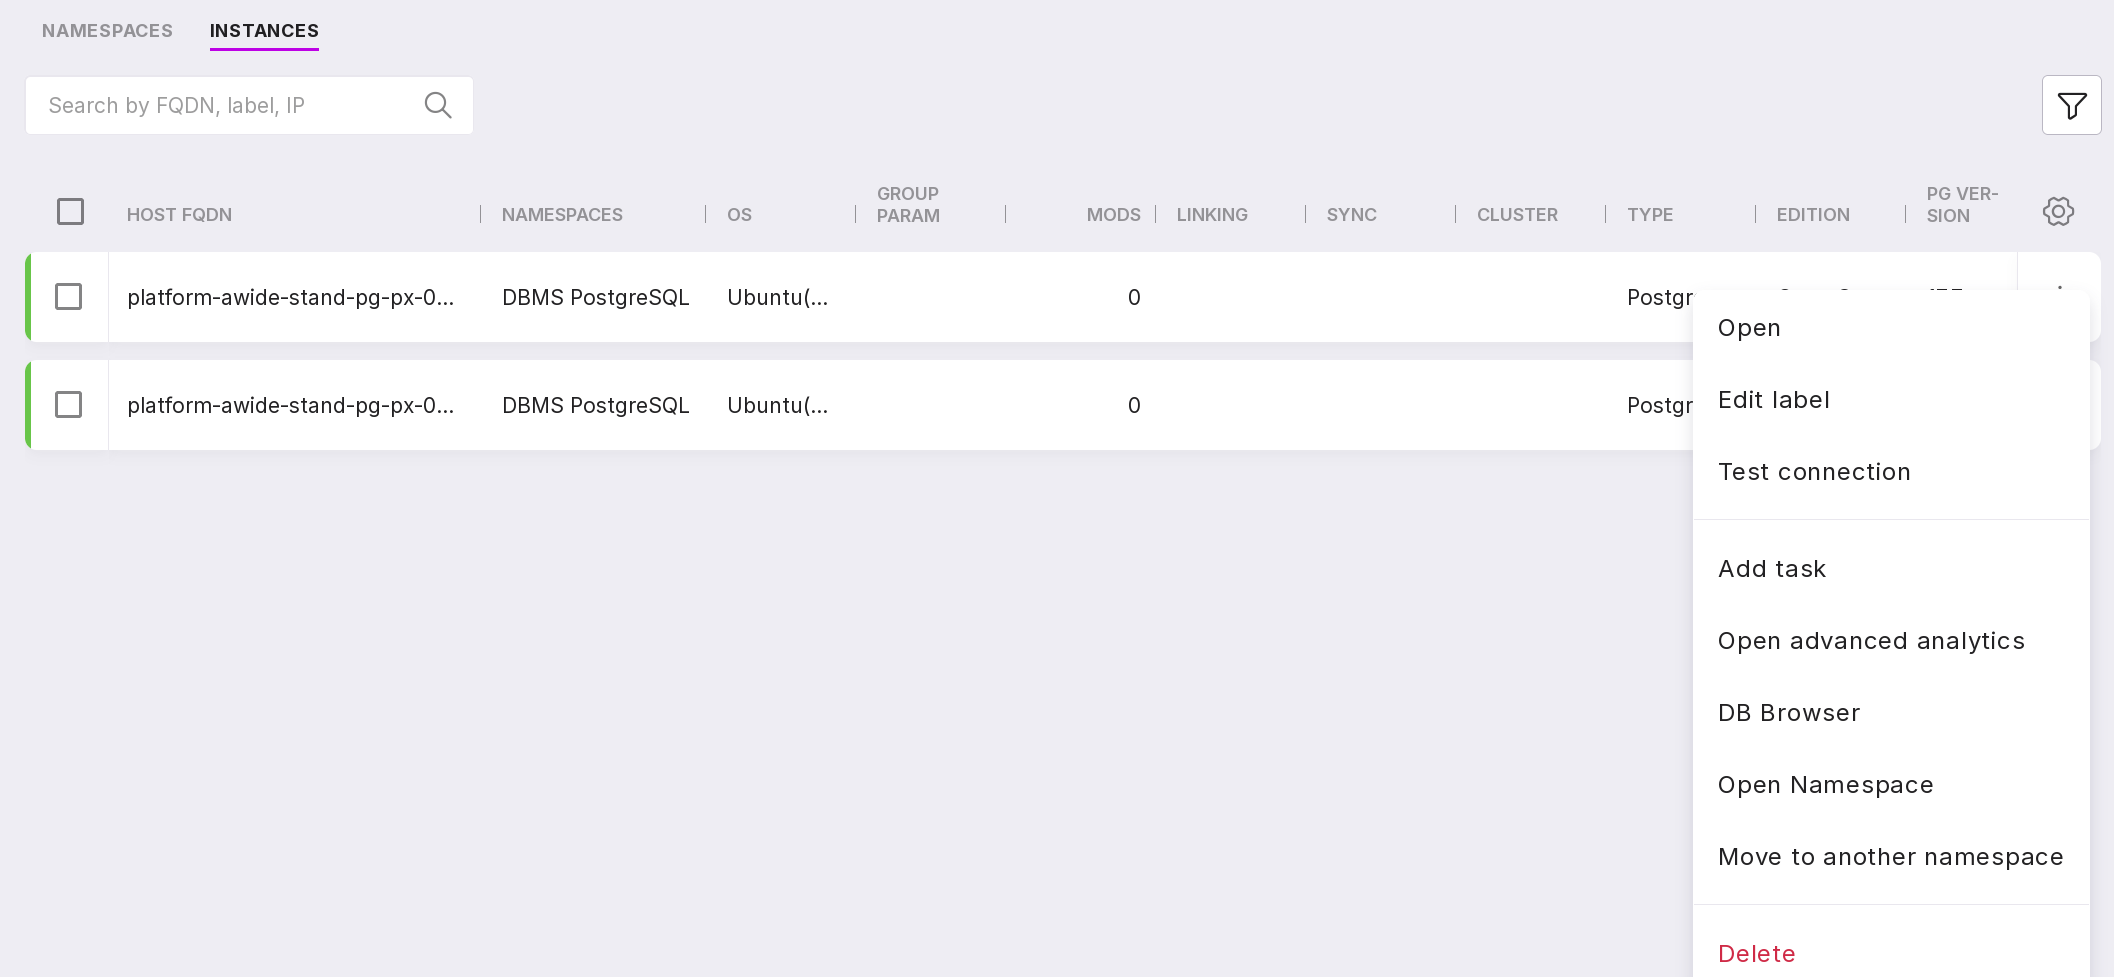
The number of options in the instance menu varies depending on whether there is cluster is the instance and on the user’s access level.
If there is a cluster in the instance, then the System Administrator and User with namespace administration rights will see the following options in the instance menu:
“Open” — opens the “Overview” page of the instance.
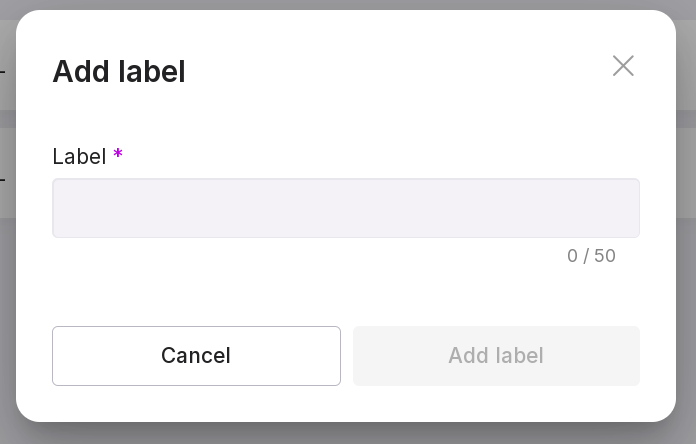
“Add label” — allows you to add a label or description to the instance to identify it. For example, “Primary” or “To be deleted”. In the opened modal window, enter the label in the text field and click on “Add label”.
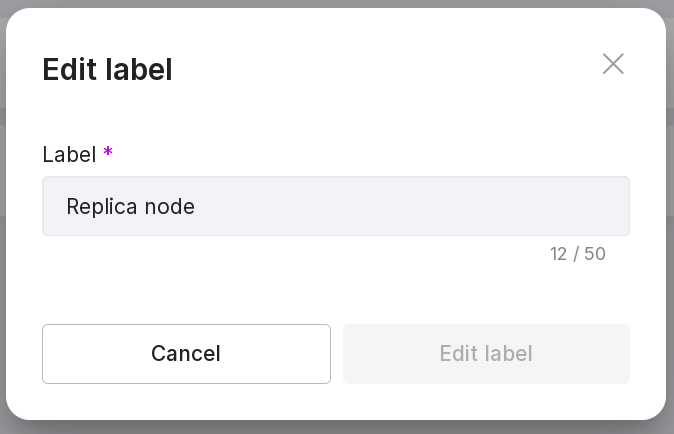
“Edit label” — allows you to edit the added label or description. In the opened window, change the text in the text field and click “Edit label”.
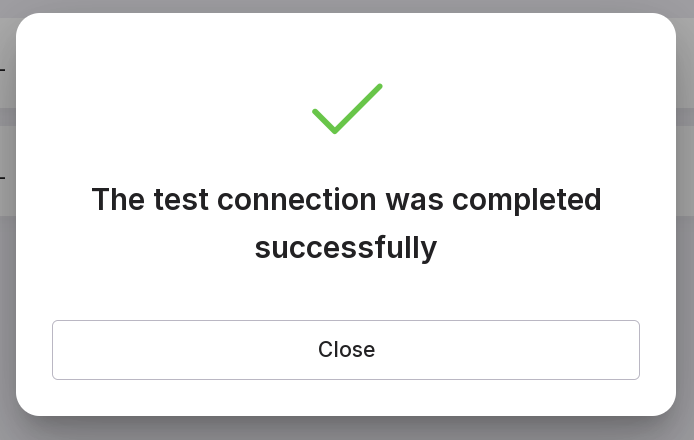
“Test connection” — allows you to check the connections between the installed Agent and Platform. If the connection is successful, a window with the corresponding message will appear:
“Add task” — opens the new task creation window.
“Open advanced analytics” — opens the “Advanced Analytics” page of the instance.
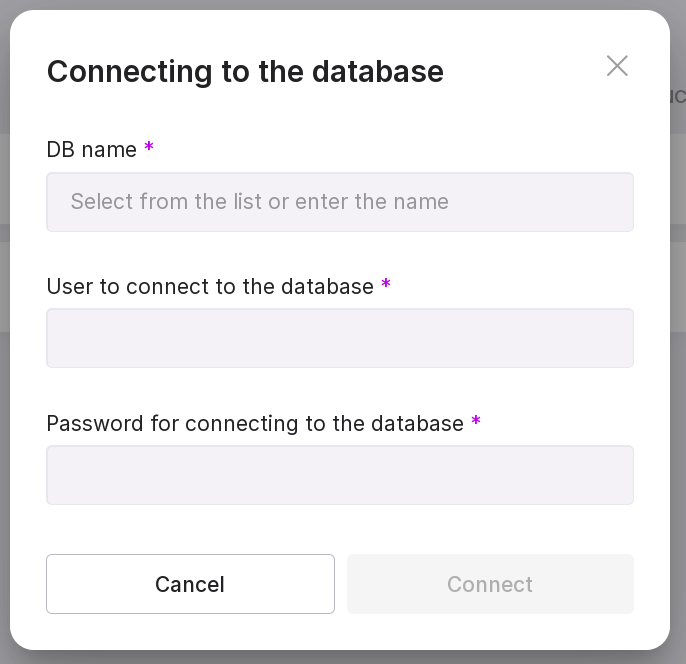
“DB Browser” — opens the connection window to the database. Detailed information on the page can be found here DB Browser. This module requires an additional license. In the opened window, enter the database name, username, and password.
“Open namespace” — opens the “Instances” tab of the “Overview” page of the namespace where the instance is located.
“Reload” — restarts the instance without fully stopping it.
“Reinitialize” — reinitializes the instance.
“Restart” — completely stops and restarts all components of the instance.
“Delete” — deletes the instance.
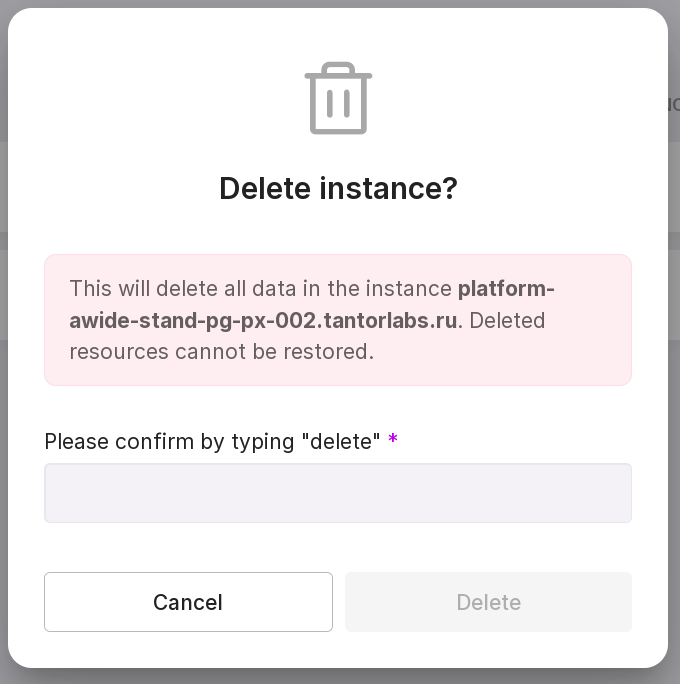
To delete the instance, type in “delete” in the text field of the opened window and click “Delete Instance”.
If there are no clusters in the instance, the menu for the System Administrator and User with namespace administration rights will not have the options “Reload”, “Reinitialize”, and “Restart”, but will add the option “Move to another namespace”, allowing you to move the instance to another namespace.
For view-only users, the instance menu will always have two options — “Open” and “Open Advanced Analytics”.
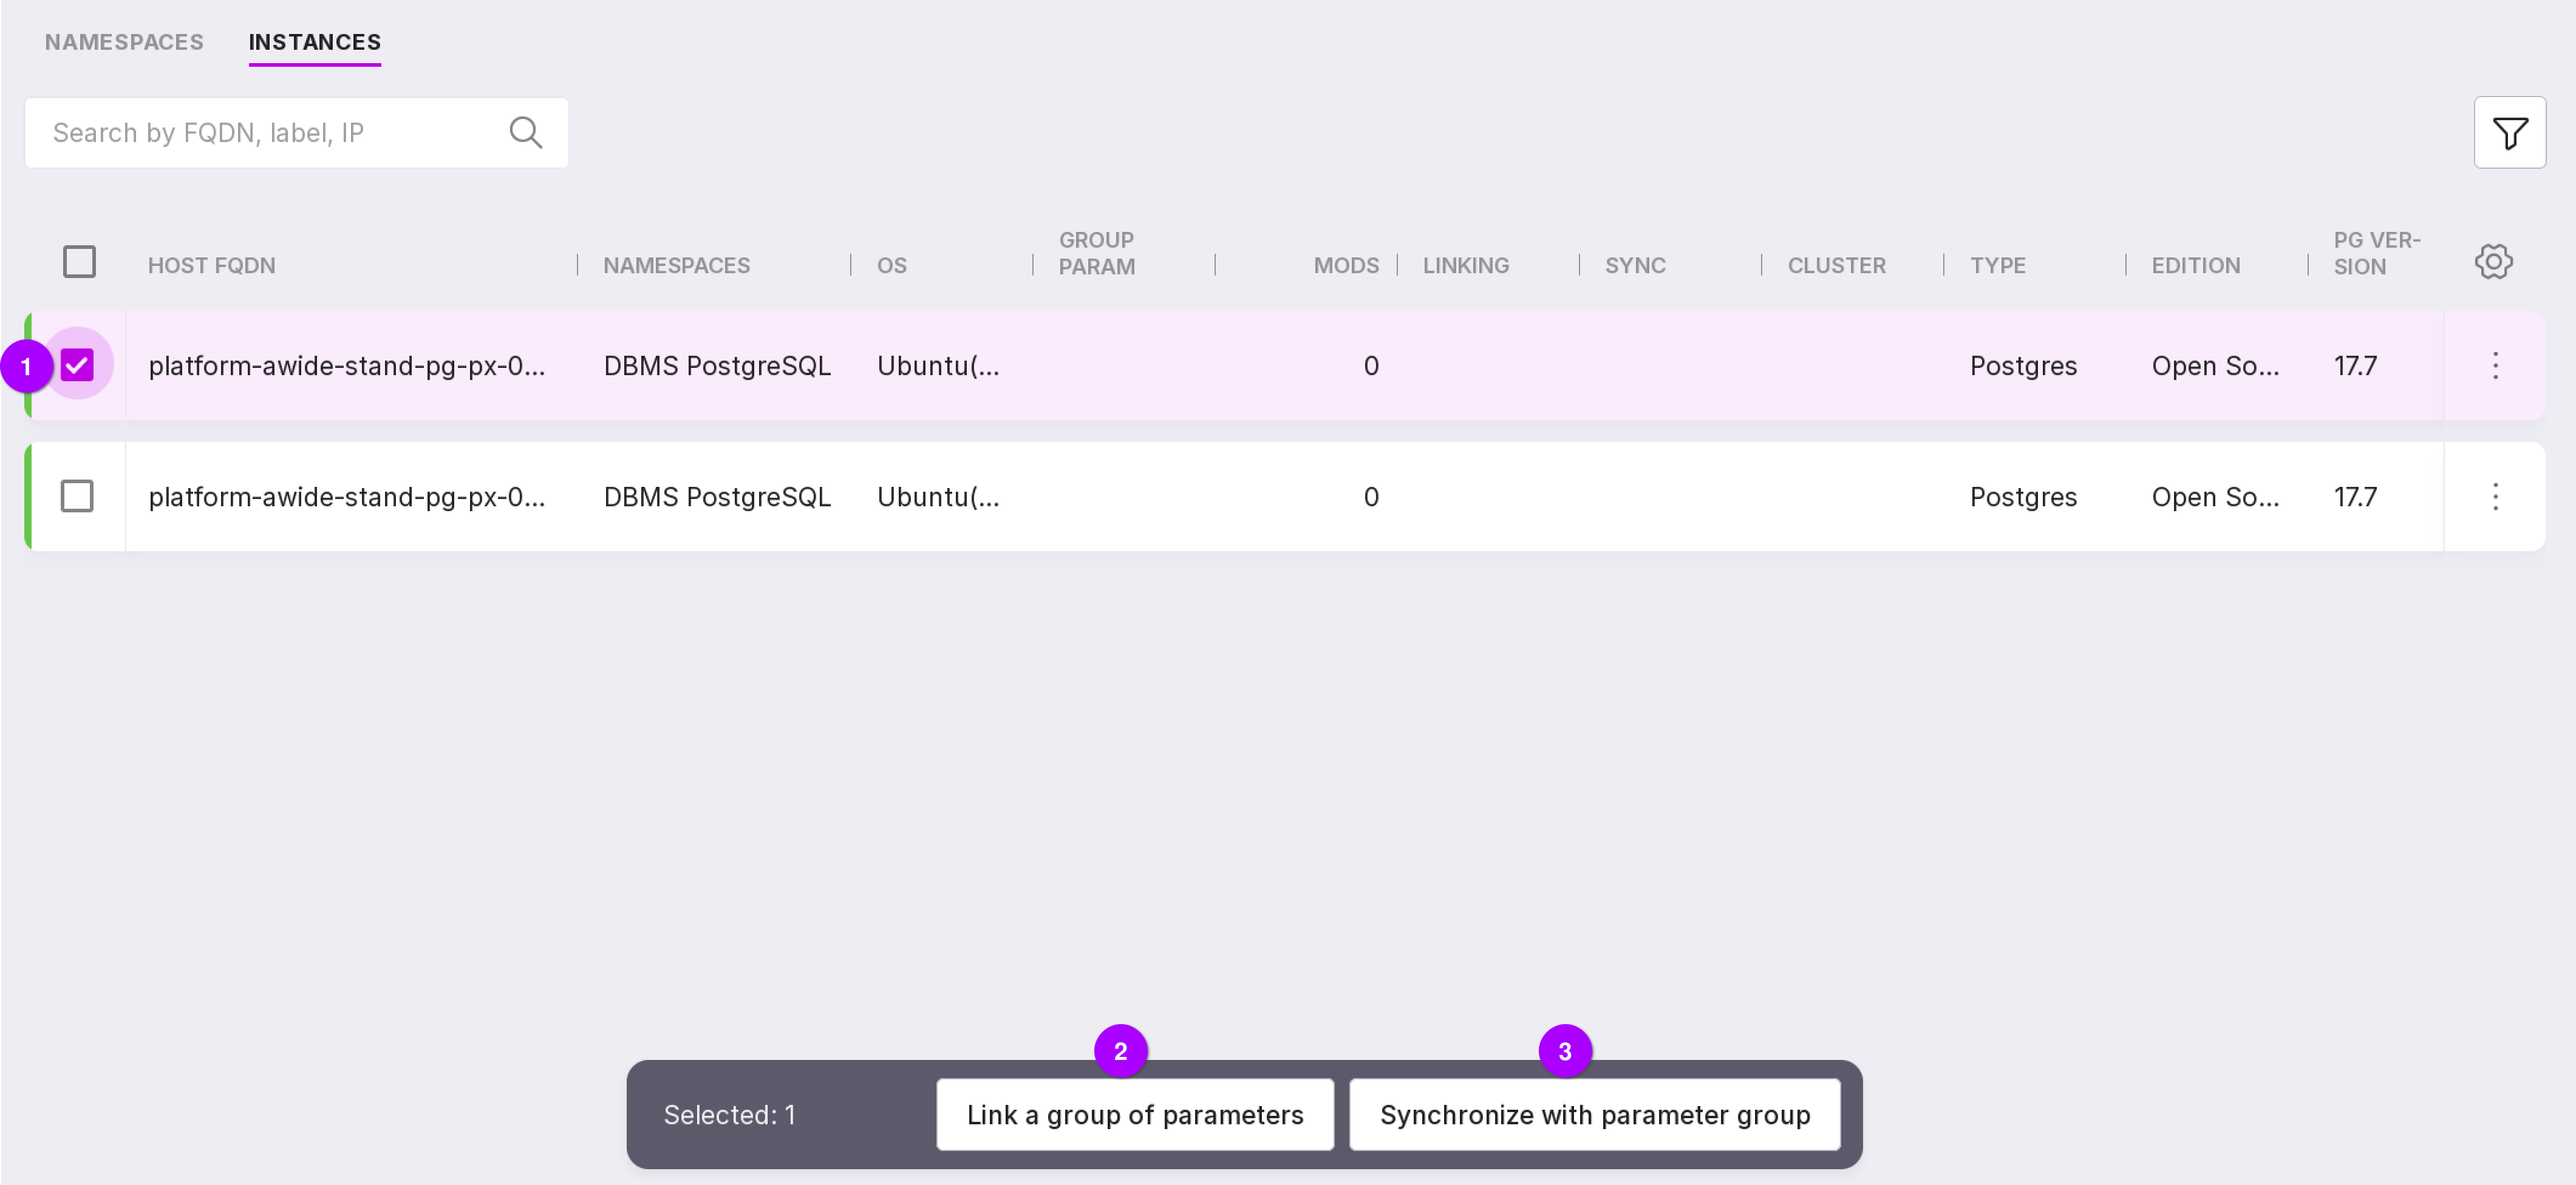
By checking the checkbox on the left (number 1 in the picture below), you can link the instance to parameter group (number 2 in the picture below) or synchronize it with the param group (number 3 in the picture below).