Parameter groups
“Parameter groups” are a tool for creating and managing sets of configuration parameter values for the DBMS. A parameter group can be linked to one or more instances. To apply the parameter group settings to an instance, they shall be synchronized.
There are two types of parameter groups:
system — predefined parameter groups;
user-defined — parameter groups created based on system groups.
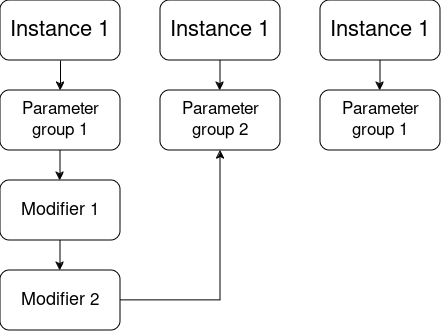
In some scenarios, it may be necessary to synchronize a parameter group with an instance while excluding individual parameter values, thus preserving the original configuration of the group for other related instances. To avoid creating a new parameter group, modifiers can be used.
“Modifiers” are sets of DBMS configuration parameters whose values differ from the values of parameters in the group.
Parameter groups and modifiers can be managed on the following pages:
Parameter Groups Page — allows creating parameter groups and modifiers, as well as viewing information on them.
Parameter Group Configuration Page — allows editing the parameter values of a specific group.
Modifier Page — allows adding parameters to a specific modifier and setting their values.
“Parameter Groups” tab on the instance configuration page — allows linking instances with parameter groups and modifiers, as well as synchronizing instances with groups.
Parameter Groups Page
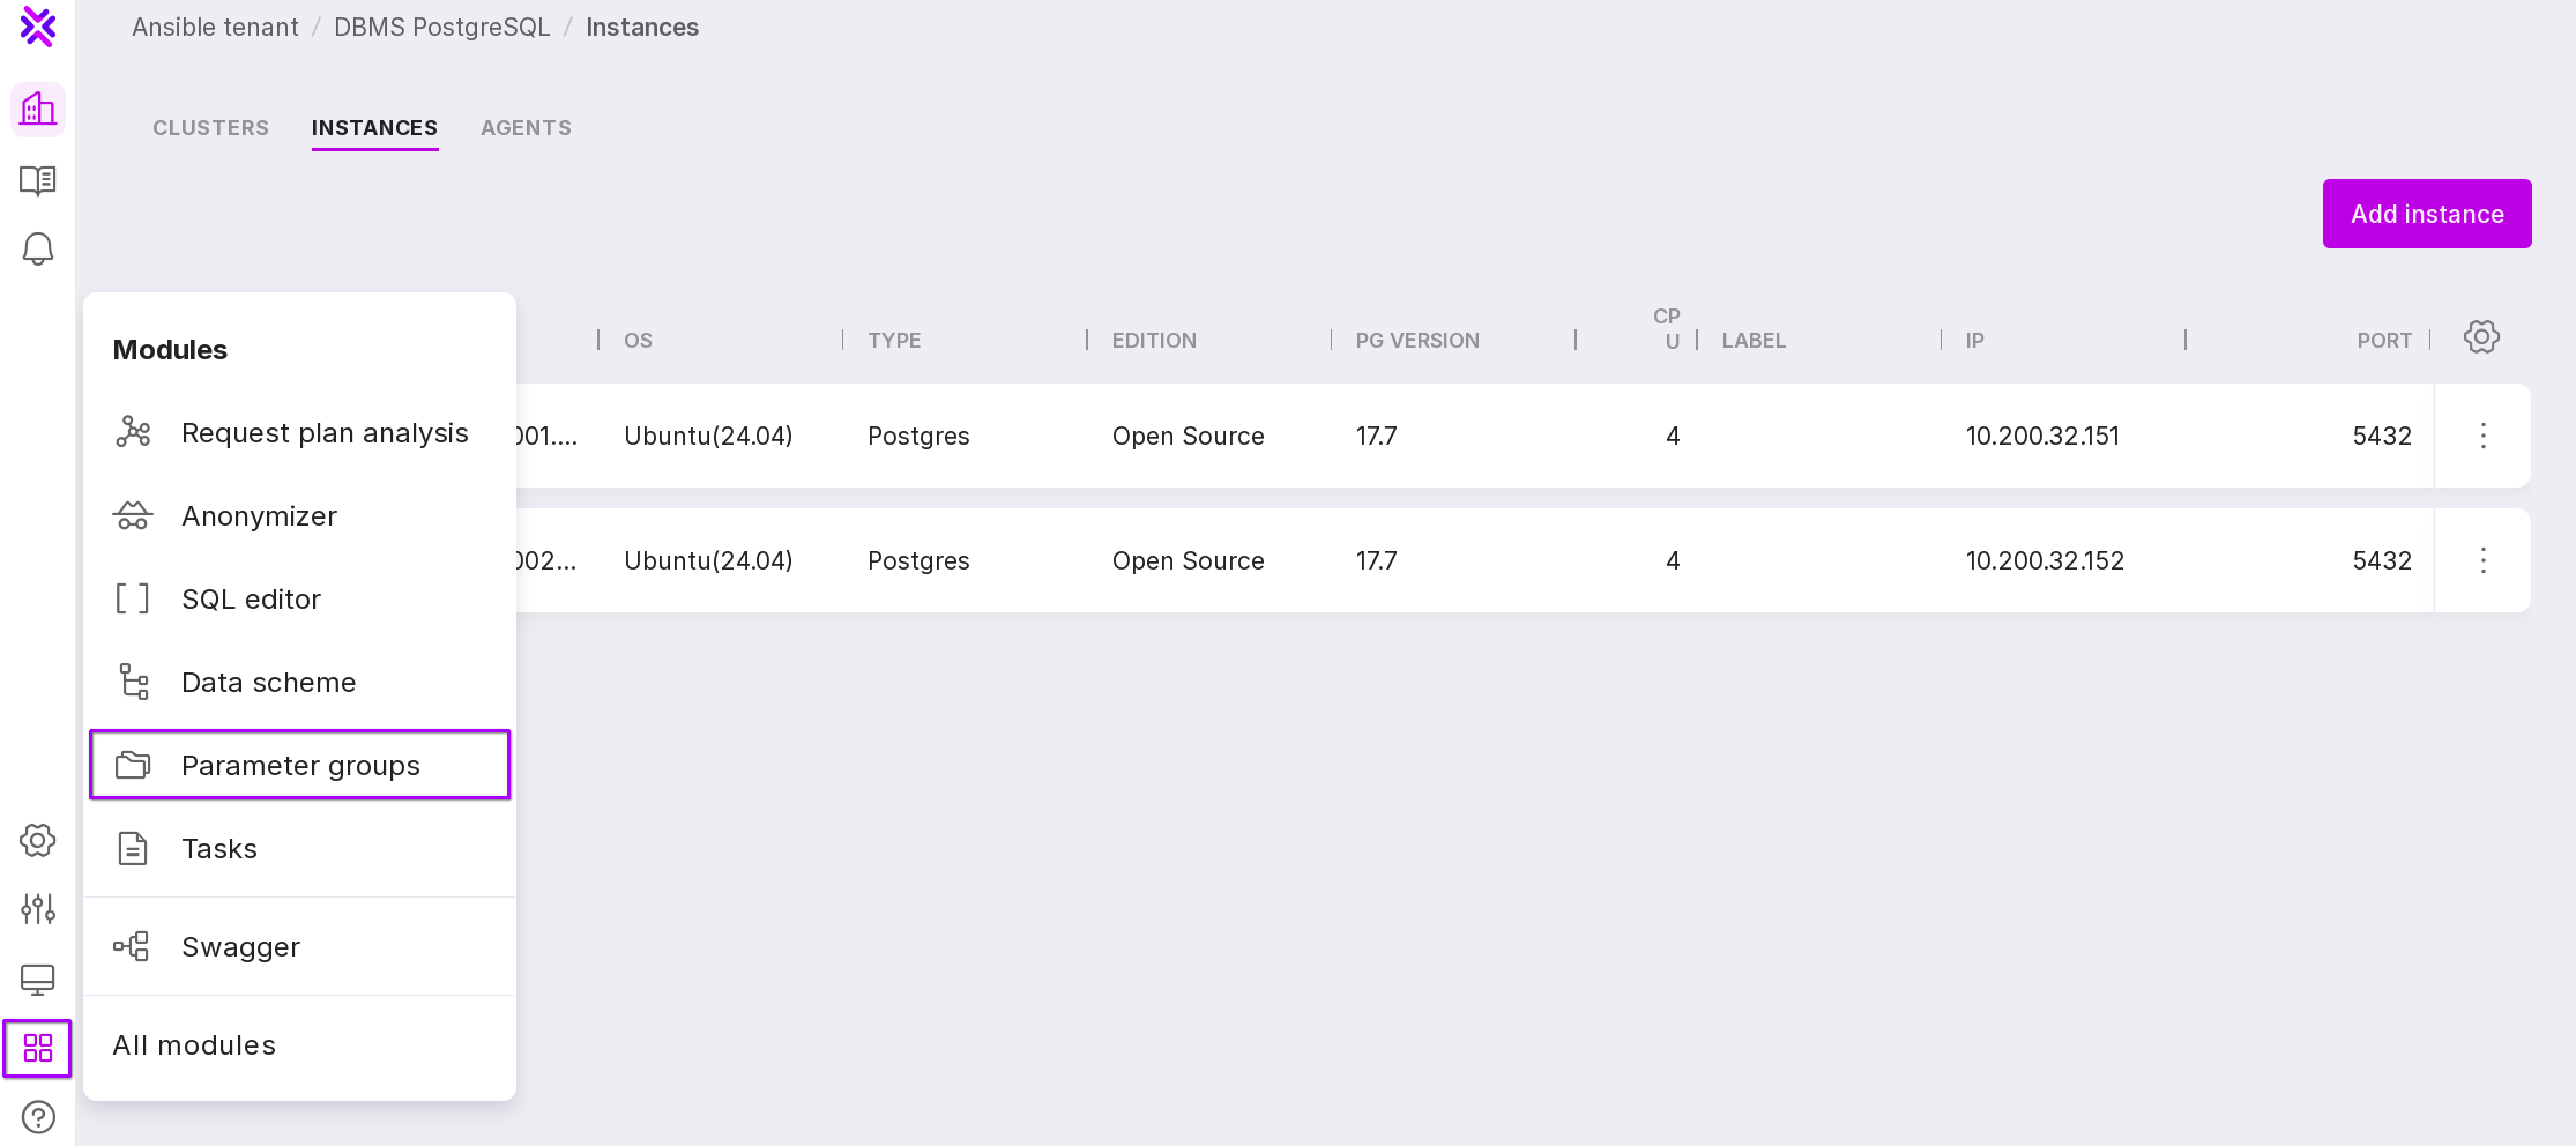
To open this page, click “Modules” → “Parameter Groups” in the left panel.
Attention
This item is not available to Users with view-only rights.
A page will open with two tabs:
Groups,
Modifiers.
The “Groups” tab
Parameter groups are presented in a table with the following information:
Name of the parameter group;
Description;
Family to which this parameter group belongs;
DBMS type;
Date created;
Date changed;
Number of instances synchronized with this group.
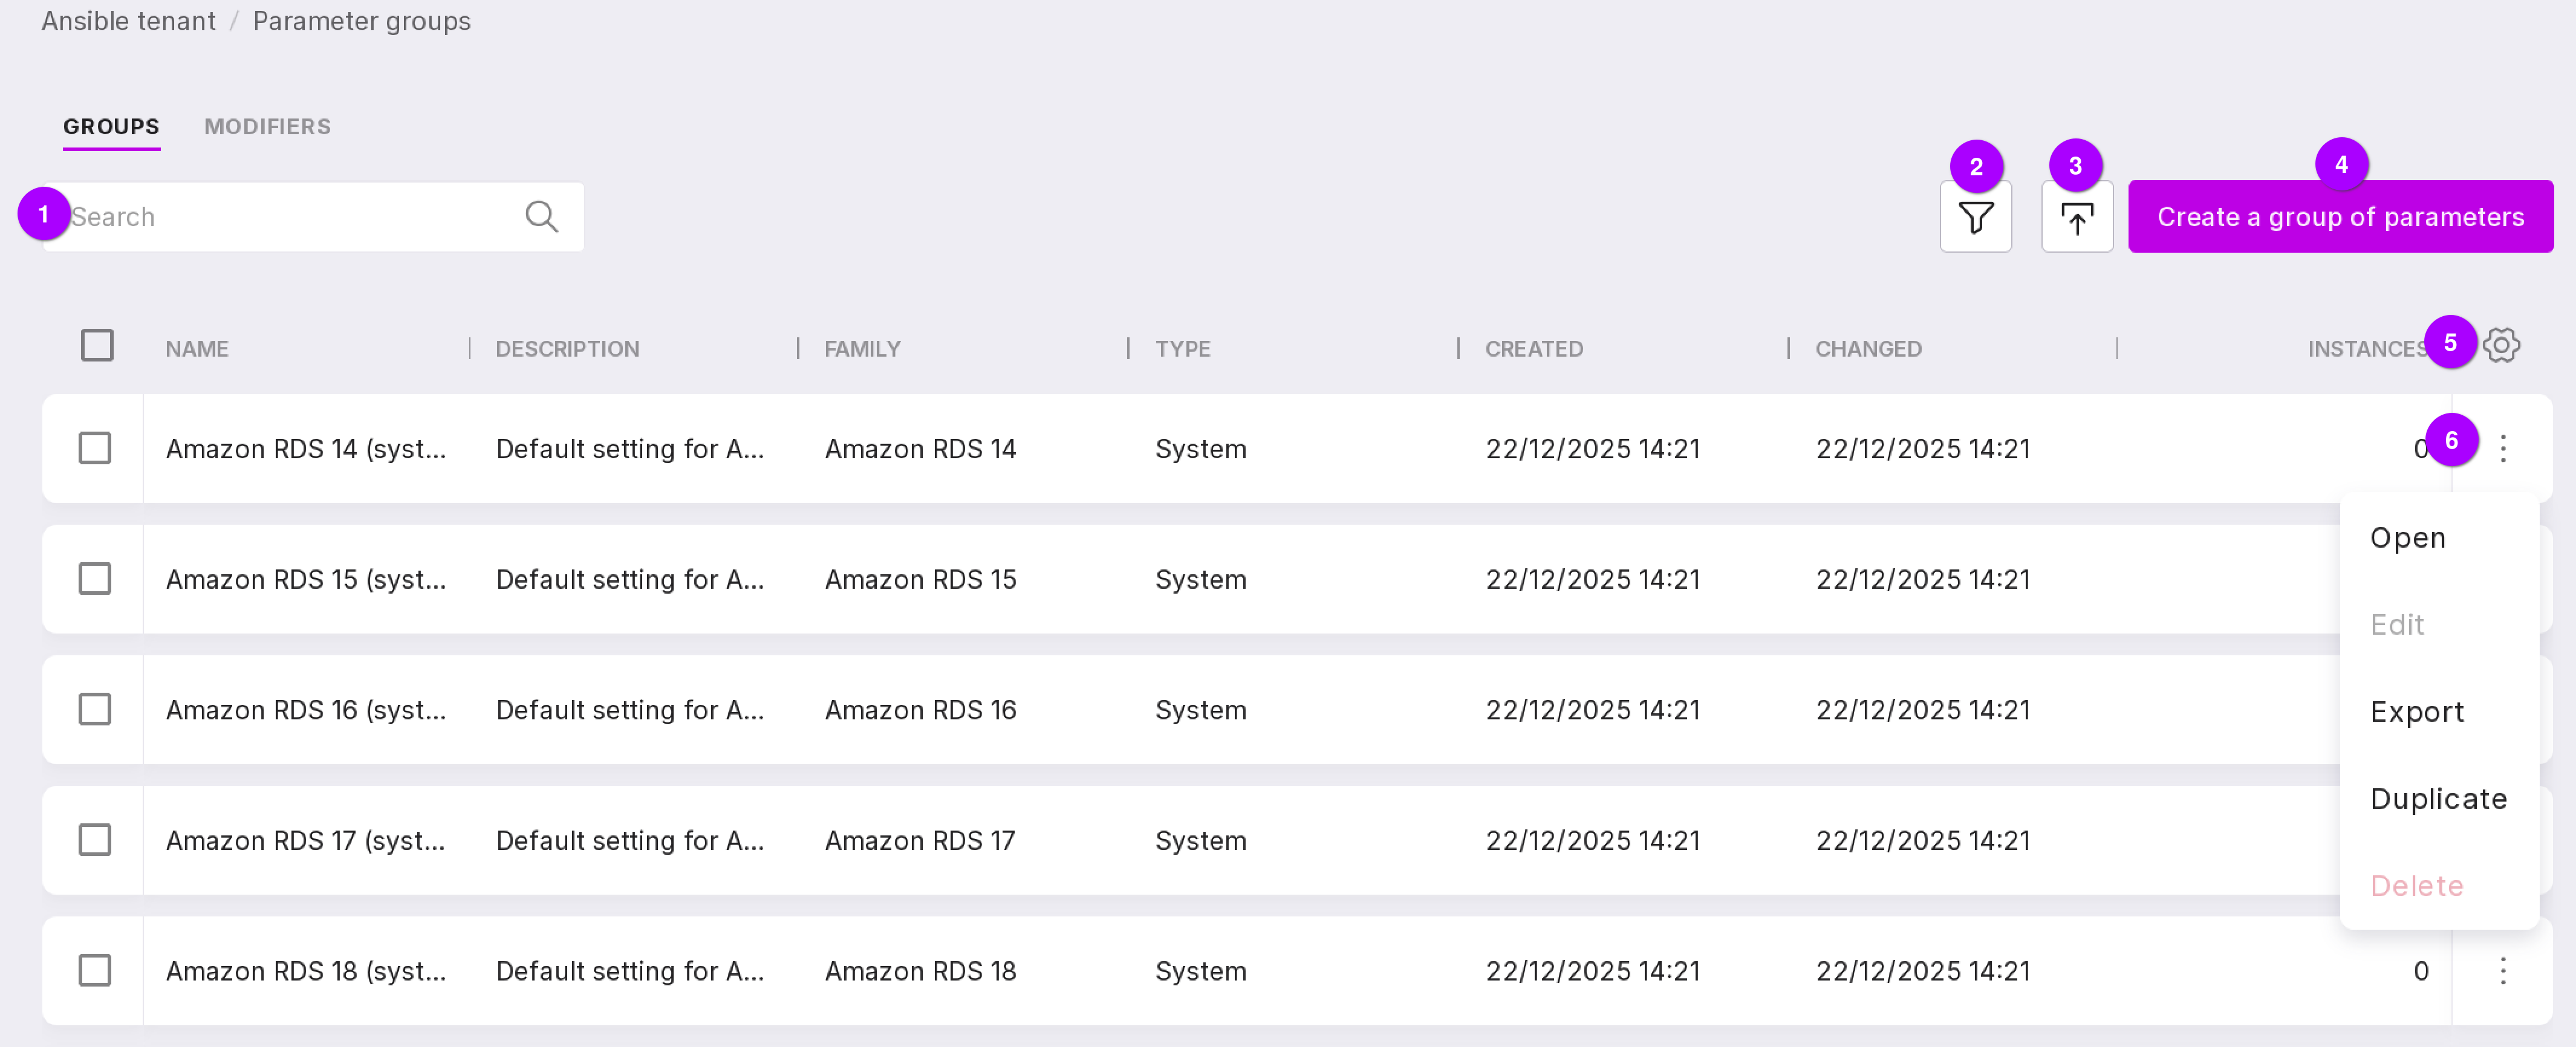
Let’s review the information on the tab, as numbered in the figure above:
Search bar, which can be used to find a parameter group by name.
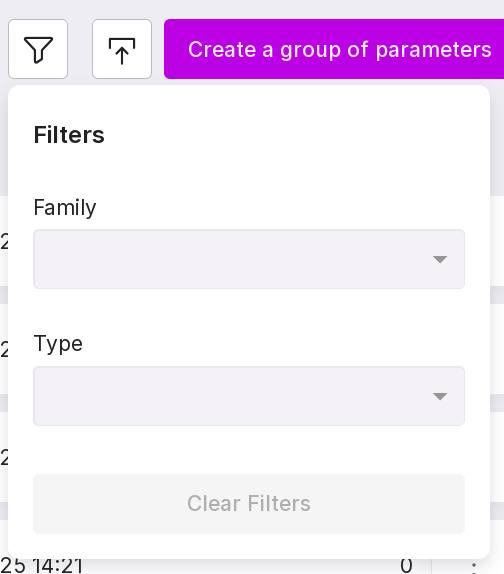
Filter, which allows groups to be filtered by the following parameters:
Family — version of the PostgreSQL DBMS;
Type — system or user-defined.
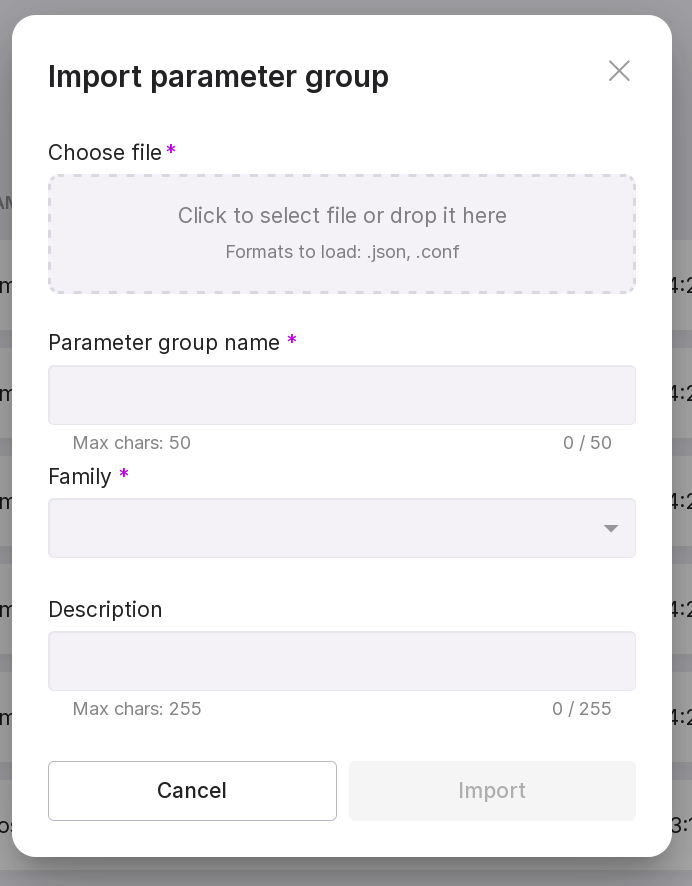
Parameter group import button. In the opened dialog window, select a file in .json or .conf format, specify a name for the parameter group, choose a family, and click “Import”.
Button to create a new group. To create a user-defined parameter group, follow these steps:
Click “Create Parameter Group”.
In the opened modal window, fill in the following fields:
In the dropdown list, select the family to which the group will belong — the version of the DBMS.
In the dropdown list, select the parameter group based on which the new group will be created.
Type in name of the new parameter group.
Type in description of the new parameter group. Optional field.
Click “Create”.

Table configuration button. Using this button, you can customize the appearance of the table yourself.
Parameter group menu with the following options:
Open — opens the configuration page of this parameter group
Edit — allows you to change the name and description of the group. To do this, enter the new name and description of the group in the modal window:
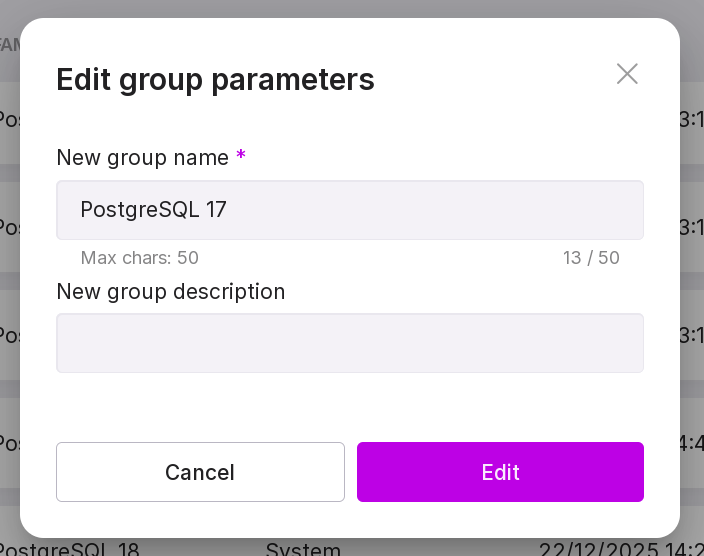
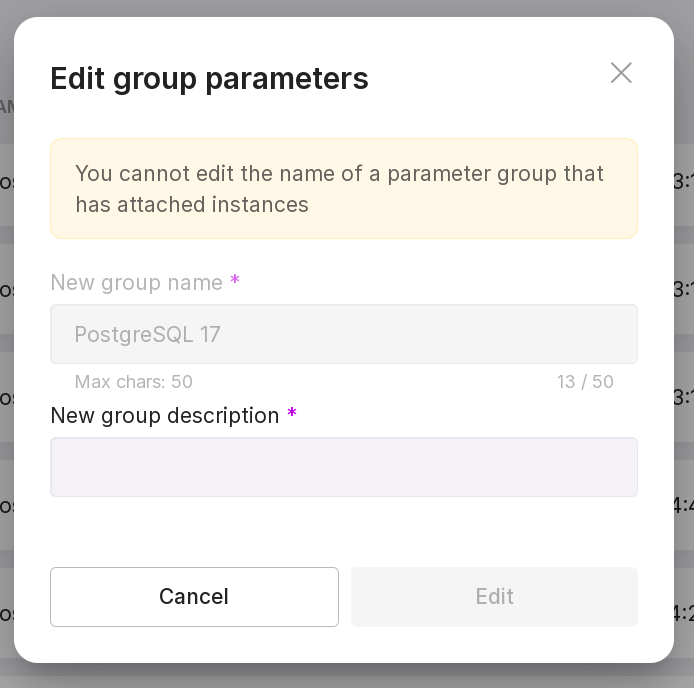
Attention
You cannot change the name or description of the parameter group to which at least one instance is attached.
Export — allows you to export a parameter group to a .json or .conf file. In the opened dialog window, specify the file name, select the format, and click “Export”.

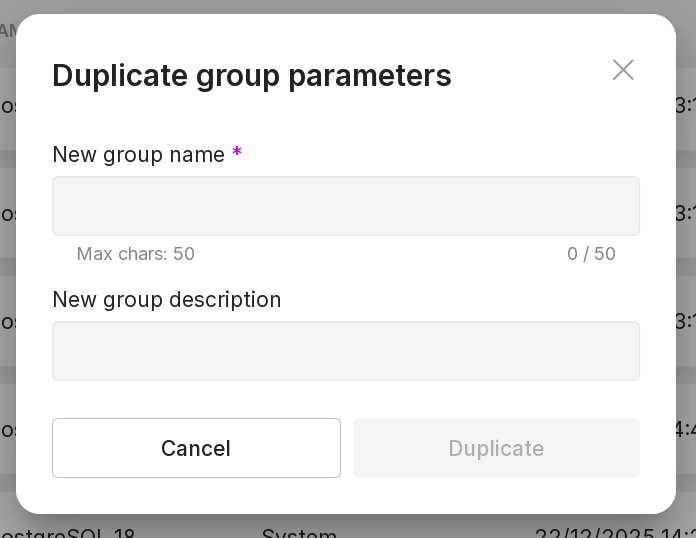
Duplicate — allows you to create the same parameter group by filling in its name and description.
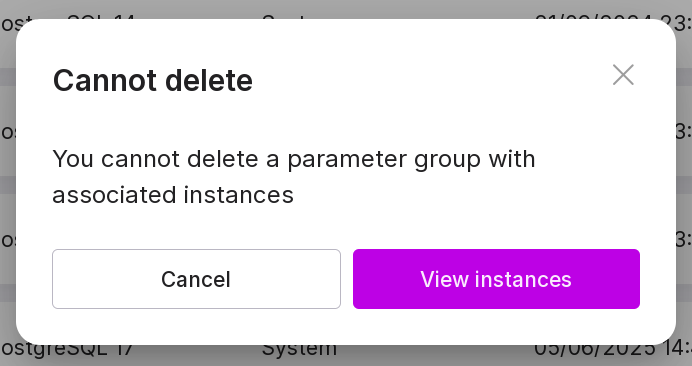
Delete — allows you to delete the parameter group. You cannot delete a system parameter group.
Attention
You cannot delete a system parameter group.
You cannot delete a parameter group to which at least one instance is attached.
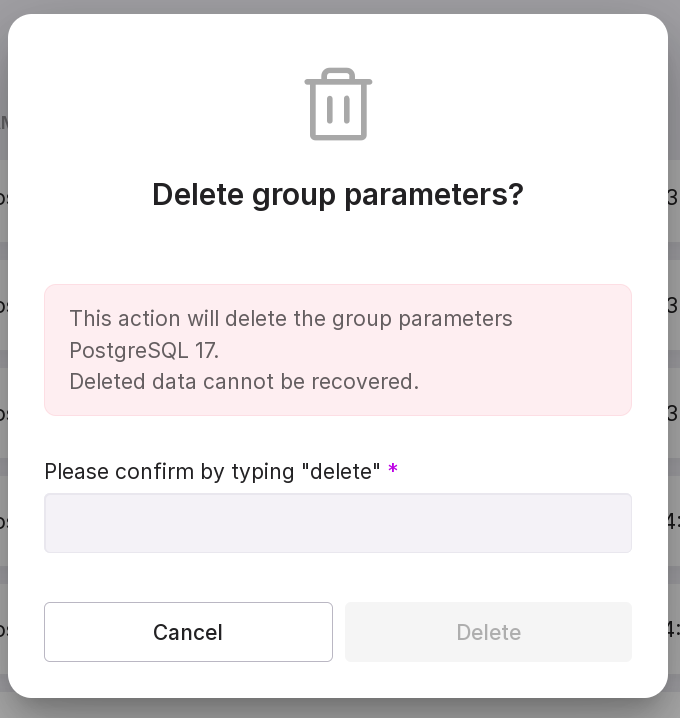
To delete the parameter group, type in “delete” in the confirmation window and click “Delete”.
Parameter groups can be compared. To do this, check the boxes next to the groups and click “Compare”.
A window will appear with the parameter values that differ between the compared groups.
Note
You can compare no more than three groups.
The “Modifiers” tab
The “Modifiers” tab displays a list of modifiers with information on them:
Modifier name,
Description,
Date created,
Date changed,
The number of instances to which this modifier is applied.

To create a new modifier, follow these steps:
Click “Create Modifier”.
In the opened modal window for creating a modifier, fill in the following fields:
Modifier name.
Modifier description. Optional field.
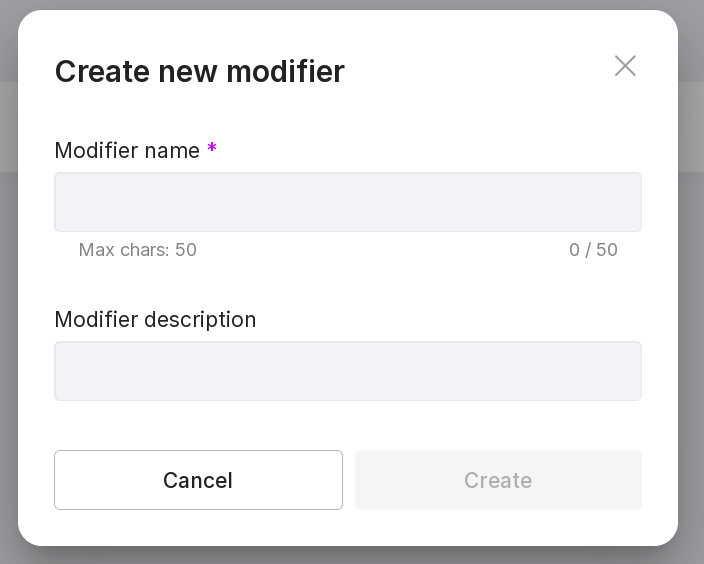
Click “Create”.
Modifiers have a menu.
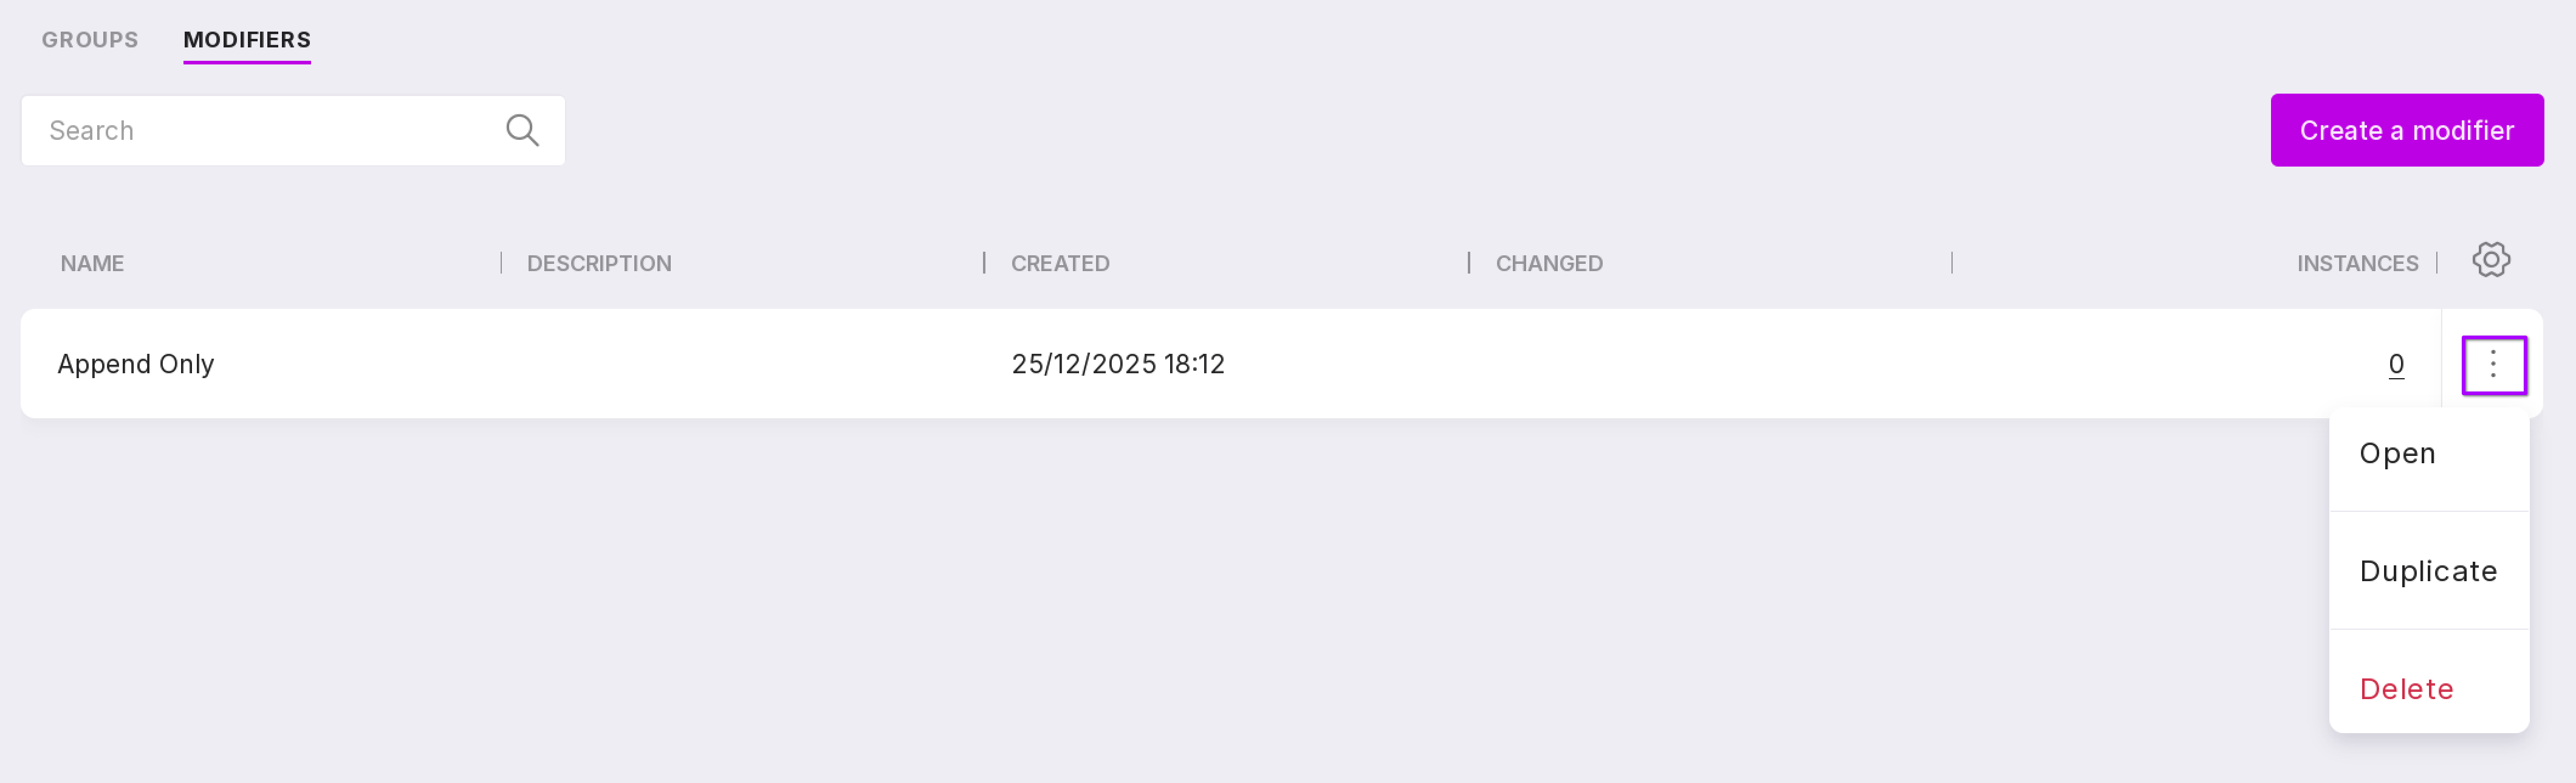
The modifier menu includes the following options:
Open — opens the page of a specific modifier.
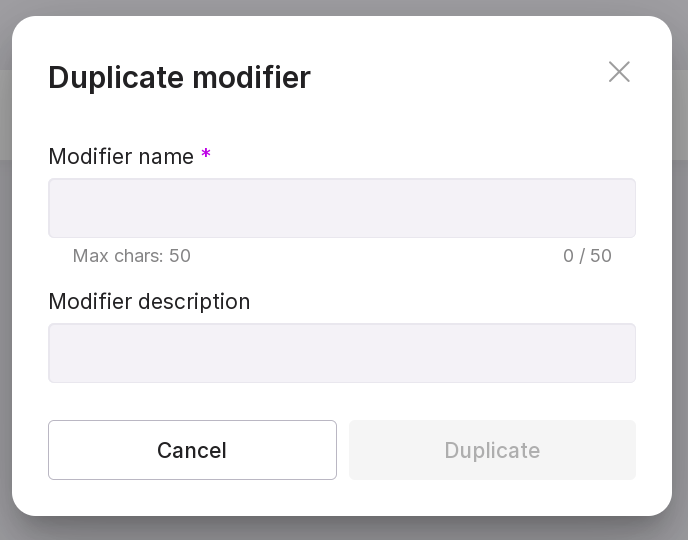
Duplicate — allows you to create the same modifier by filling in the name of the new modifier and its description.
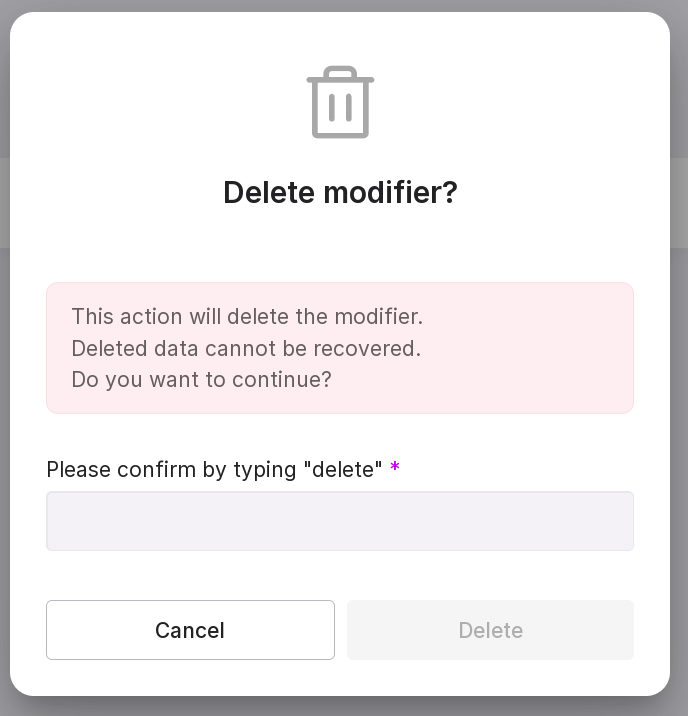
Delete — allows you to delete the modifier. In the modal window, type in “delete” in the text field and click “Delete”.
You can find the required modifier by name using the search bar at the top of the page.
Configuration page of the parameter group
To open the configuration page, click on the required parameter group.
The page has two tabs:
Parameters,
Instances.
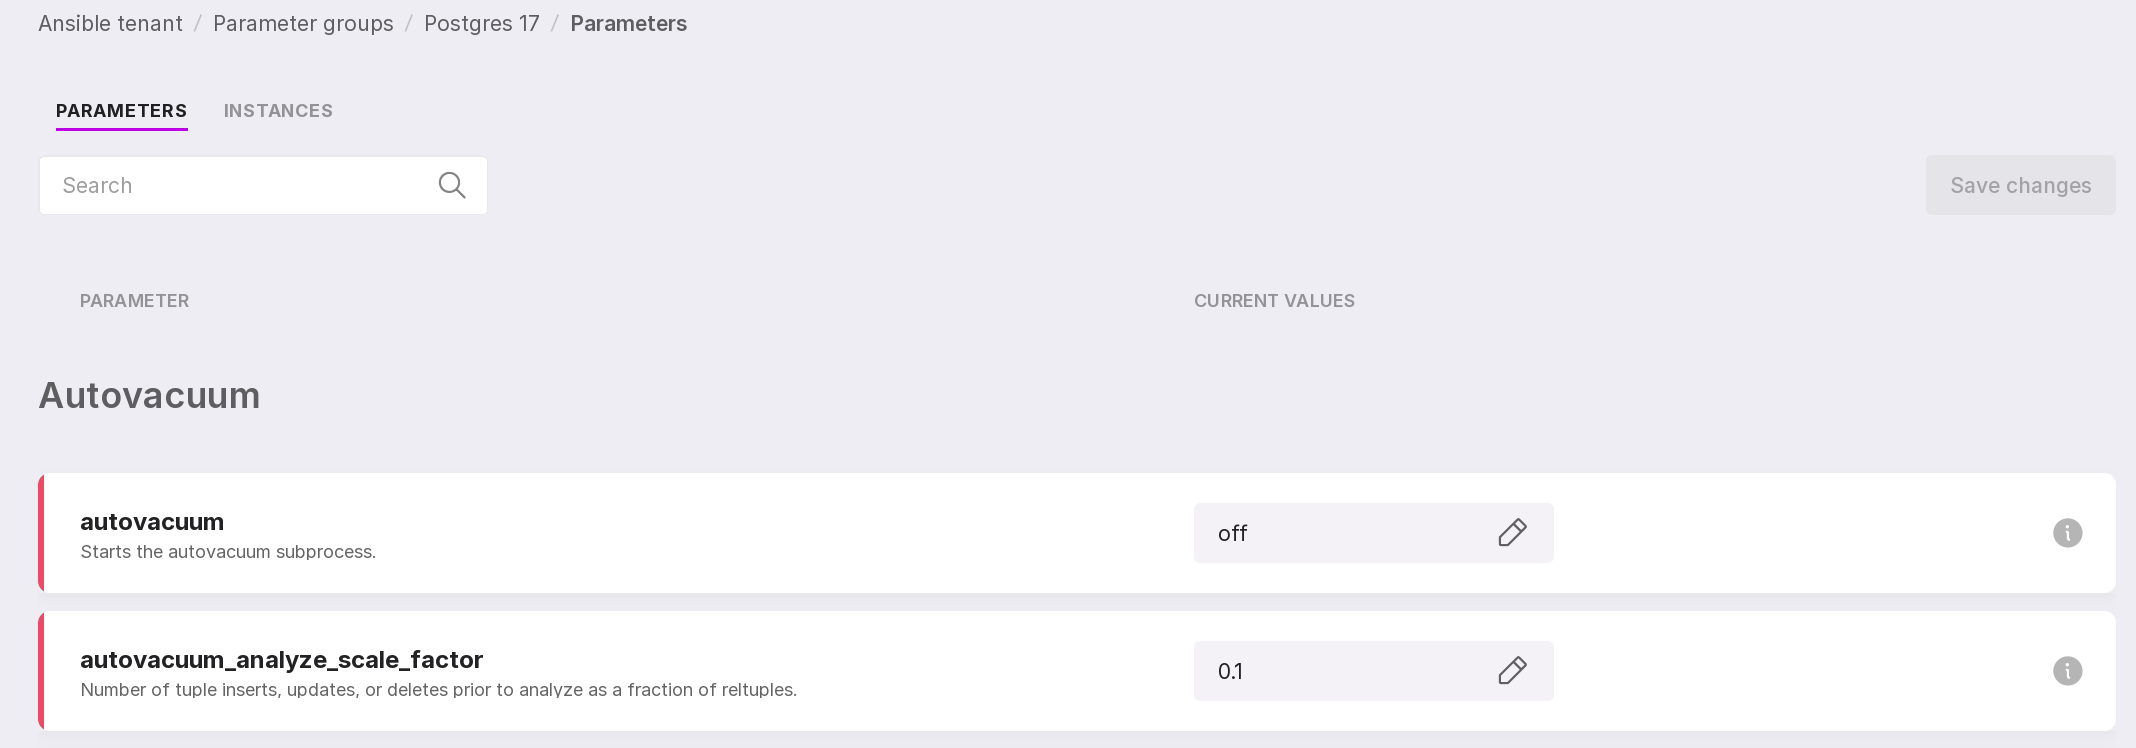
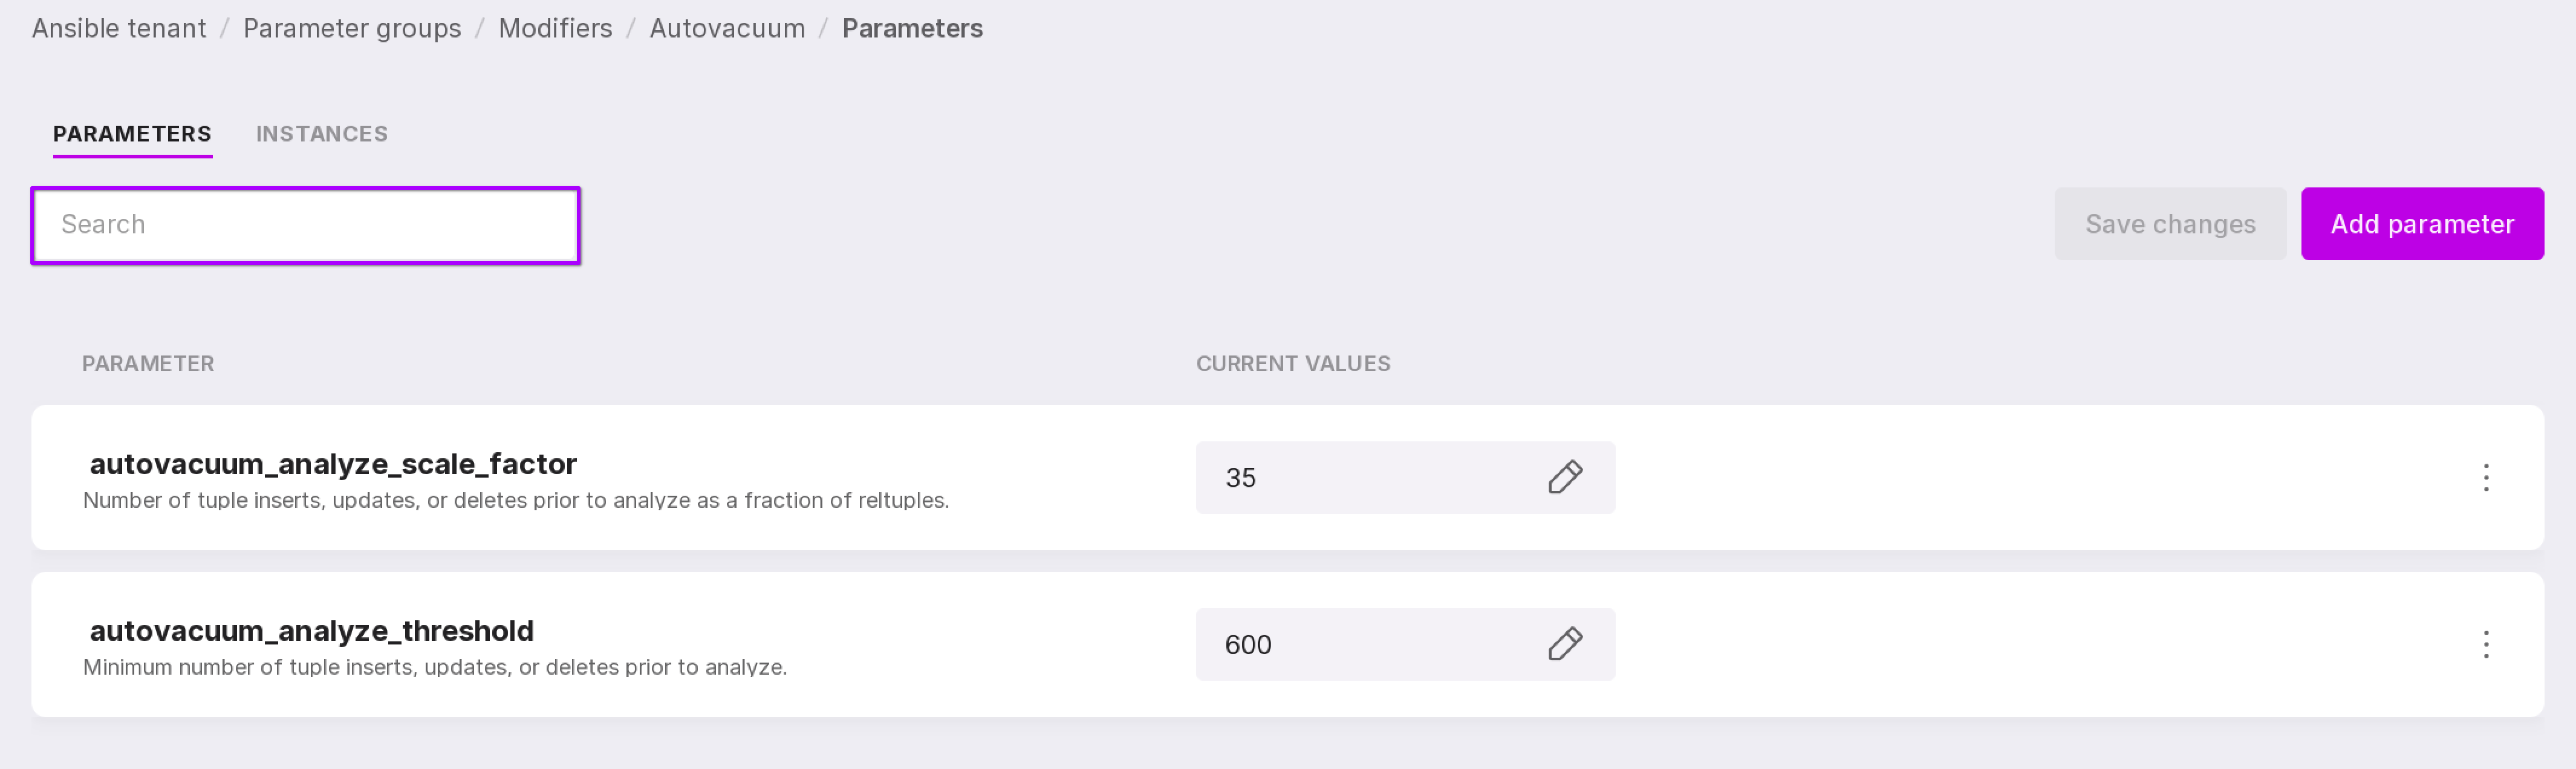
The “Parameters” tab of the configuration page of the parameter group
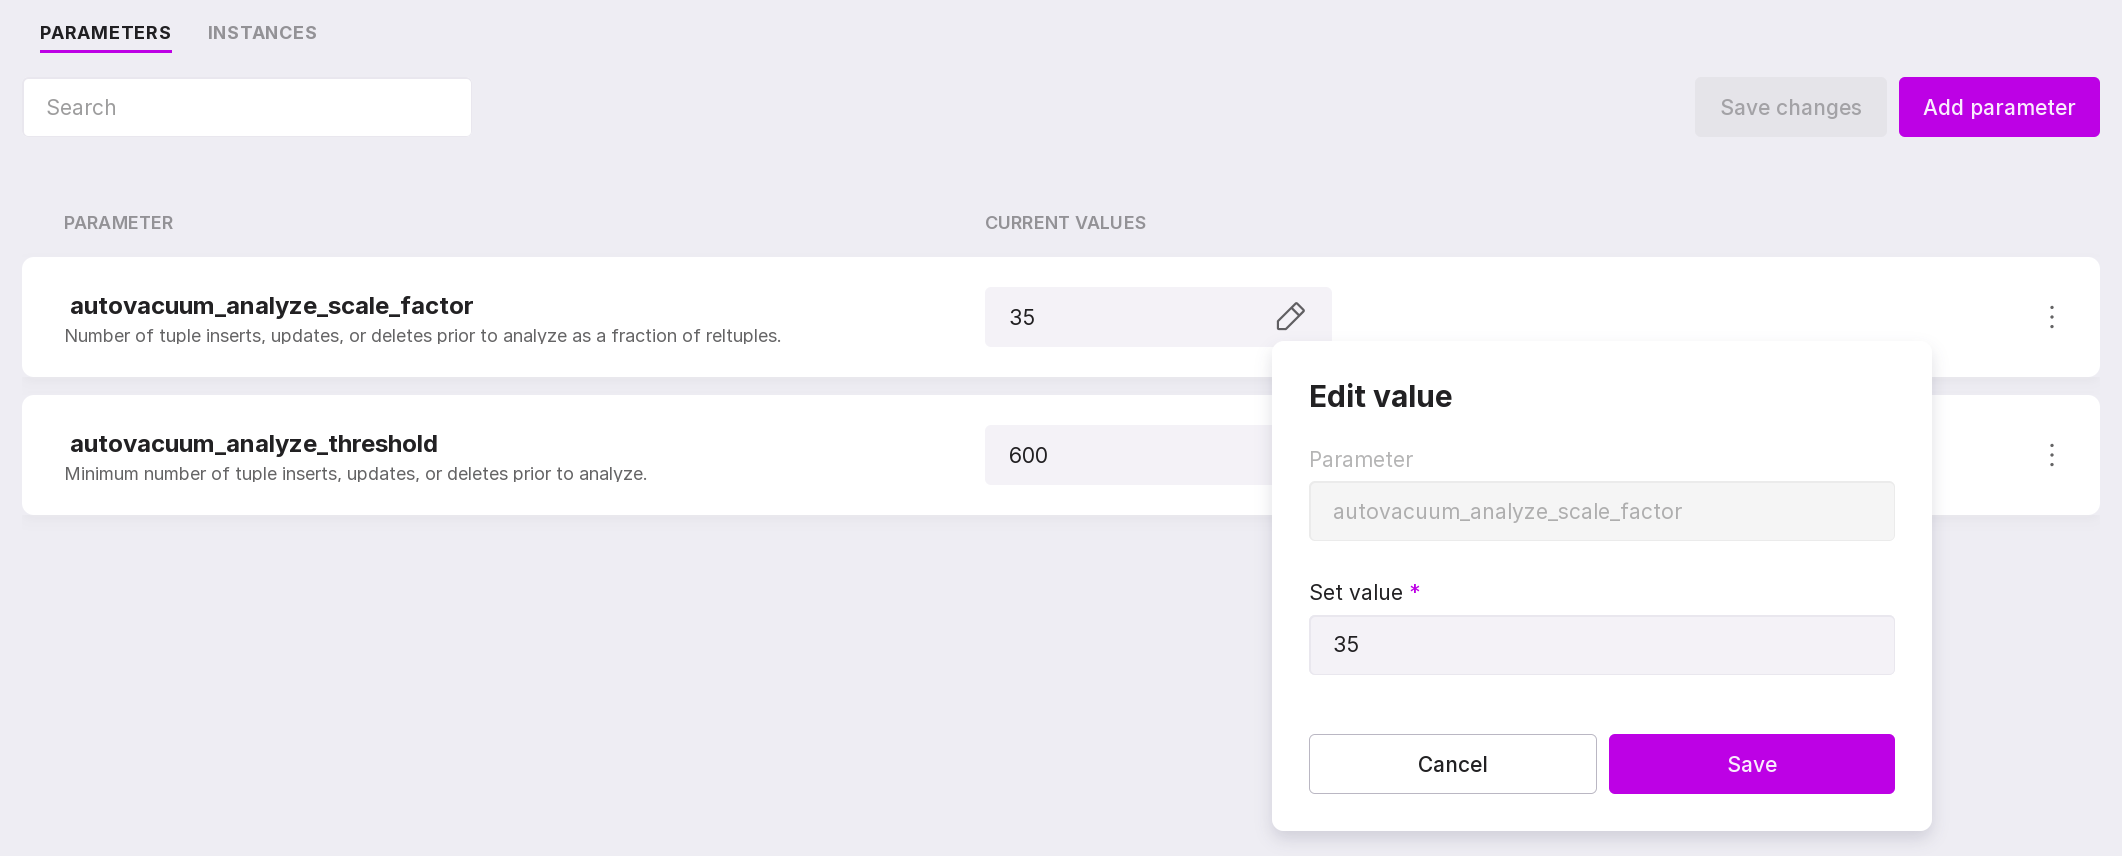
On the “Parameters” tab, you can edit the values of the parameters in the group by clicking on the pencil icon.
To save changes, click “Save changes”. In the modal window with the list of modified parameters, click “Save”.
Attention
You can only change the values of parameters for user groups; for system groups, this page is available for viewing only.
If the group is already synchronized with a specific instance, the following message will be displayed at the top of the page:
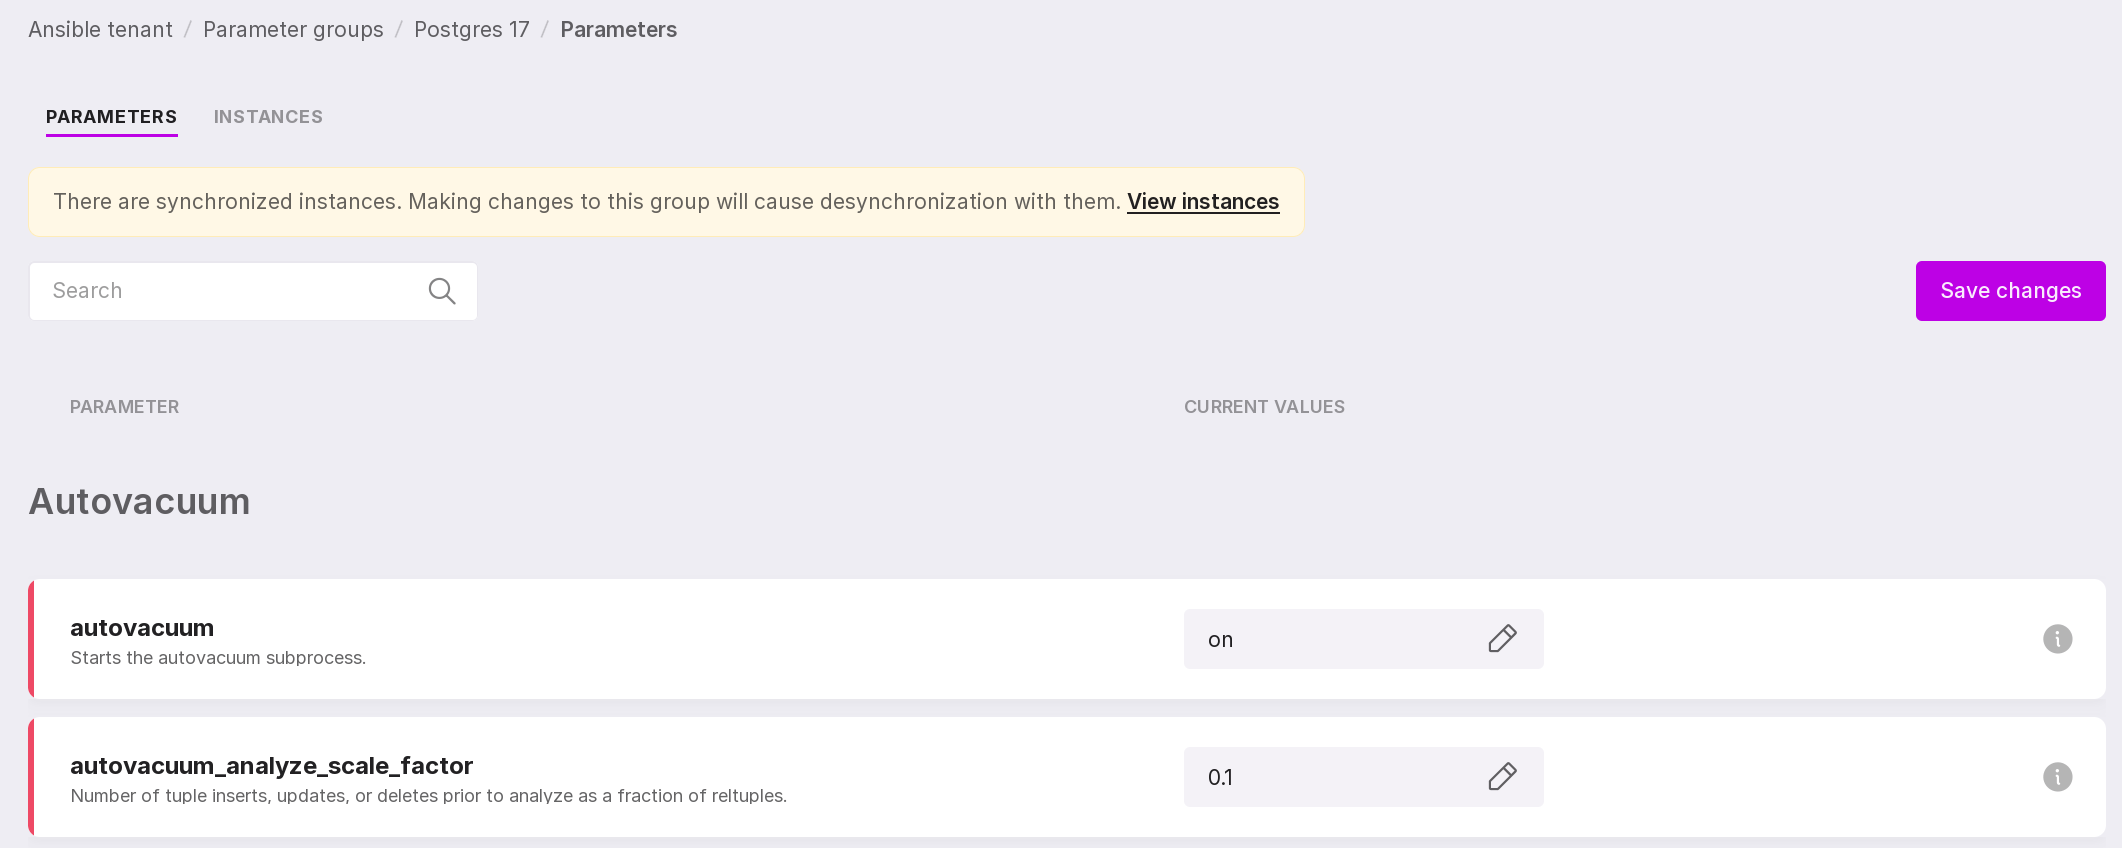
By clicking on the link “View instances”, you will go to the “Instances” tab of this page.
You can search for the required parameter by its name using the search bar.

The “Instances” tab of the configuration page of the parameter group
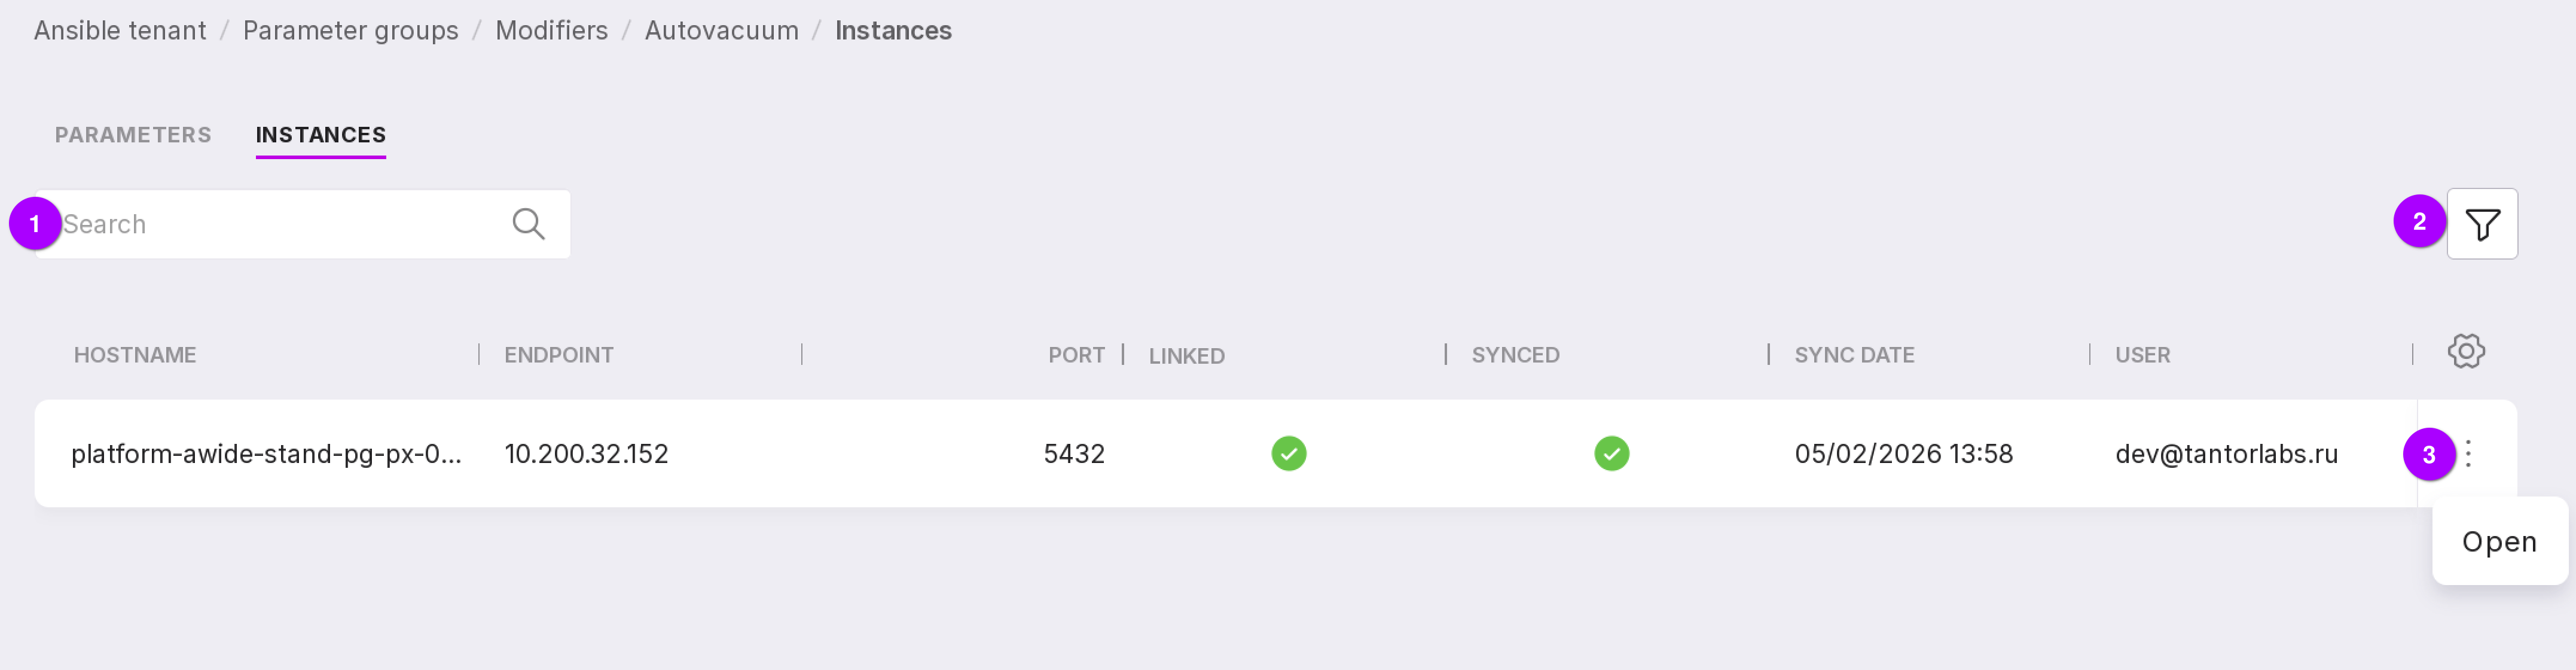
On the “Instances” tab, instances that are linked to the parameter group are displayed.

Let’s review the information on the tab, as numbered in the figure above:
Search bar, which can be used to find the required instance by the name of the node it is installed on.
Filter, which can be used to filter instances by state.
List of instances linked to this parameter group, with information on them:
The host fqdn where the instance is installed;
Endpoint;
Port;
Information on whether the instance is linked to this parameter group;
Information on whether the instance is synchronized with this parameter group;
Date of the last synchronization of the instance with this parameter group;
Email of the user who synchronized the instance with this parameter group.
Instance menu:
“Open” — opens the configuration page of the instance.
The instance can be synchronized with the group by checking the checkbox next to it and clicking the “Sync and apply” button.

The modal window will display the updated parameter values. Click “Synchronize” if a single instance is selected, or “Synchronize All” if multiple instances are selected.
Attention
Parameters will by synced 5 minutes after clicking this button.
Page of a specific modifier
Click on the modifier line to open detailed information. This page has two tabs:
Parameters,
Instances.
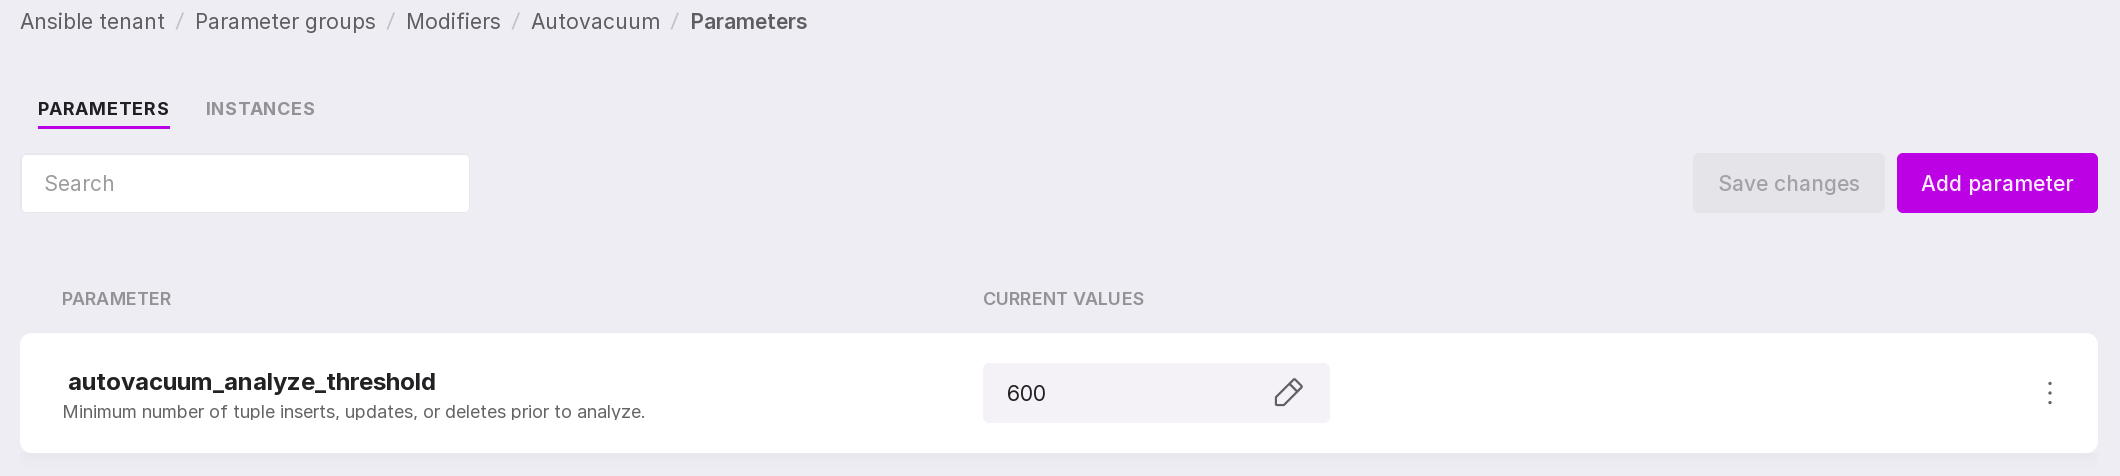
The “Parameters” tab of the modifier
The “Parameters” tab contains a list of parameters and their values that will differ for the instance linked to this modifier as compared to its group of parameters.
If there are no parameters, click “Add Parameter” in the center of the page. If parameters already exist, to add a new one, click “Add Parameter” at the top right.
In the dropdown list of the modal window, select the required parameter or enter its name.
Enter a new value for the parameter that differs from its value in the group of parameters to which you are going to link the instance.
Click “Add”.
You can edit parameter values using the pencil icon.
You can delete a parameter using the parameter menu → “delete”.

The search bar at the top of the page is used to search for parameters by their names.
The “Instances” tab of the modifier
The “Instances” tab displays a list of instances linked to this modifier and information on them:
The host fqdn where the instance is installed;
Endpoint;
Port;
Information on whether the instance is linked to this parameter group;
Information on whether the instance is synchronized with this parameter group;
Date of the last synchronization of the instance with this parameter group;
Email of the user who synchronized the instance with this parameter group.
A search bar that can be used to find the required instances.
Instances can be sorted by the state of their synchronization with parameter groups.
Clicking on the instance menu → “Open” will open instance configuration page.
“Parameter Groups” Tab on the Instance Configuration Page and Cluster Configuration Page
Part of the functionality described above can be managed on the “Parameter Groups” tab of the Instance Configuration page and the Cluster Configuration page.
You can access this page in one of the following ways:
For standalone instances:
On the instance’s “Overview” page, select “Configuration” in the left-hand menu → “Parameter Group” tab;
On the Parameter Groups page, select the required group → click Open in the menu → “Instances” tab → select an instance → “Parameter Group” tab.
For clusters:
On the “Clusters” tab of the namespace, select a cluster → in the left-hand menu, choose “Configuration” → “Parameter Group” tab;
On the instance’s “Overview” page, select “Configuration” in the left-hand menu → follow the “Cluster config page”” link → “Parameter Group” tab.
Attention
This tab is not available for Users with view-only rights.
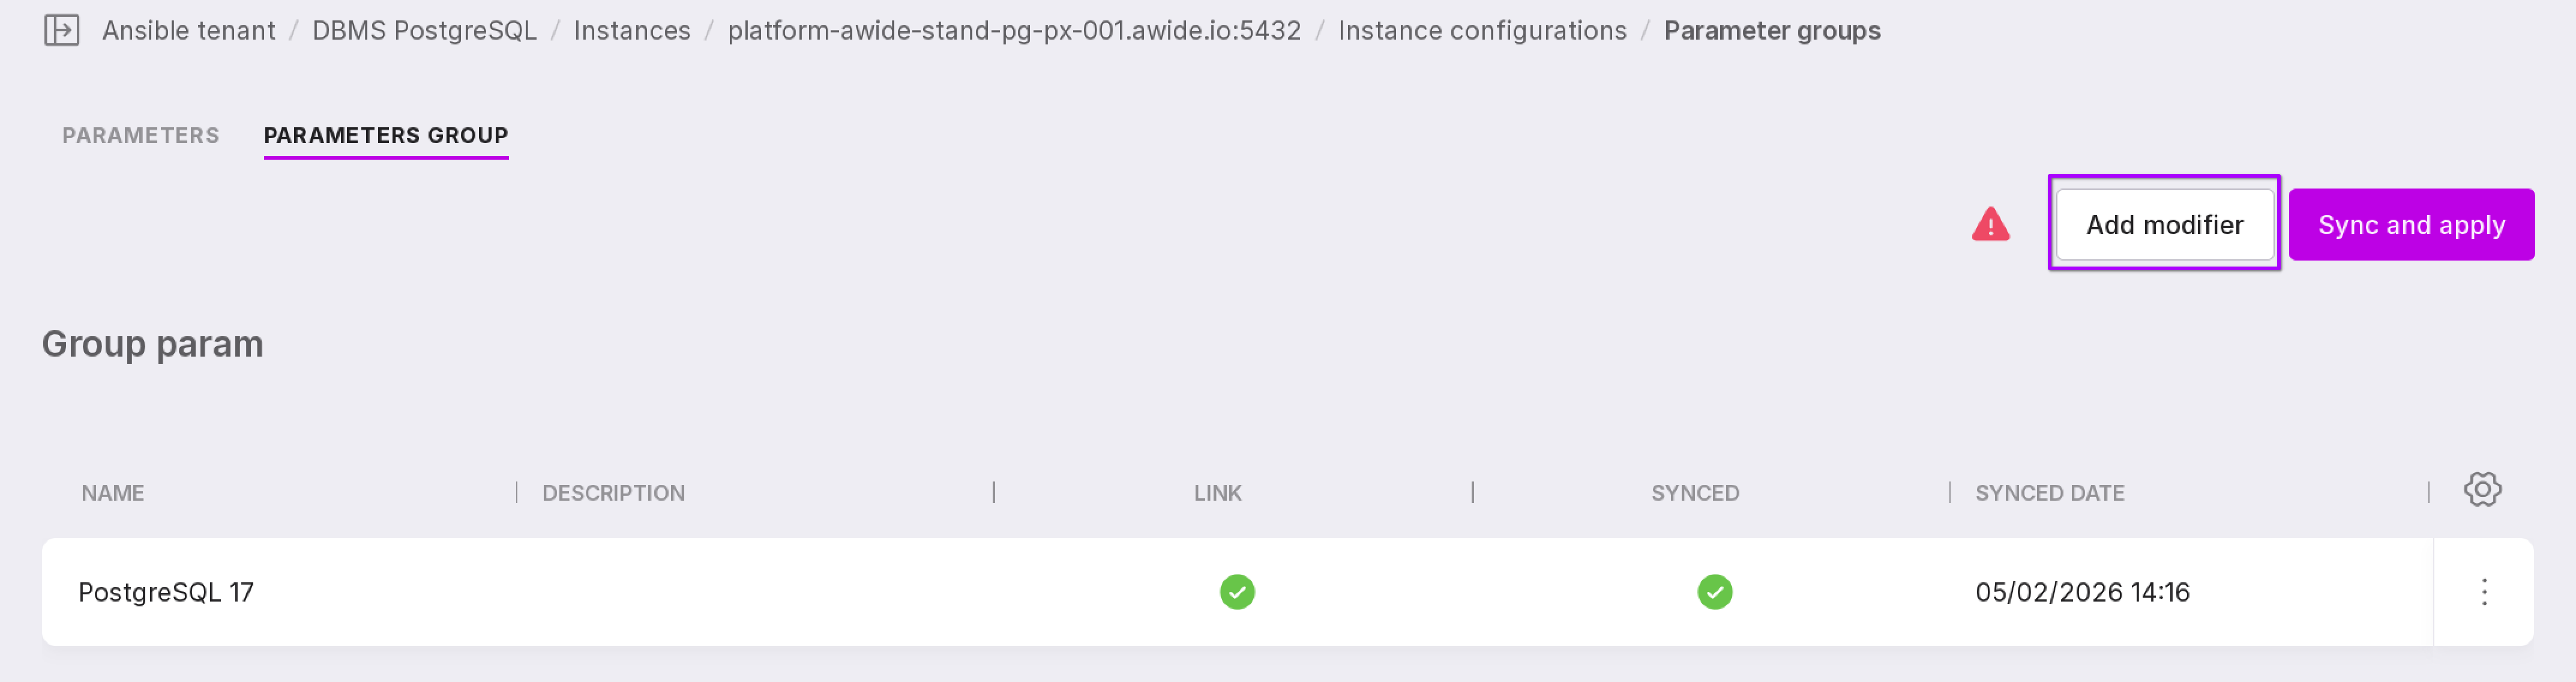
This tab displays the group of parameters and the modifier to which the instance is linked.
If a group of parameters is linked to the instance, the following information will be displayed on the page:
name;
description;
linked — if the column is checked, it means the group of parameters is linked to the instance;
synced — if the column is checked, it means the group of parameters is synchronized with the instance;
Note
“Linking” an instance to a group of parameters and “synchronizing” it are different concepts.
“Link” the instance — visually establish a connection between it and the group of parameters within Platform.
“Synchronize” the instance — apply the settings of this group of parameters to a specific instance.
sync date — the date and time of the last synchronization of the group of parameters with the instance;
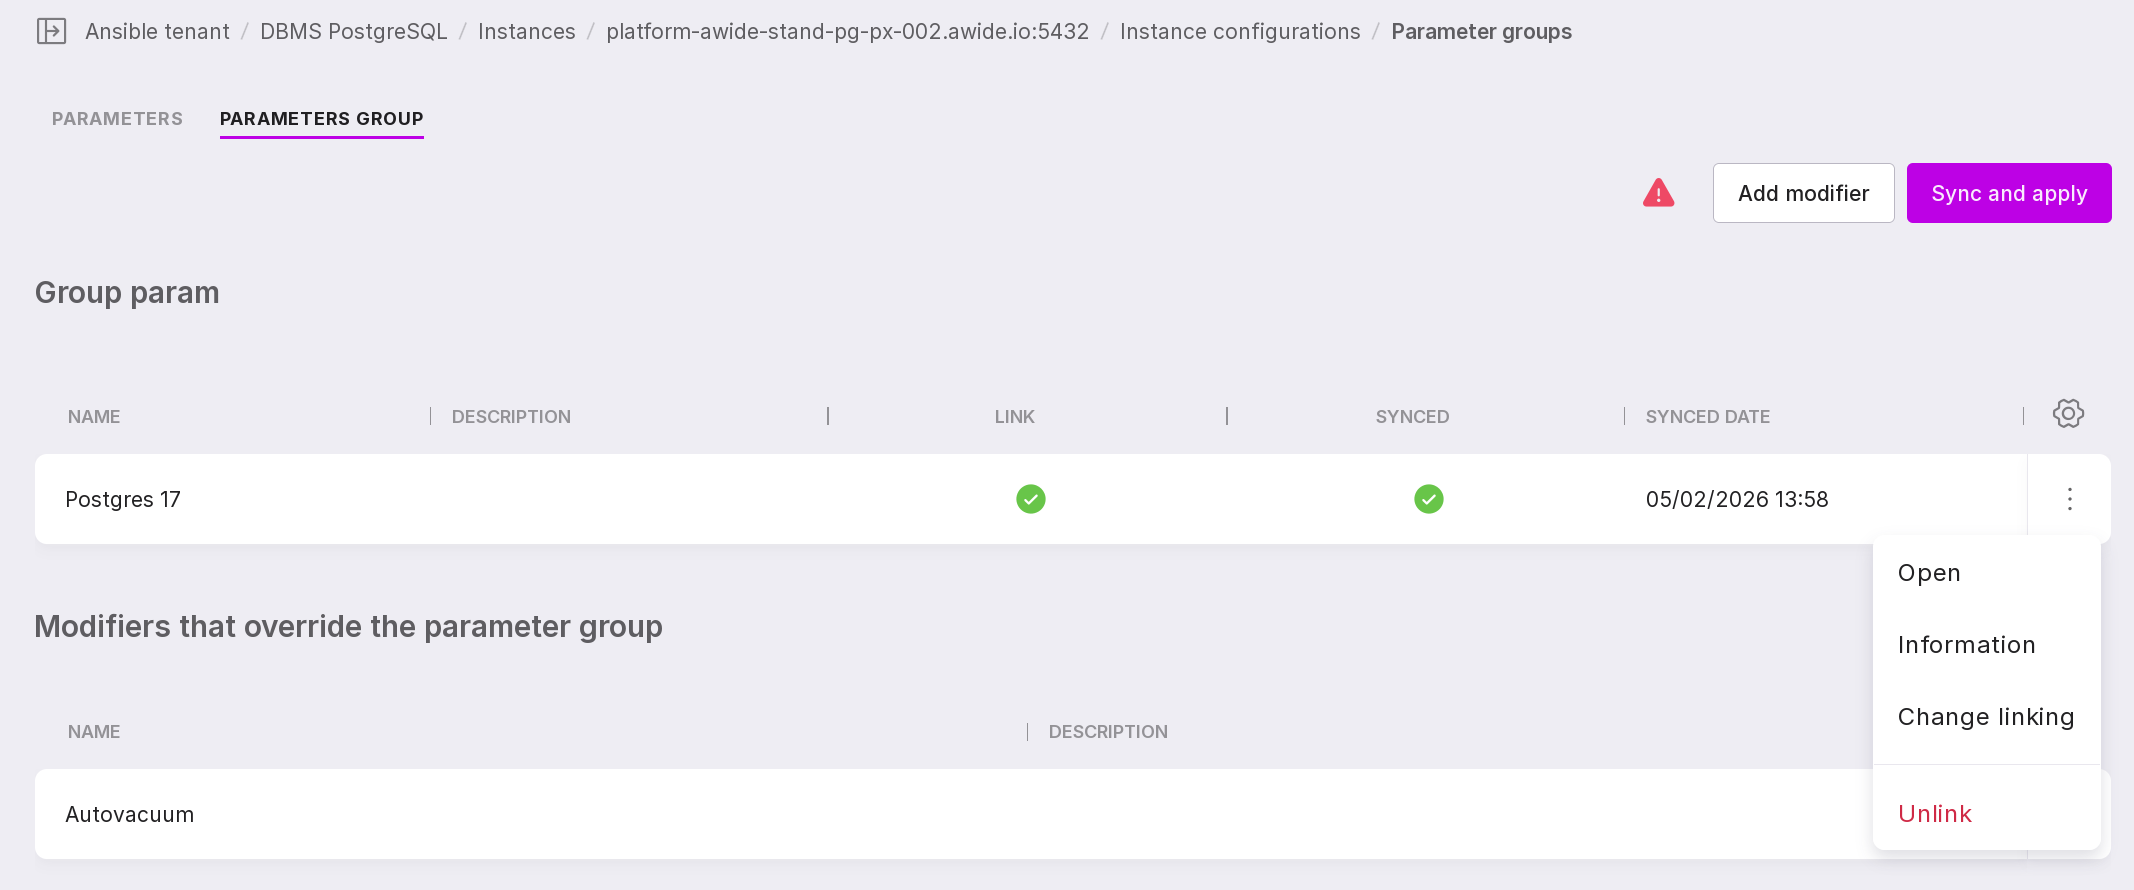
menu of the group of parameters with the following items:
Open — opens the page of this group of parameters;
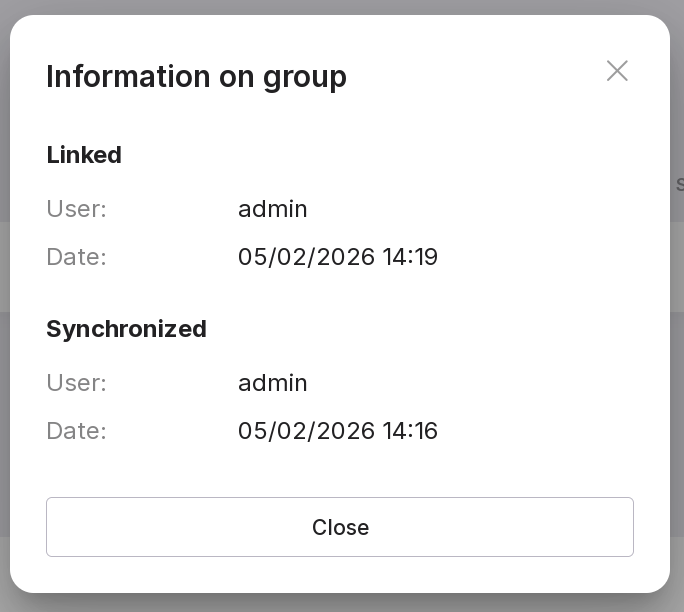
Information — opens a modal window with information on the date of linking and synchronization of the instance with the group of parameters and the user who performed this action;
Change linking — allows you to change the linked group of parameters to a new one;
Unlink — allows you to unlink the group of parameters from the instance.
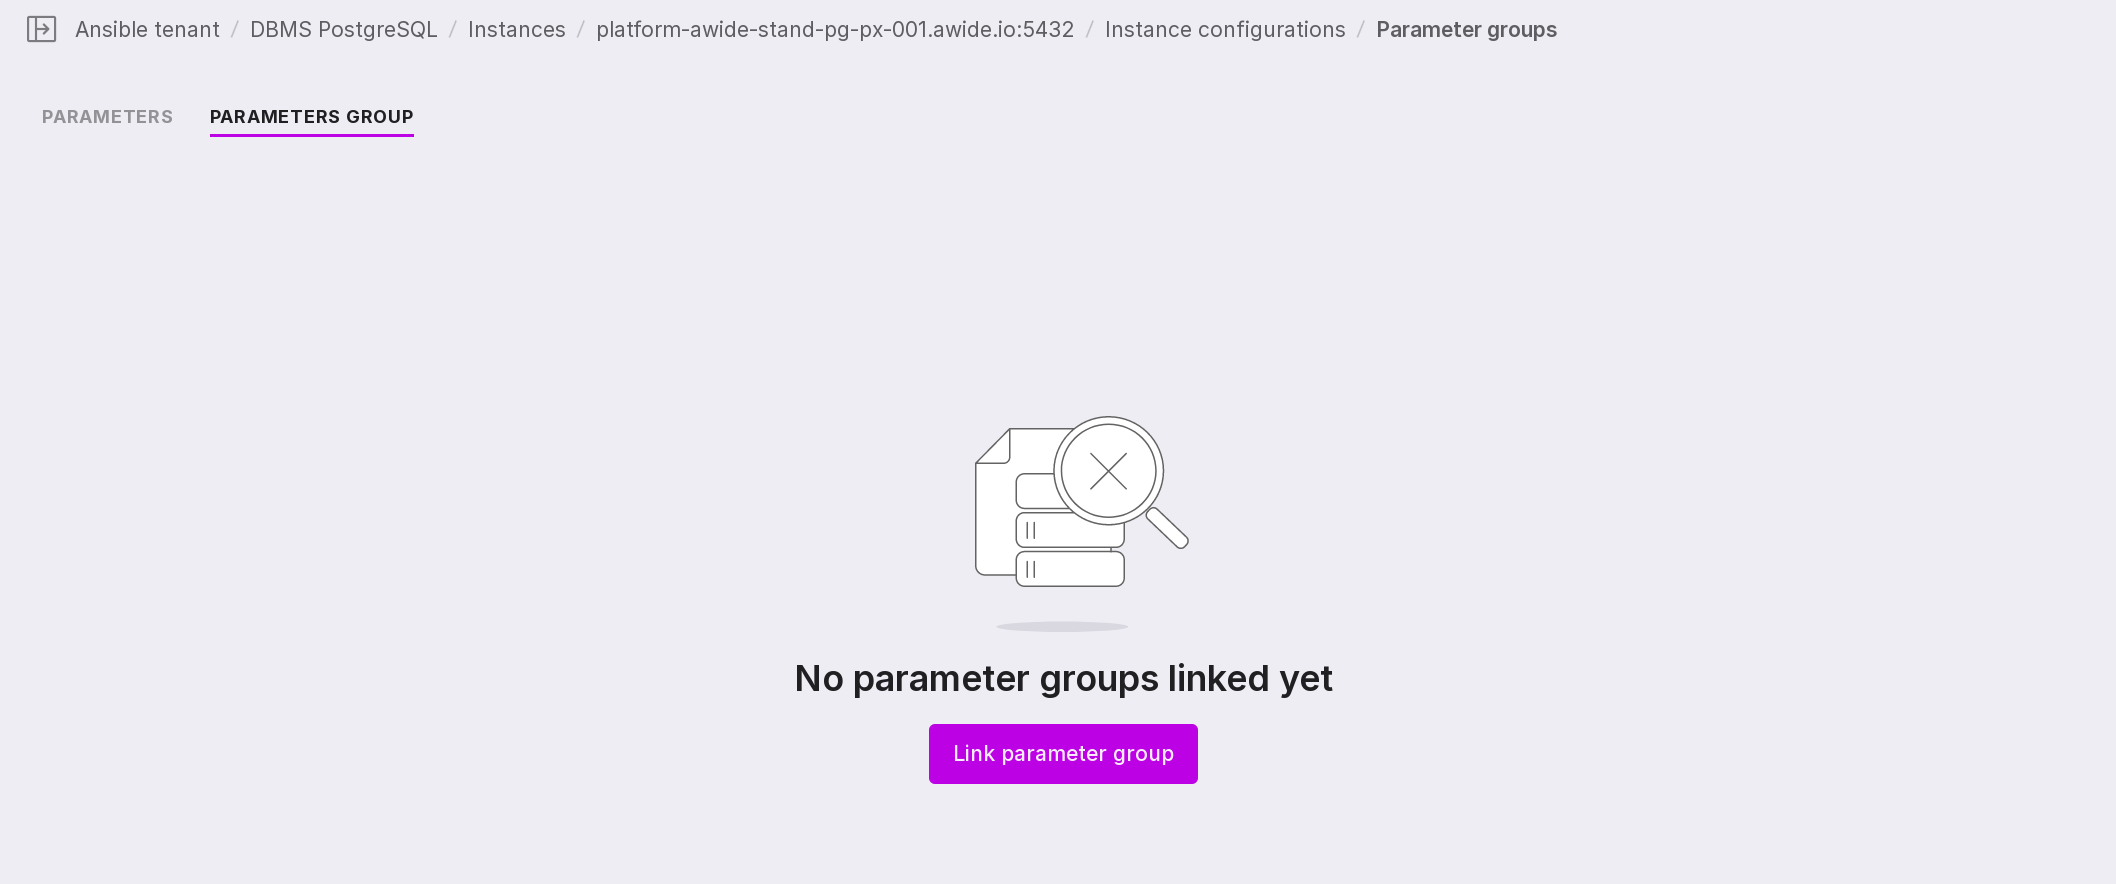
If no group of parameters is linked to the instance, click “Link parameter group” in the center of the screen.
To synchronize the instance and apply the parameter values of the linked group, click “Sync and apply”.
A modal window will appear with the changed parameter values. In this window, click “Synchronize”.
Attention
The synchronization process is asynchronous and may take up to 5 minutes after clicking this button.
Attention
If you are synchronizing a group of parameters with an instance for the second time, and there are no parameter values in the new group that differ from those that were synchronized before, you will not be able to perform the synchronization.
The “Add Modifier” button allows you to link a modifier to an instance.
The following options are available in the modifier menu:
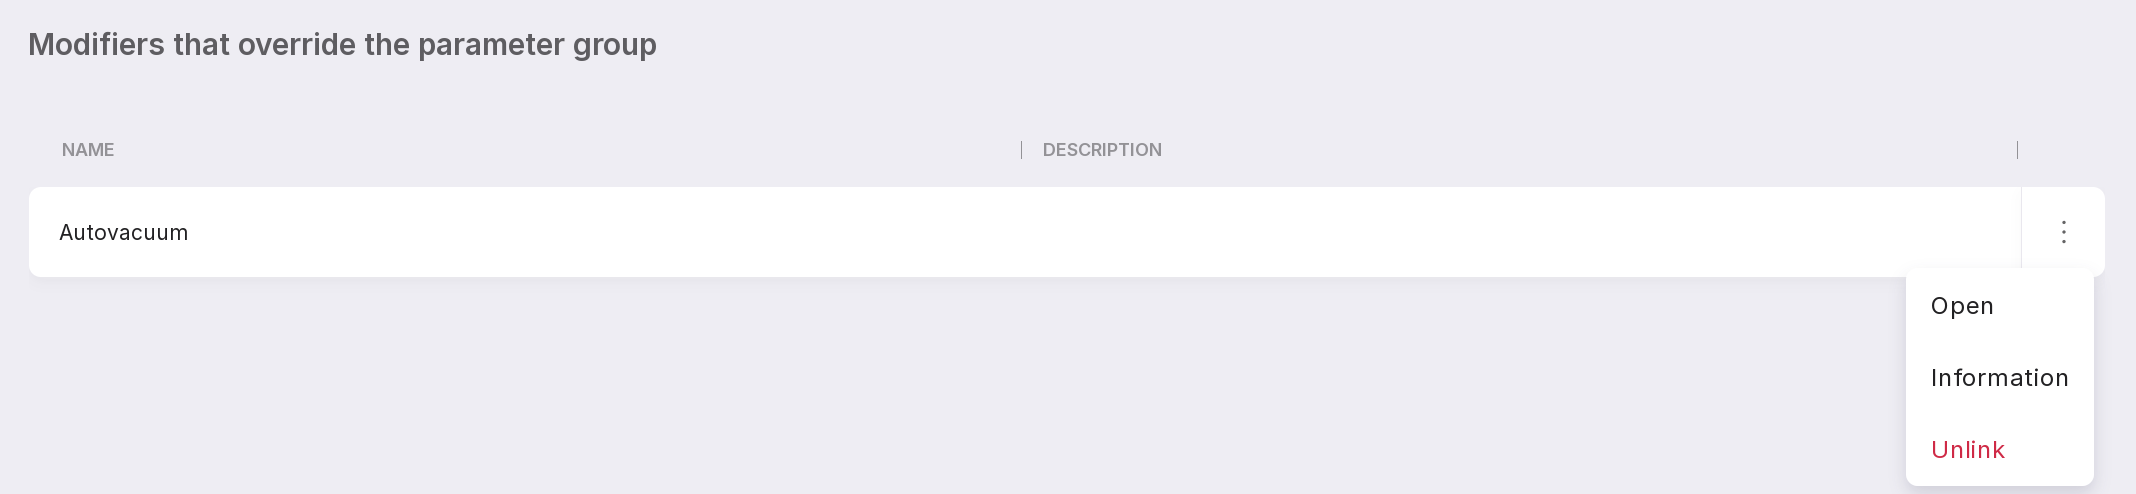
Open — opens the modifier page.
Information — opens a modal window with information on who and when linked the instance to the modifier.
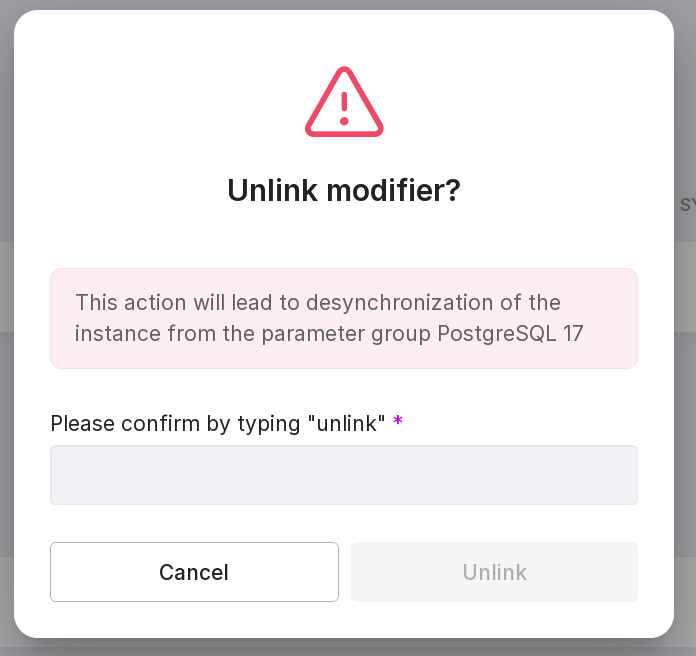
Unlink — allows you to unlink the instance from the modifier.